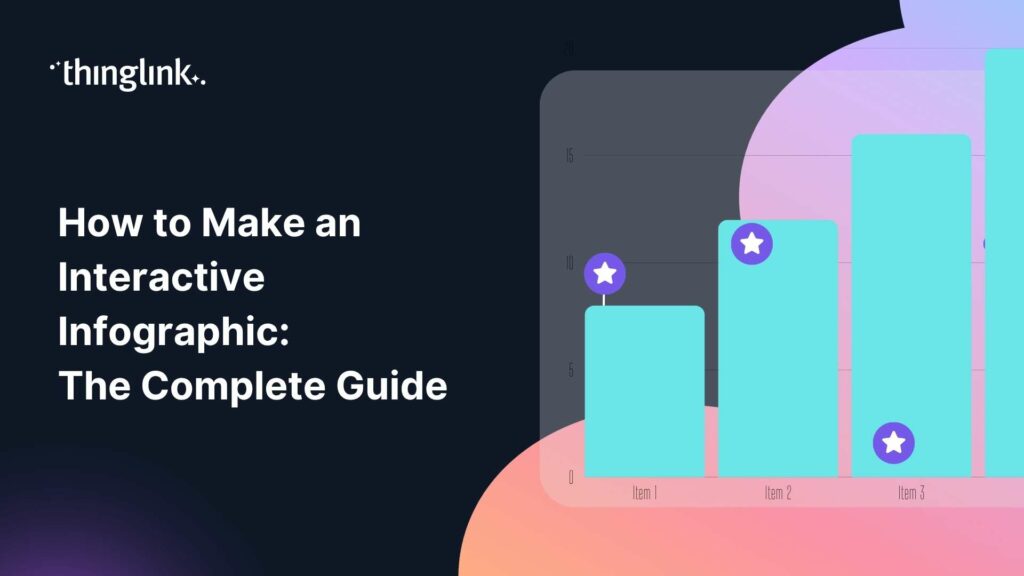
How to Make an Interactive Infographic: The Complete Guide
Static infographics are great at grabbing attention. But what if your audience could click into the data, watch a product demo, or explore a process at their own pace? That is exactly what an interactive infographic makes possible.
For marketing managers, customer success teams, and customer education teams, interactive infographics are one of the most versatile content formats available. They turn a single visual asset into a layered, self-guided experience that informs, engages, and converts.
This guide walks you through everything you need to know: what interactive infographics are, why they work, how to build one with ThingLink, and how real organisations are using them today.
What Is an Interactive Infographic?
An interactive infographic is a visual asset enriched with clickable hotspots, embedded media, links, and pop-up content. Instead of displaying all your information at once, it lets the viewer explore at their own pace, diving deeper into the areas that matter most to them.
Think of it as the difference between handing someone a one-page brochure and walking them through a product showroom. The same information, but a completely different experience.
Common interactive elements include:
- Clickable tags that reveal text, images, or video
- Embedded forms, links, or calls to action
- Pop-up statistics or explainer content
- Links to related resources or product pages
For inspiration, take a look at these examples of the best interactive infographics from a range of industries.
Why Interactive Infographics Work for Marketing and Customer Teams
In action! Explore this example from Carmanah below.
Passive content asks your audience to consume. Interactive content invites them to participate. That shift in dynamic has a measurable effect on engagement and comprehension.
For marketing teams, interactive infographics give you a format that communicates complex propositions clearly, holds attention longer, and creates more opportunities for a viewer to take action.
For customer success and customer education teams, they are a powerful onboarding and enablement tool. You can walk new customers through a product, explain a workflow visually, or provide a resource library disguised as a single image.
You can see this approach in action with Schneider Electric, who use interactive infographics to explain complex technical concepts in a way that is accessible to a broad audience. Similarly, Euromate created an interactive infographic for product marketing to communicate their offering in a far more engaging format than a traditional brochure.
How to Make an Interactive Infographic with ThingLink
ThingLink makes it straightforward to take any image and turn it into a fully interactive experience. Here is how to do it, step by step.
Step 1: Design Your Base Image
Your interactive infographic starts with a strong visual foundation. You can use any design tool you are already comfortable with: Canva, Adobe Illustrator, PowerPoint, or even ThingLink’s built-in AI image generation.
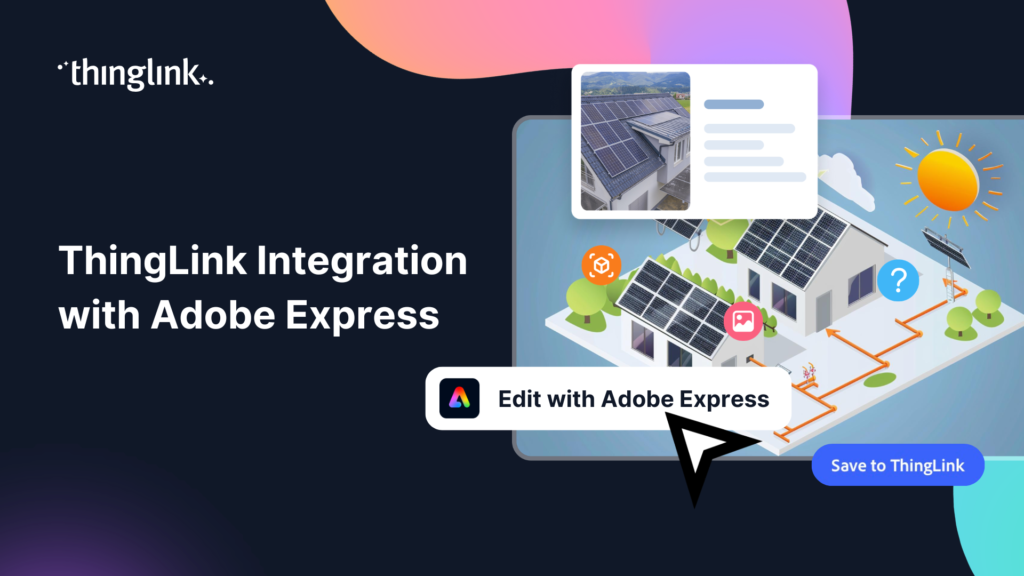
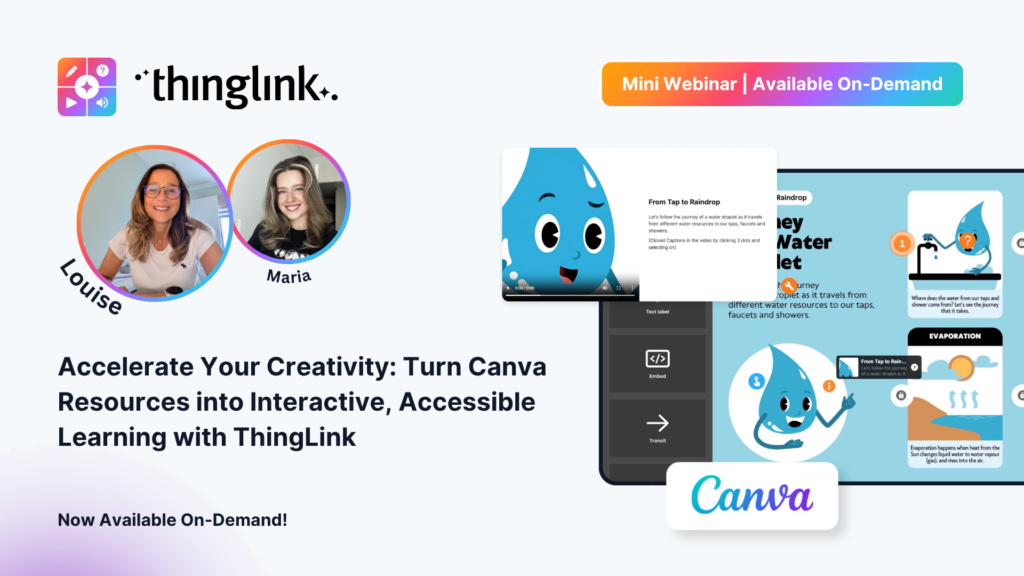
If you use Canva, this is where the ThingLink and Canva integration comes in. You can design your infographic in Canva, export it as an image, and upload it directly to ThingLink. This means you keep your existing design workflow and simply add interactivity on top. No need to rebuild anything from scratch.
If you prefer to start from within ThingLink, you can also generate a 2D image using AI with a simple text prompt. This is a fast option when you need a visual quickly. Find out more in the ThingLink guide to generating images using AI.
For teams who want to build infographics from a PowerPoint base, the guide to making an infographic in PowerPoint is a useful starting point.
Step 2: Upload Your Image to ThingLink
Once your base design is ready, upload it to your ThingLink account. From your Media dashboard, click the blue Create button, select Image, and upload your file from your device. The full process is covered in the ThingLink guide to uploading and managing content.
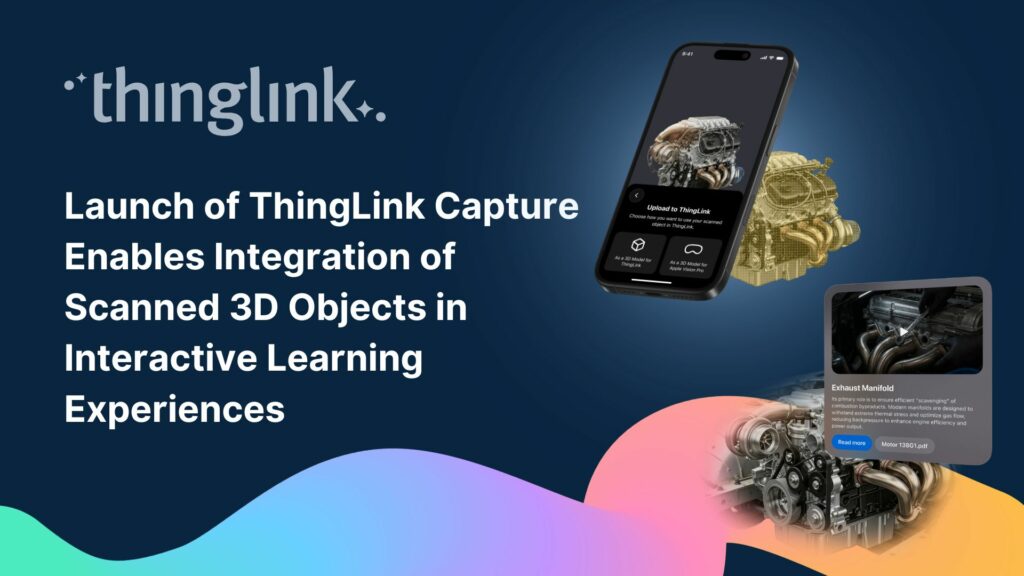
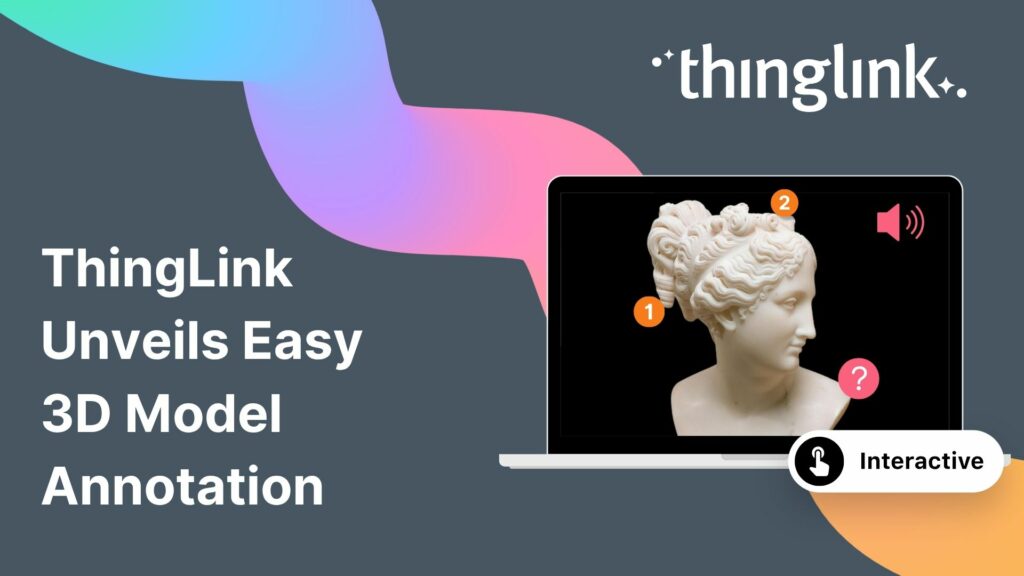
ThingLink supports a wide range of media types, so you are not limited to standard images. You can also make videos, 360° images, and 3D models interactive.
Step 3: Add Your Hotspots and Interactive Tags
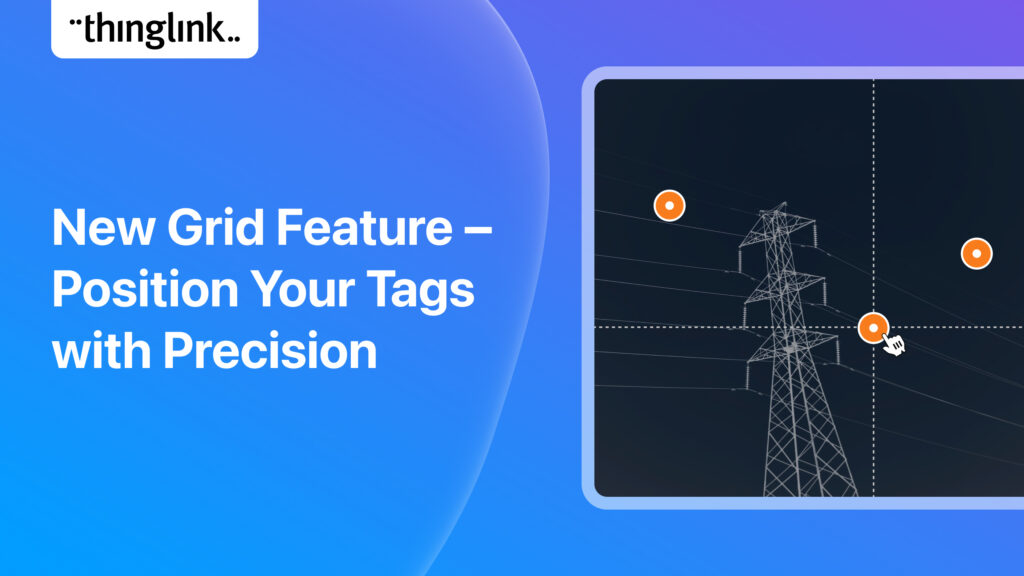
This is where the transformation happens. Click anywhere on your image to place a hotspot, then choose what happens when a viewer clicks it. Your options include:
- A text bubble or caption
- An embedded video or audio clip
- A link to a product page, case study, or sign-up form
- An image or additional infographic layer
- A pop-up with statistics, explanations, or next steps
Be intentional about what you add to each tag. Each hotspot should answer a question your viewer is likely to have at that moment in the visual journey.
Step 4: Organise Your Content with Tags Strategically
A good interactive infographic has a clear visual hierarchy. Use your hotspot placement to guide the viewer through the story you are telling. Think about which information belongs at the surface level and which details are better suited to a click-through layer.
For customer education use cases in particular, consider grouping related content logically so that a new customer can follow the experience like a guided tour.
Step 5: Share, Embed, or Present Your Infographic
ThingLink experiences are fully responsive and work across devices, from mobile phones to large touchscreens. You can share your interactive infographic via a direct link, embed it on your website, or include it in a customer portal or knowledge base.
For teams managing multiple projects or working across departments, ThingLink’s Groups feature makes it easy to share content folders with the right people. See the ThingLink Groups support guide for details on setting this up.
Interactive Infographic Ideas for Your Team
Not sure where to start? Here are a few use cases that work especially well for marketing and customer teams.
Product Marketing
Create a visual overview of your product with hotspots that link to feature demos, testimonials, or pricing pages. This works particularly well for complex products where a single image cannot capture the full value proposition. XXXXX is a strong example of this approach in action.
Customer Onboarding
Replace long PDF guides with a visual onboarding map. Each hotspot can reveal a short video, a checklist, or a link to a support article. Customers explore at their own pace and return to the sections they need.
Process Explainers
Visualise a workflow, supply chain, or technical process and let viewers click into each stage for more detail. This is far more engaging than a static diagram and easier to update when processes change.
Thought Leadership and Reporting
Turn a data-heavy report into an interactive visual. Publishers like Routledge have used interactive infographics to make research more accessible and shareable.
Go Further: Interactive Formats Beyond the Infographic
Once you have mastered the interactive infographic, ThingLink opens the door to a wider range of immersive content formats. You can apply the same hotspot approach to interactive videos, interactive presentations, interactive maps, and interactive timelines.
All of these formats share the same creation workflow, so the skills you build making your first interactive infographic will carry across every project.
Ready to Build Your First Interactive Infographic?
ThingLink gives marketing, customer success, and customer education teams a fast, flexible way to create interactive infographics without any coding knowledge. Start with a Canva design you already have, upload it to ThingLink, and add your first hotspot in minutes.
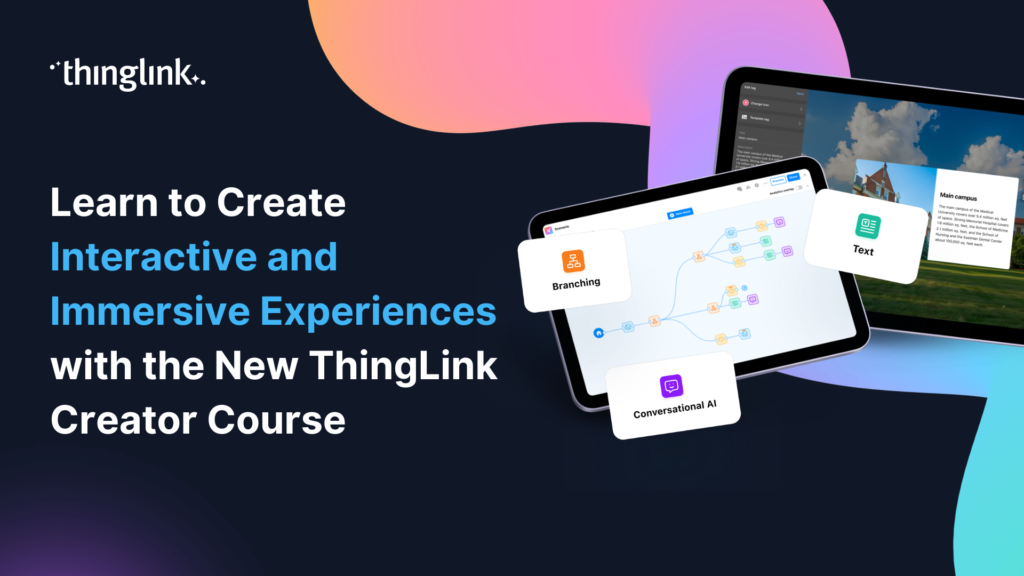
Explore ThingLink’s business plans and see how your team can get started by visiting the ThingLink Business FAQ. Or if you want to develop your skills further, the ThingLink Creator Course is a great next step.