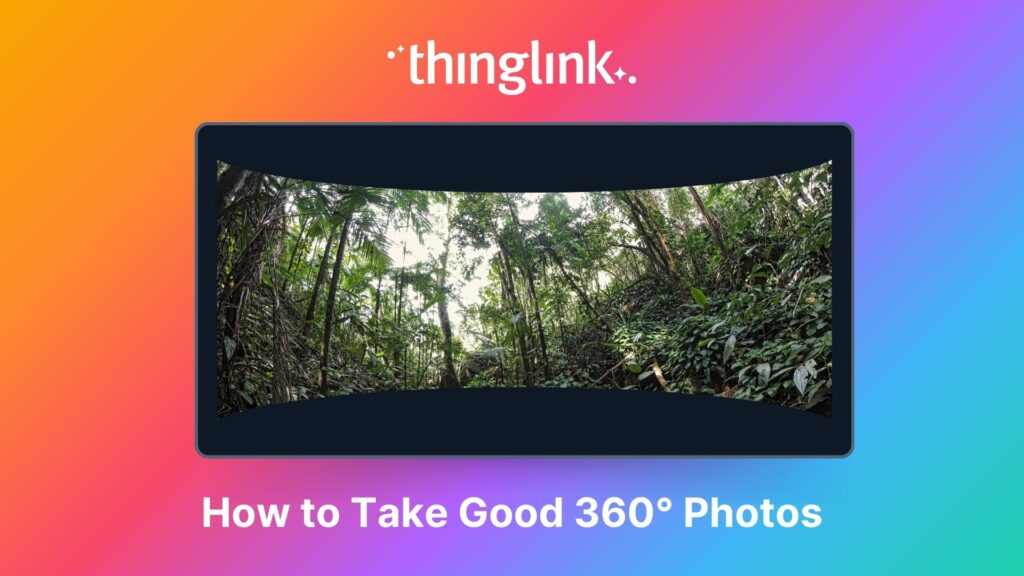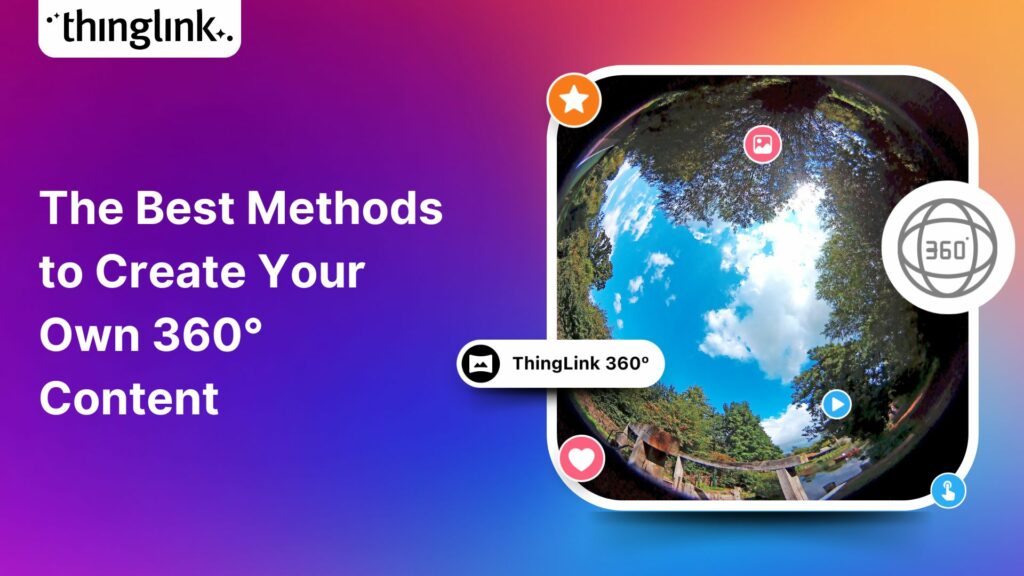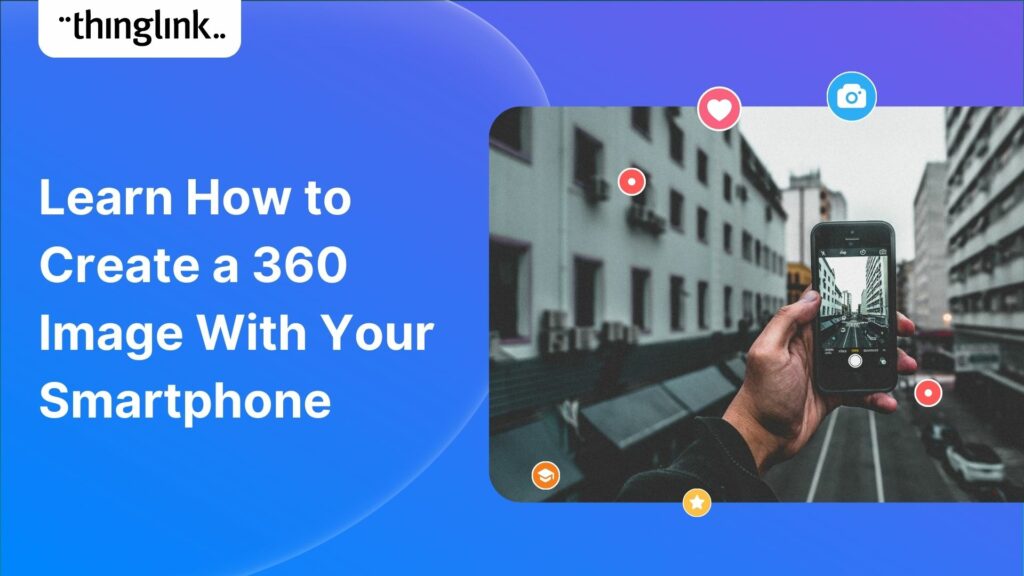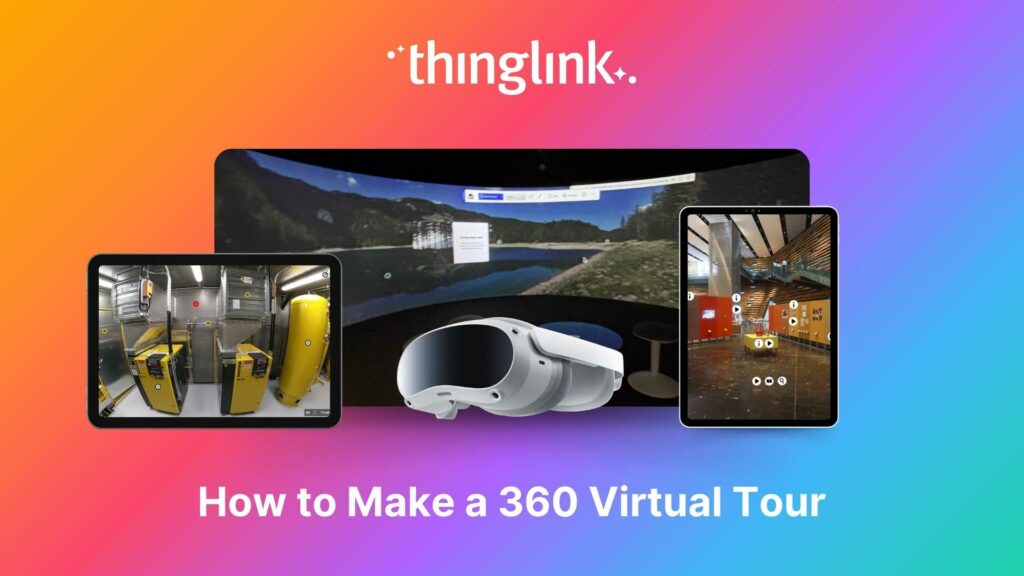
How to Make a 360 Virtual Tour
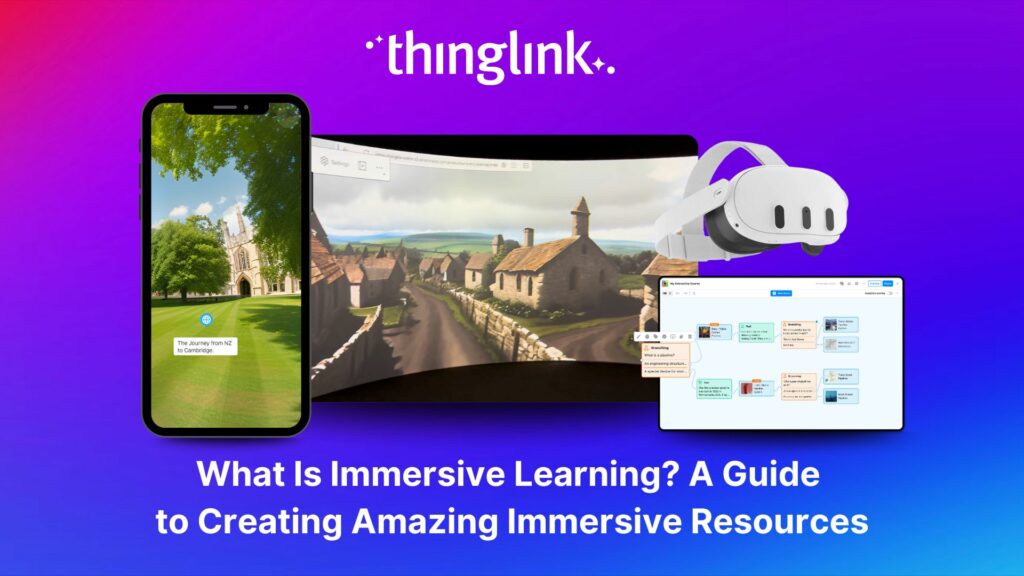
Looking for an easy way to create immersive 360° virtual tours or virtual expeditions that work seamlessly in Virtual Reality (VR)? ThingLink is the ultimate all-in-one platform for building and sharing interactive virtual tours and immersive experiences without coding or complex software. Whether you’re an educator, training professional, marketer or digital storyteller, ThingLink helps you design, build, publish, and share interactive 360° experiences that engage and inform your audience. In this guide, you’ll learn how to make a virtual tour using ThingLink – and discover expert tips to make your projects truly stand out.
ThingLink is trusted by over 10 million creators worldwide. It’s the first platform that made creating and sharing interactive virtual tours simple, affordable, and accessible for everyone – from teachers and students, to museums and heritage sites, and businesses of all types and sizes. With ThingLink, you can turn images, videos, 3D objects and 360° media into interactive experiences that can be explored on any device, including VR headsets. If you’ve been wondering how to make a 360° virtual tour easily, ThingLink is the answer.
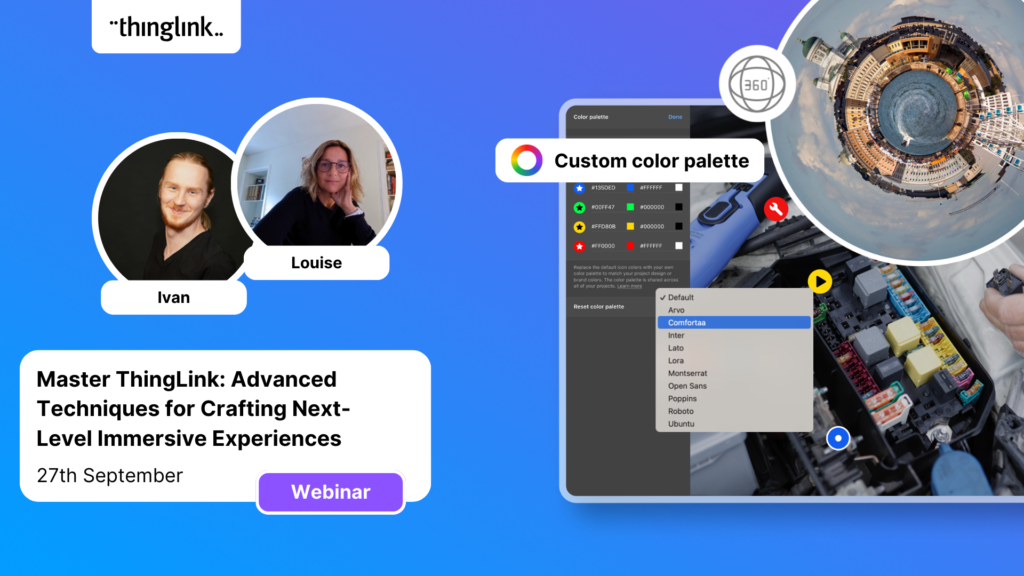
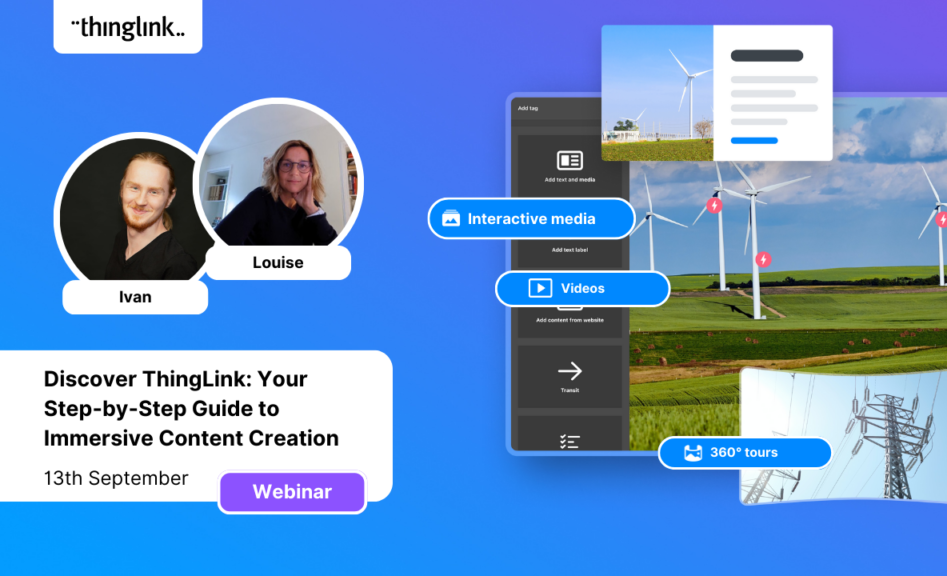
Meet a product expert
If you’d like to learn more about what ThingLink can offer to your company, you can schedule an online meeting with one of our product experts below.
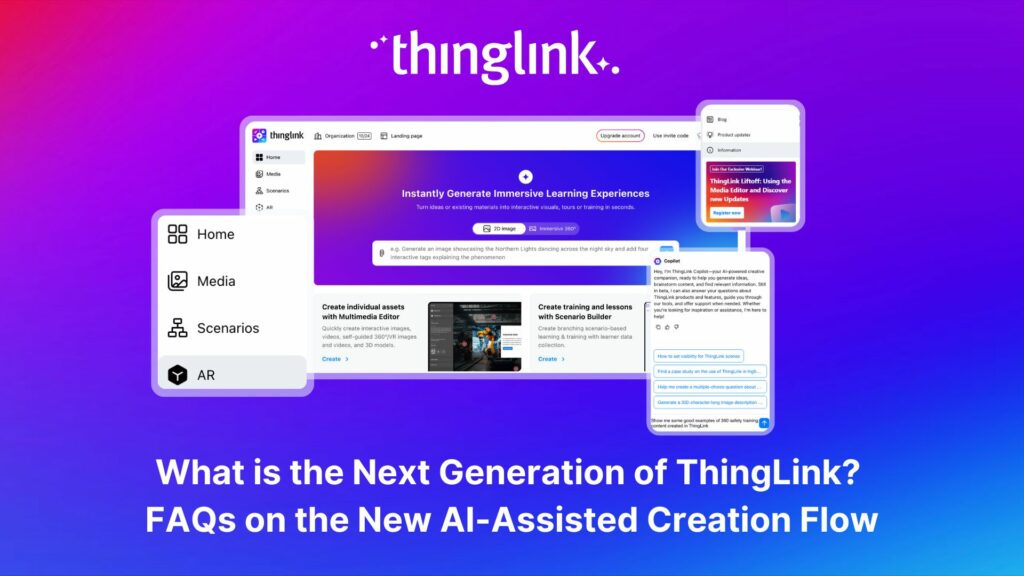
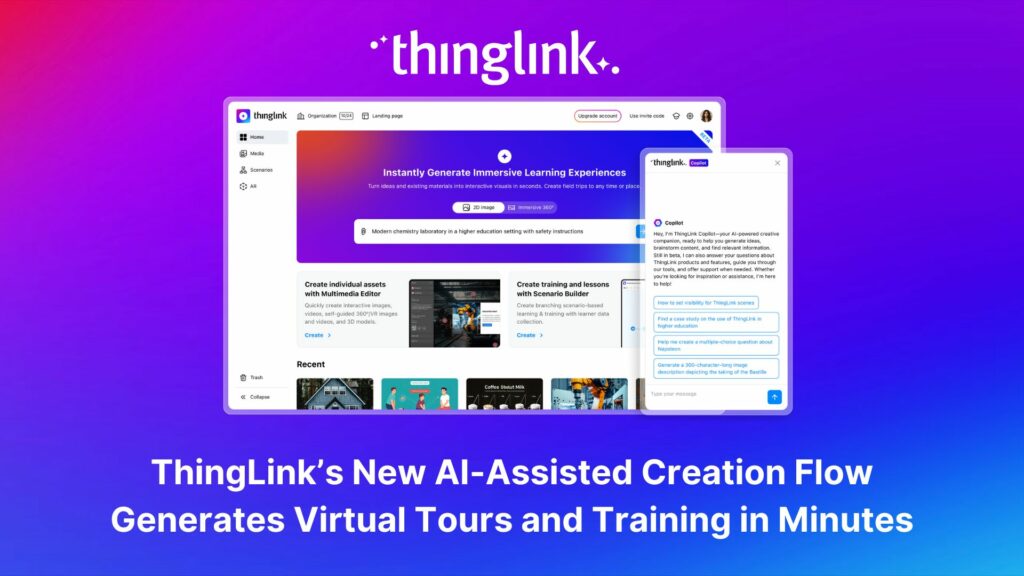
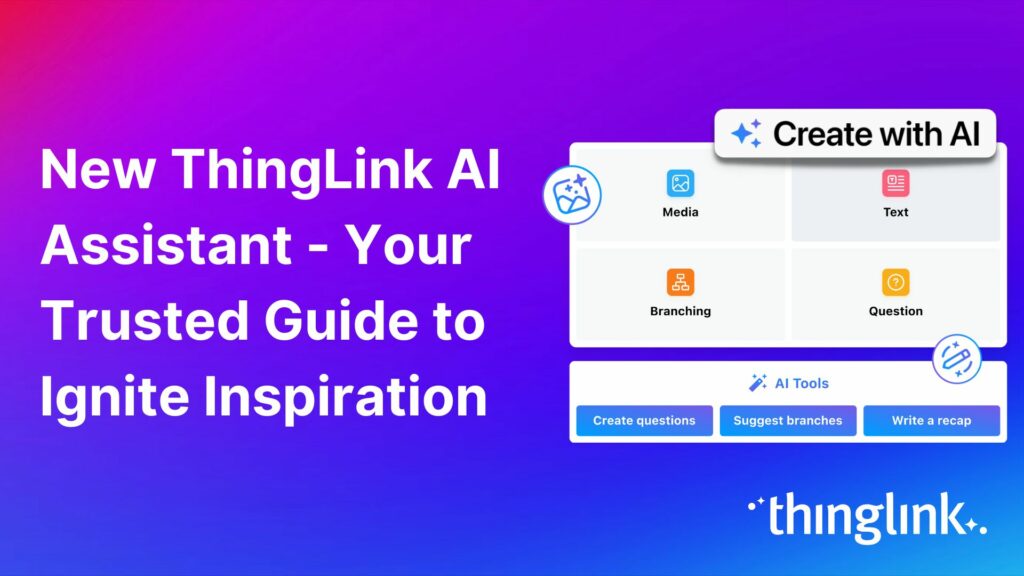
The reason for ThingLink’s popularity is down to ever-improving functionality and simplicity. As digital media usage becomes more sophisticated, ThingLink has responded with helpful updates like accessibility features and user-friendly, AI-assisted creation and editing tools for images and text.
Where are ThingLink virtual tours used?
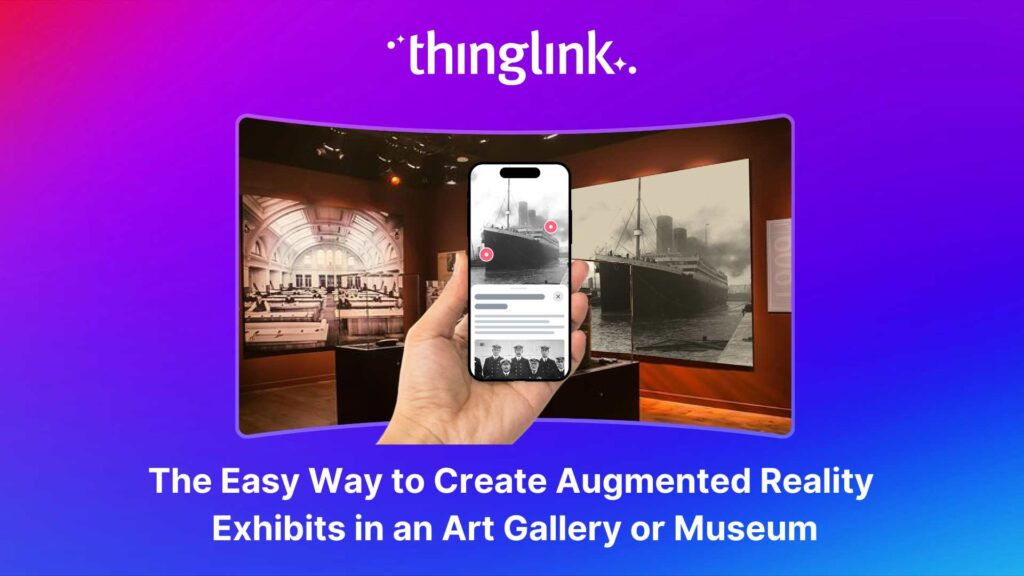
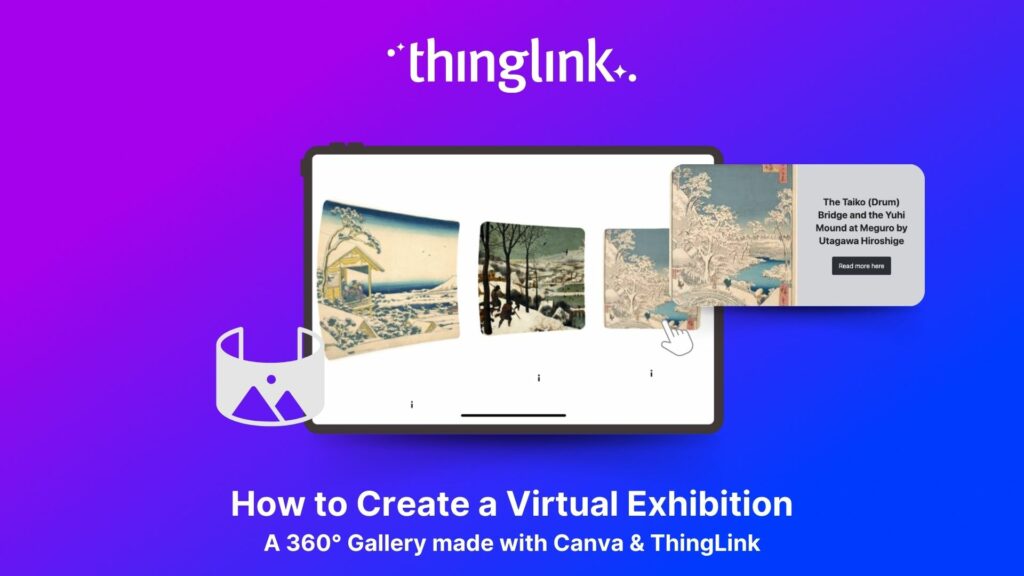
- Virtual Museums and Galleries: Museums and other cultural and heritage insitutions are using ThingLink to create virtual versions of real exhibitions – as well as virtual exhibitions of diverse objects that are only displayed together in the digital space. Read more at our dedicated museums space here.
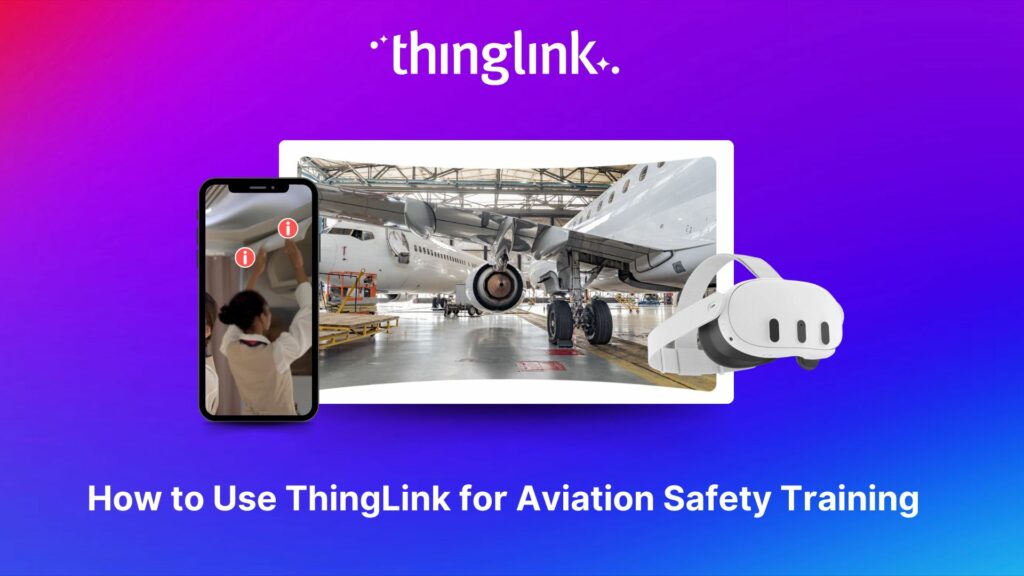
- Employee Onboarding: Across a wide range of sectors, organizations are creating virtual tours in ThingLink to introduce and guide new starters around a new environment, or a familiar environment where routes or protocols have changed.
- Realtors and other real estate professionals can use them to provide a walkthrough of a home, retail or office space to potential buyers, tenants or investors.
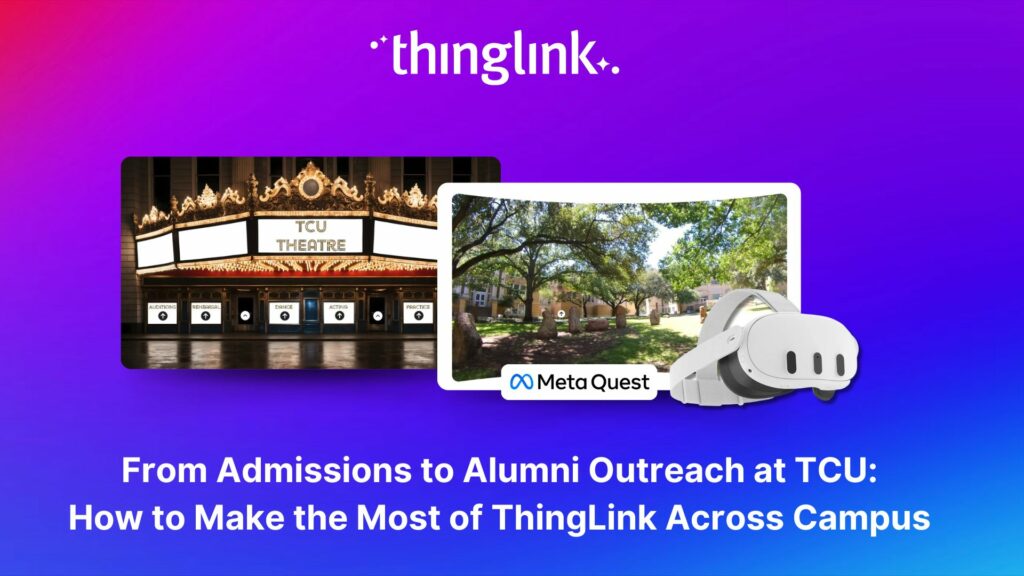
- Campus Tours: One of the most popular use cases for ThingLink virtual tours in education, campus tours allow potential students to visit any university, school or college wherever they are in the world – allowing a far wider reach for admissions activity, and providing a useful way for freshers to familiarize themselves with faculty and facilities before arrival.
What other functions do ThingLink virtual tours have?
- Increase accessibility – text in hotspots can be read with Microsoft’s Immersive Reader or in the built-in accessibility player.
- Explore and use high quality royalty-free panoramic photos with our library of 360 images from around the world
- Embed a huge variety of content types in tags – including videos, 3D objects, images, as well as external apps such as Google Maps, Forms, and YouTube – and thousands more!
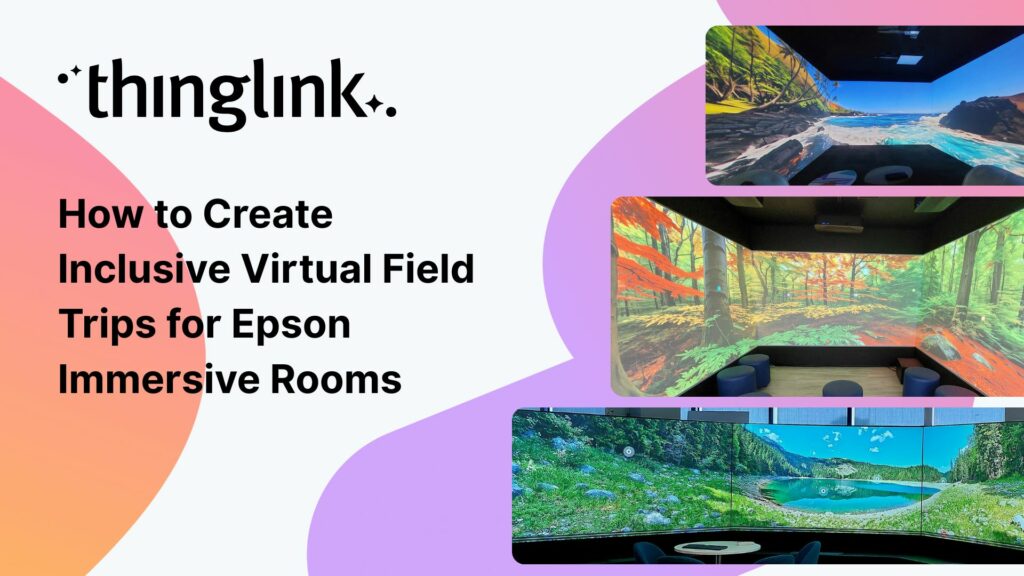
- Share seamlessly across any platform – mobile devices, desktops, VR headsets and immersive rooms.
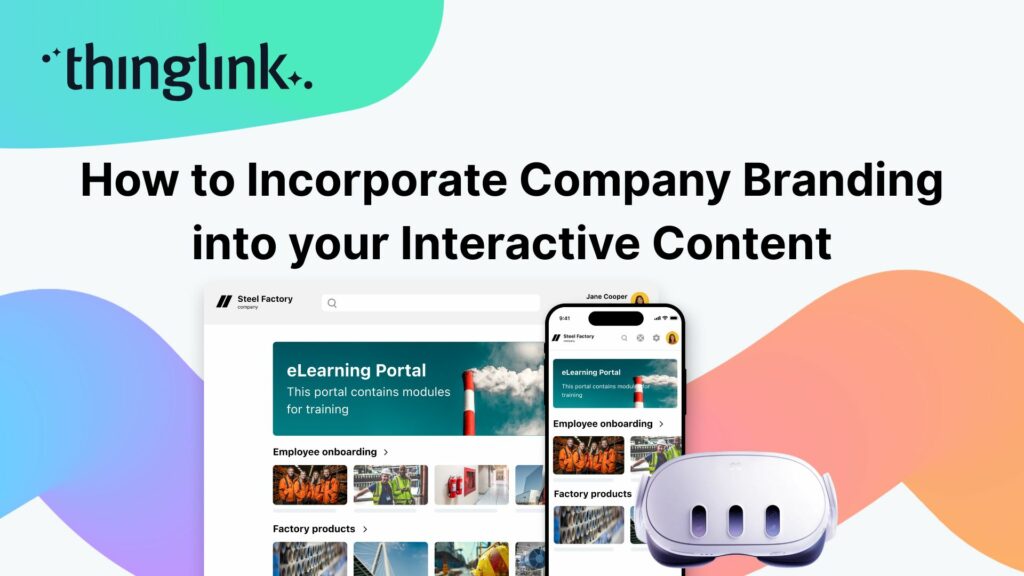
- Add your own custom icons for branded or personalized tours
- Add your voice or other audio directly to other content in the tags in the browser – no need to record on another app.
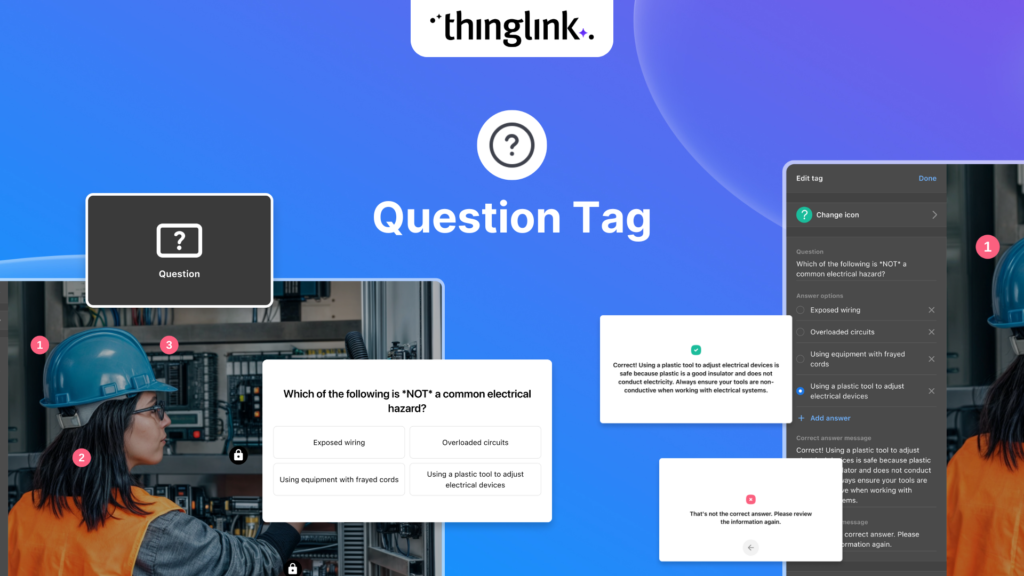
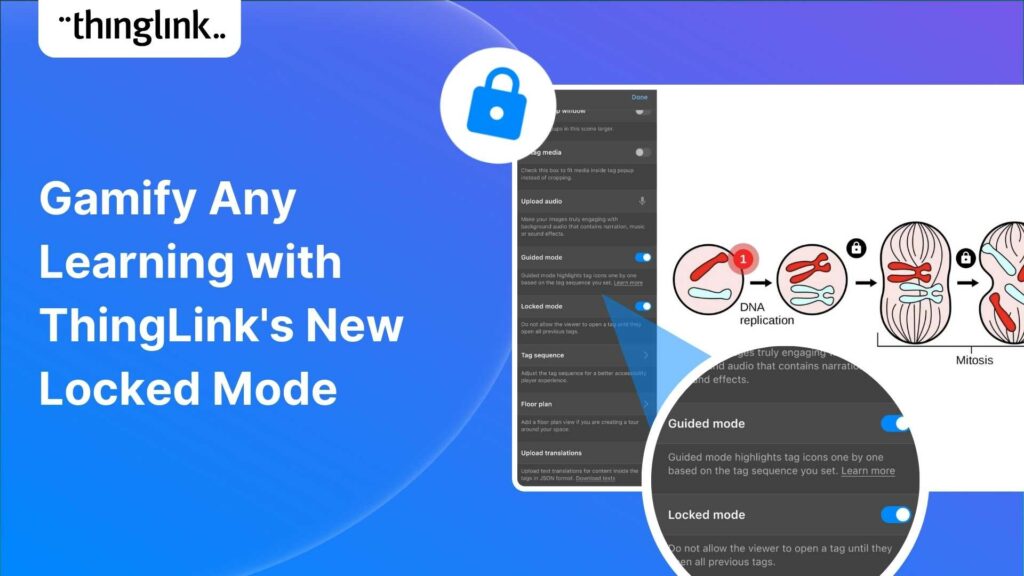
- Check comprehension or add an additional level of security with conditional transitions between scenes – users can only progress through the tour with the correct answer or password.
- Select your tours to be Private or Unlisted to keep sensitive content private, or share it with your group, class or organization or make it public and searchable.
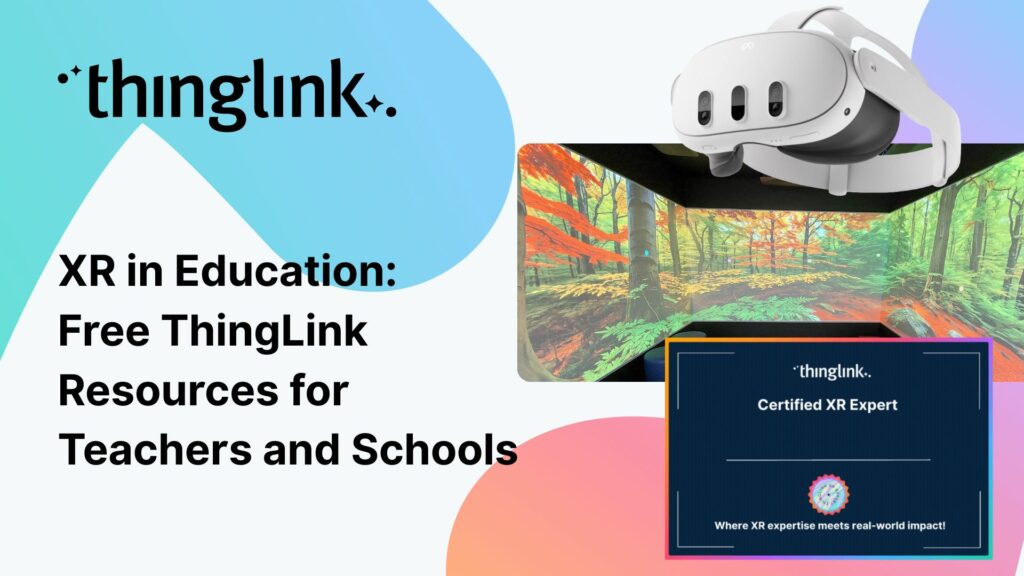
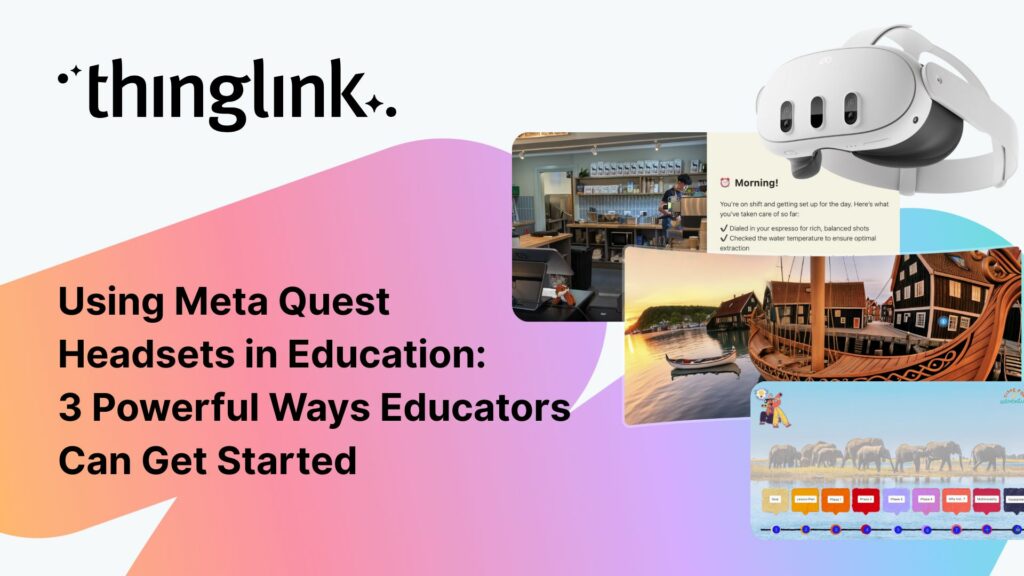
- Use your 360° tours with Virtual Reality VR Headsets such as Meta Quest, PICO, or Apple Vision Pro. Read more here.

Guide your users through virtual reality with ThingLink
ThingLink virtual tours can be made from any combination of flat images, video, 360° images and even 360° video. With the Transit Tag, which enables the viewer to move from one scene to the next, you can link any combination of ThingLink media. This means that you can send your viewer on a virtual walkthrough of a designated route you set yourself, or you can choose to create a “freeform” virtual tour, where they can choose their own route and order through individual scenes.
For example start with a video, floor plan or map with a legend as your introduction to the tour – helping users to visualize their location and journey. Below is a great example of this in action at the Royal Ontario Museum.
You can now also add a floorplan to your virtual 360° tour, with no additional virtual tour software required. Read this article for more information on this great new feature.
Sourcing and creating 360 images for ThingLink
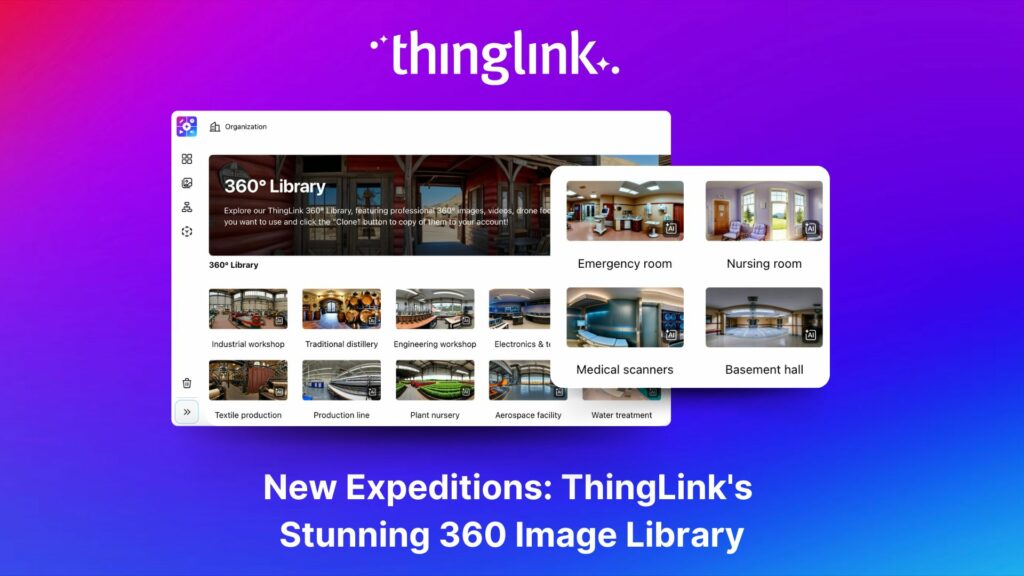
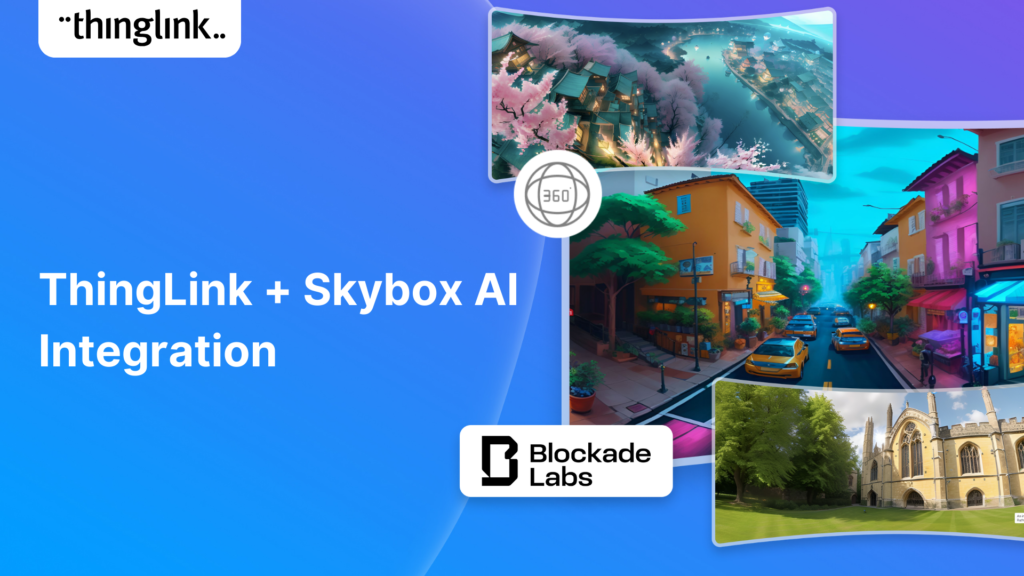
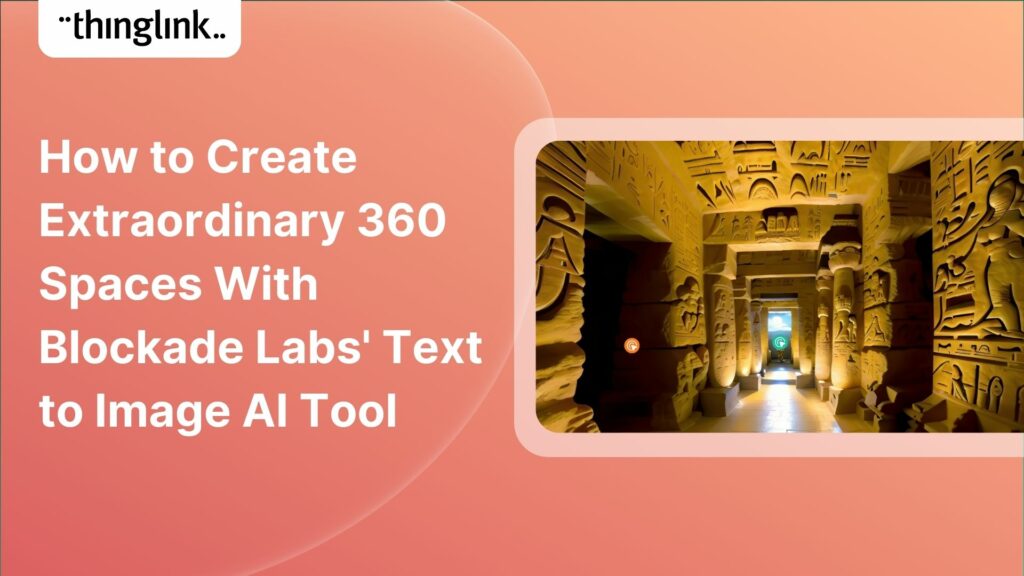
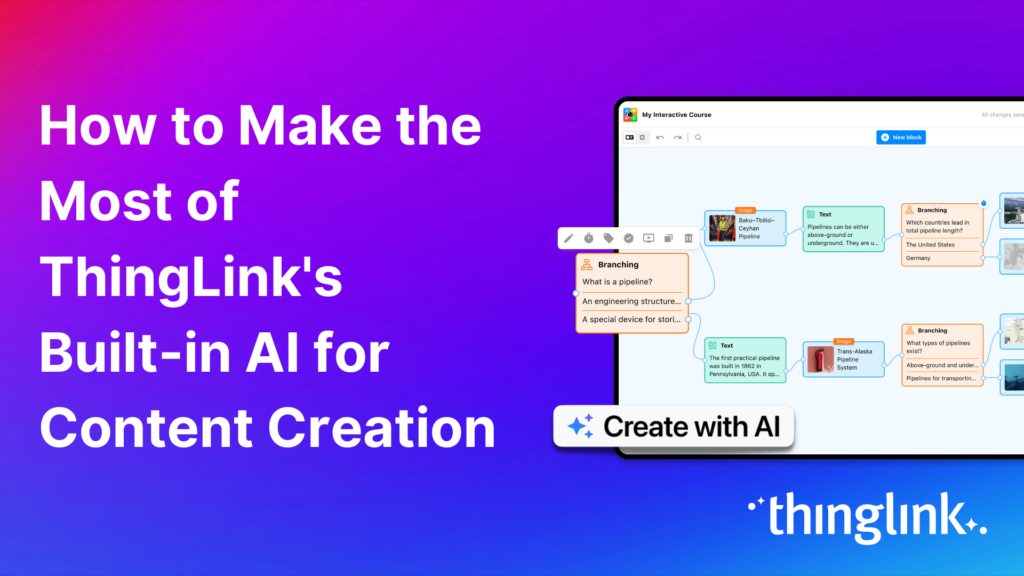
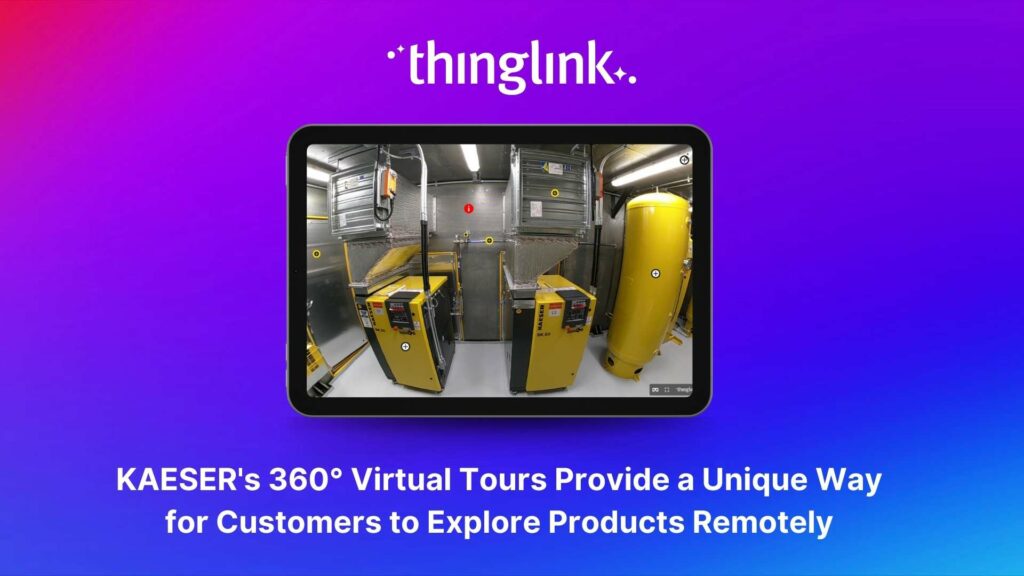
You’ll find a wide range of 360° images in the free ThingLink 360° library. These include high quality professional photography captured all over the world – from UNESCO world heritage sites to industrial environments. There is also a range of AI-generated 360° imagery available including a range of scenes that replicate work and natural environments.
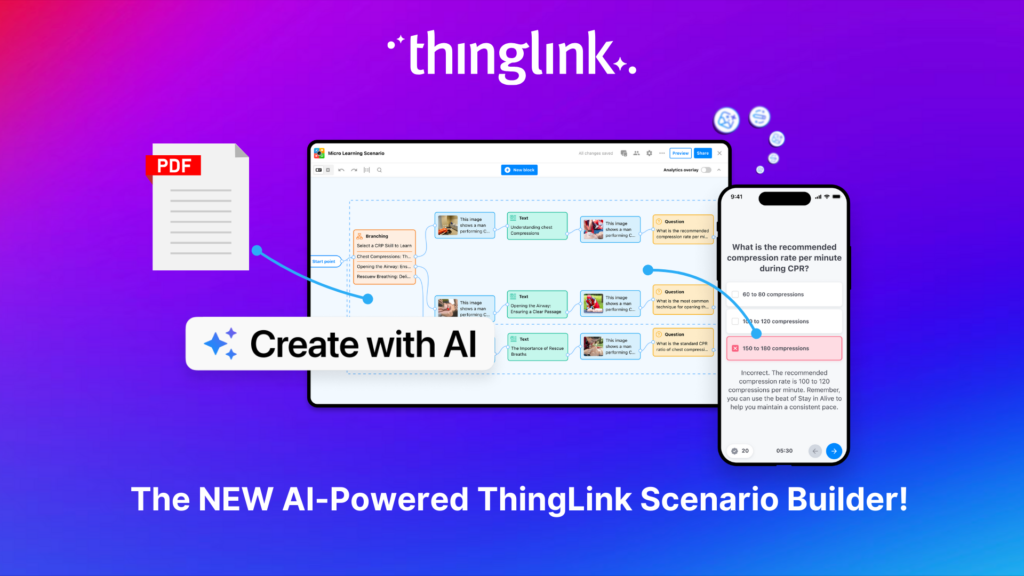
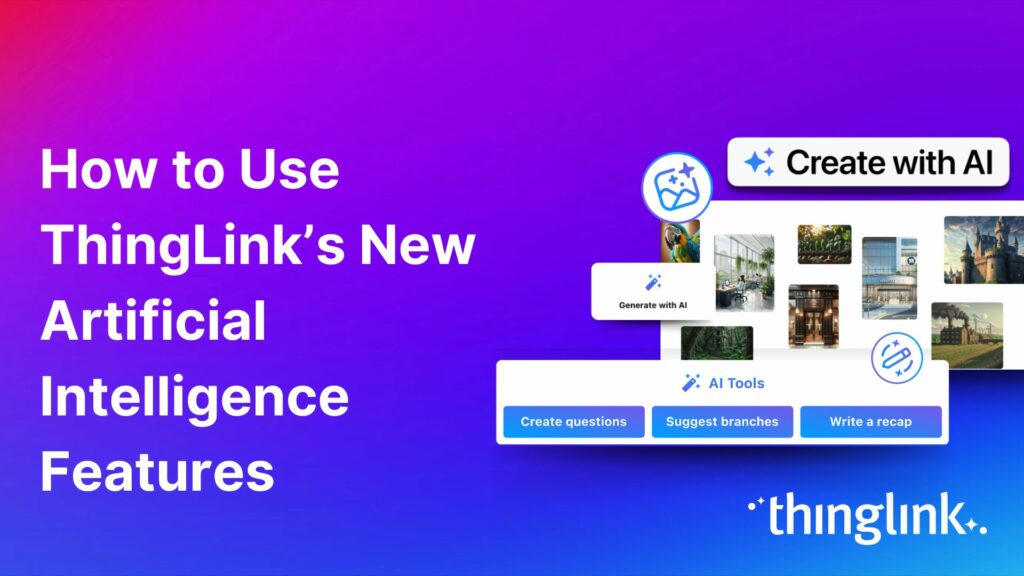
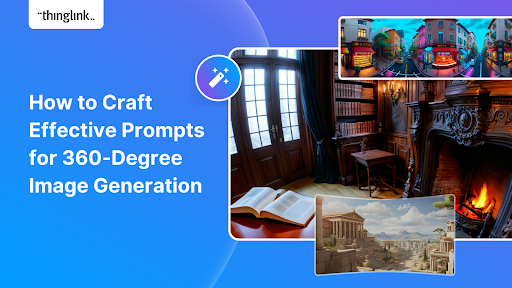
in addition, the ThingLink creation flow incorporates easy-to-use AI image generation. Simply input a text description of the 360° image you want to generate and it will be created in less than a minute. Image generation limits depend on your plan type. For students this function is at the discretion of school/college admin, who can turn this function on or off.
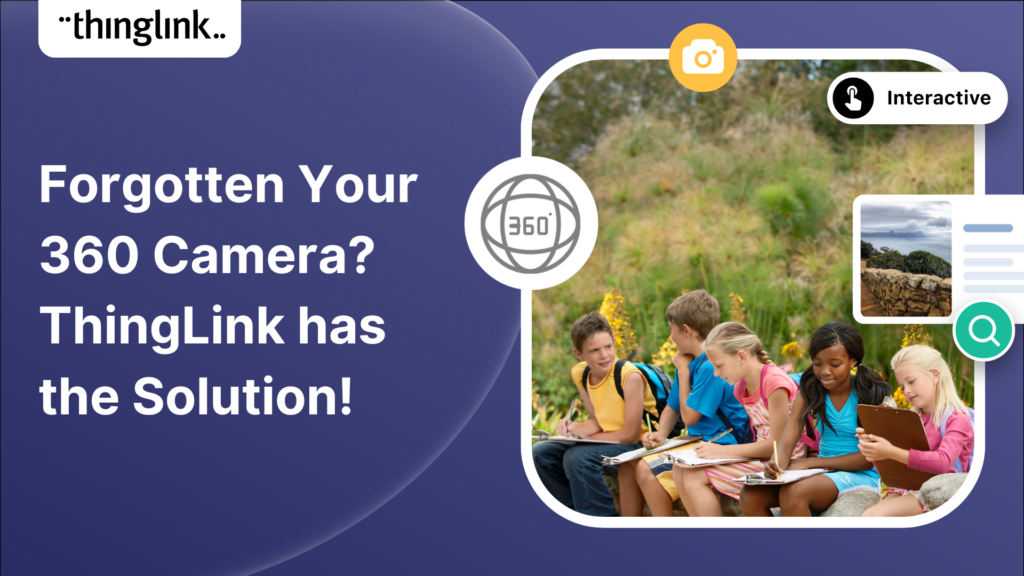
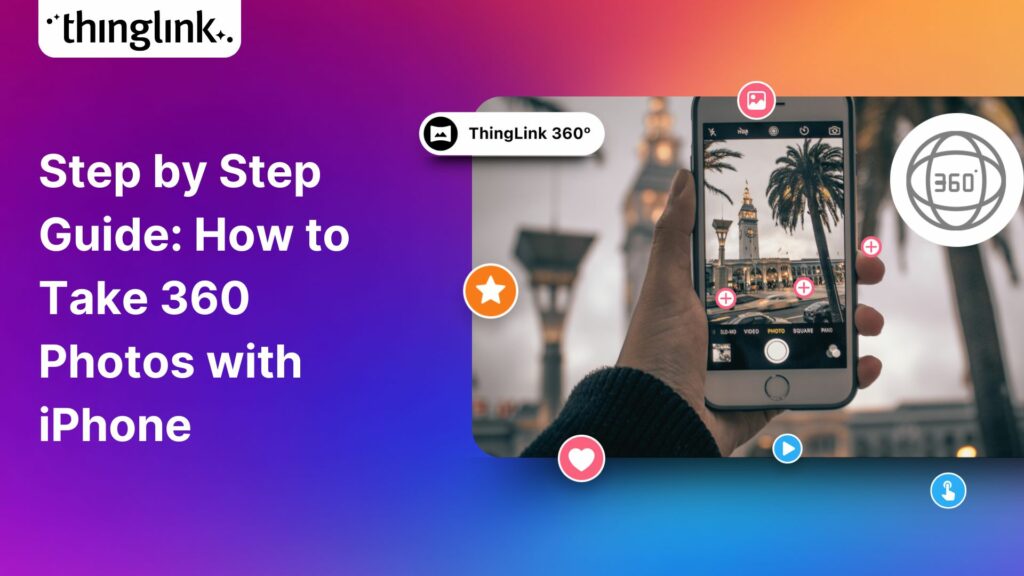
You can take your own 360° photospheres for your ThingLink scenes with 360° cameras such as Insta360, or Ricoh theta. However, there is an easier way that doesn’t require a 360 camera – read more below!
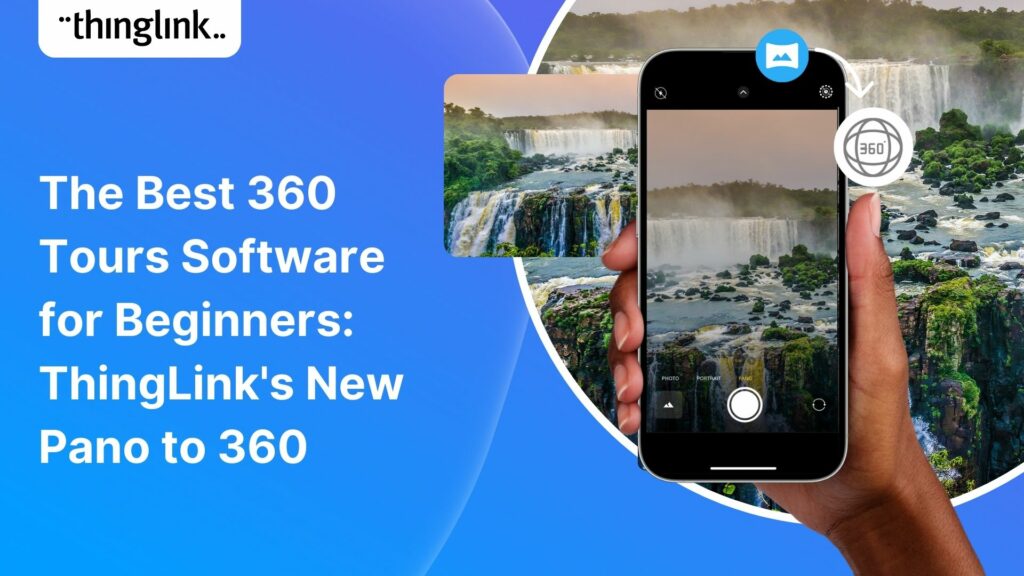
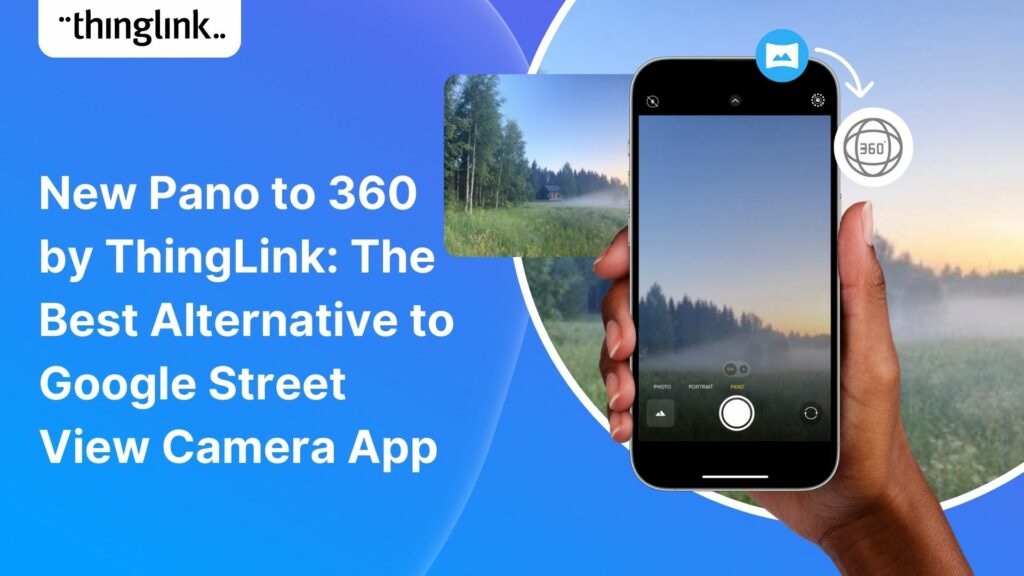
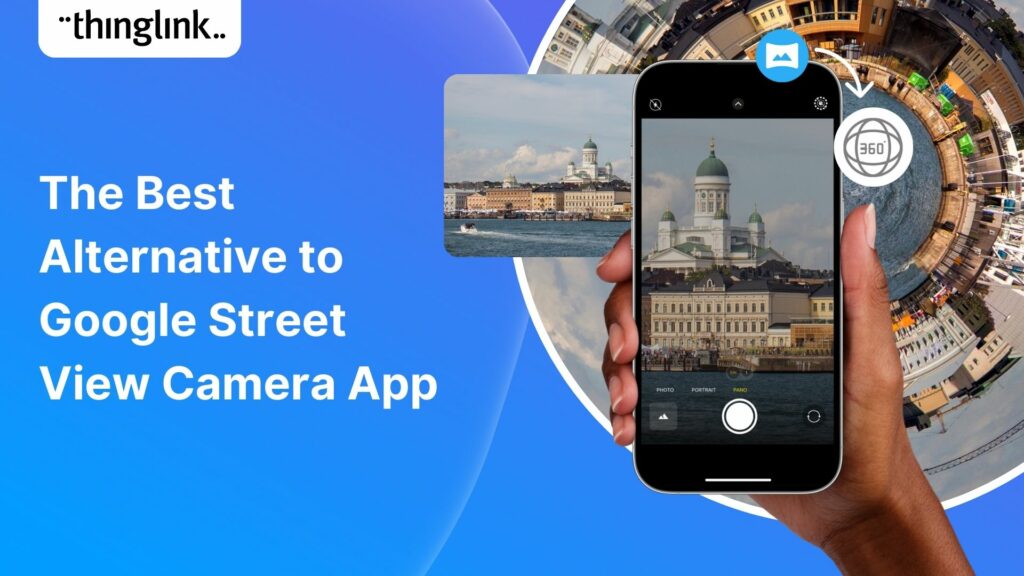
The easy way to create 360 degree images: Pano to 360 by ThingLink
Creating virtual tours, exhibitions, escape rooms and other immersive content just got even easier! Originally designed to replace the deprecated 360° image function in Google Street View, Pano to 360 by ThingLink is an easy way to create a true 360° photo from a panoramic image using any mobile device – whether iphone, android smartphone, or even a tablet. Effectively, a 360° camera without the 360° camera pricing. For more information, including a step-by-step tutorial see this helpful support article.
Try the free Pano to 360 converter
The Pano to 360 photosphere converter is free to use for anyone, no ThingLink account required! Upload a panoramic image to see it in action.
Try the free Pano to 360 converter
The Pano to 360 photosphere converter is free to use for anyone, no ThingLink account required! Upload a panoramic image to see it in action.
Checklist: Your Complete Guide to Creating a ThingLink Virtual Tour from Scratch
✅ Virtual Tour Creation Checklist: How to Make a 360° Virtual Tour with ThingLink
Before you start building your interactive virtual tour, make sure you’ve got everything you need! Follow this simple checklist to plan, capture, and publish your 360° experience successfully with ThingLink.
1. Plan Your Tour
- Define your goal — education, training, marketing, museum exhibition, onboarding, etc.
- Map out the scenes or locations you want to include.
- Sketch a simple tour flow (start point → key stops → end point).
- Gather any supporting media: images, videos, audio, documents, or 3D models.
2. Capture or Source 360° Images
- Capture 360° photos, generate with AI in the ThingLink creation flow, or create them with ThingLink’s free Pano to 360 converter.
- Ensure good lighting and stable camera positioning if capturing your own images.
- Label and organize your images by scene or location.
3. Upload and Build in ThingLink
- Upload your 360° photos, videos, or panoramic images into ThingLink.
- Add Transit Tags to connect scenes and create your virtual walkthrough.
- Add interactive hotspots with links, videos, images, 3D objects, or voice narration.
- Consider and incorporate accessibility features, like translations and captions.
4. Enhance Your Tour
- Add a map or floor plan as your tour’s starting point to help users navigate.
- Use custom icons to keep branding consistent.
- Include quizzes or checkpoints with conditional transitions for learning or security.
- Test all interactivity and transitions to ensure a smooth user experience.
5. Publish and Share
- Choose your privacy setting (Private, Unlisted, or Public).
- Share via link, embed in your website, or publish to your LMS.
- View and test your tour across devices – desktop, mobile, and VR headsets
- Track engagement and feedback to refine your next virtual tour.
Meet a product expert
If you’d like to learn more about what ThingLink can offer to your company, you can schedule an online meeting with one of our product experts below.