How to Create Immersive Online Employee Training in 5 Days Using AI
What if you could go from blank canvas to a fully immersive online employee training program in less than a working week? For most learning and development teams, that sounds like a stretch. Sourcing content, designing scenarios, building interactivity, getting sign-off, it usually takes months.
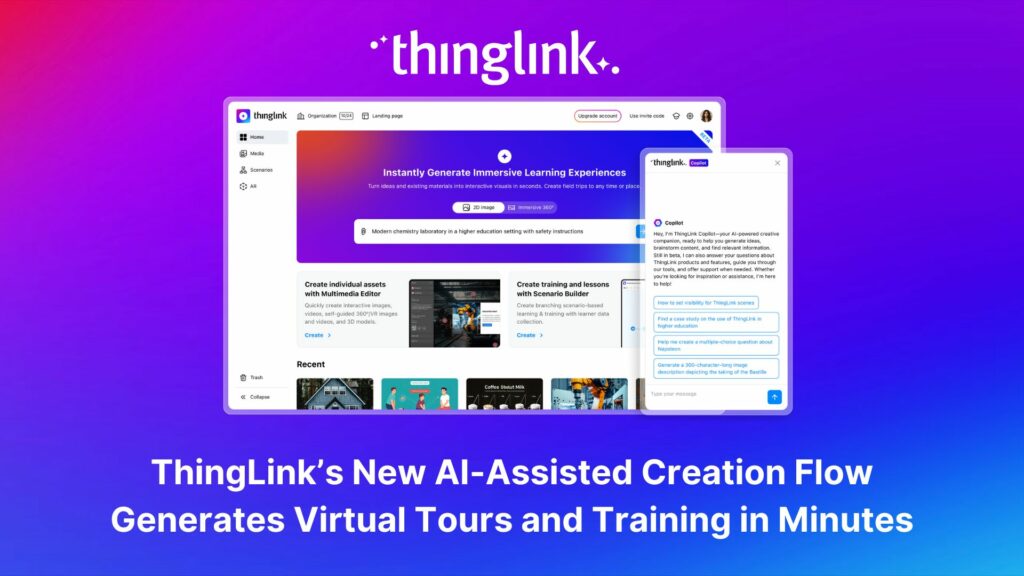
But with AI-assisted tools and a platform built for immersive learning, five days is genuinely achievable. Here is your practical, day-by-day playbook for making it happen.
Why Immersive Online Employee Training Outperforms Slides and Videos
Before we get into the schedule, it is worth asking: why bother going immersive at all?
Research consistently shows that employees retain more when they are active participants rather than passive viewers. Scenario-based learning, virtual environments, and interactive decision points put learners in the driver’s seat. When your team can explore a realistic situation, make choices, and see the consequences in a safe space, the learning sticks.
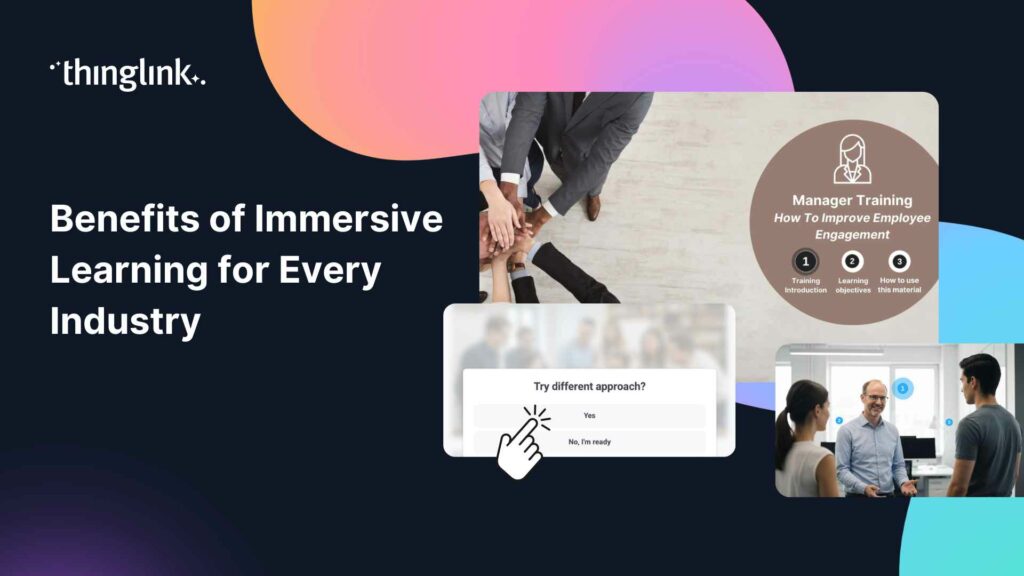
ThingLink is built on exactly this principle. Whether you are creating 360-degree virtual environments, branching scenario simulations, or interactive image-based guides, the platform lets you design experiences that feel real, without requiring a film crew or a developer. Read more about the evidence behind this approach in our post on the latest research into VR methods of employee training.
The 5-Day Framework at a Glance
Here is the structure we recommend for L&D teams working at pace:
- Day 1: Define your learning objectives and choose your format
- Day 2: Use AI to generate scripts, scenarios, and content
- Day 3: Build your interactive scenes in ThingLink
- Day 4: Add branching, feedback, and assessment layers
- Day 5: Test, refine, and publish
Let’s walk through each day in detail.
Day 1: Lock Down Your Learning Objectives
Start With the Outcome, Not the Content
The single biggest mistake training managers make is starting with what they want to say rather than what they want learners to do differently. Before you open any tool, answer these questions:
- What behaviour or skill will learners demonstrate after completing this training?
- What real-world scenario best tests that skill?
- Who is the audience, and what do they already know?
With clear objectives in place, every subsequent decision becomes faster and easier. You are not creating content for its own sake, you are designing a path to a specific outcome.
Choose Your Format
ThingLink supports several formats for online employee training. The right choice depends on your content and your learners:
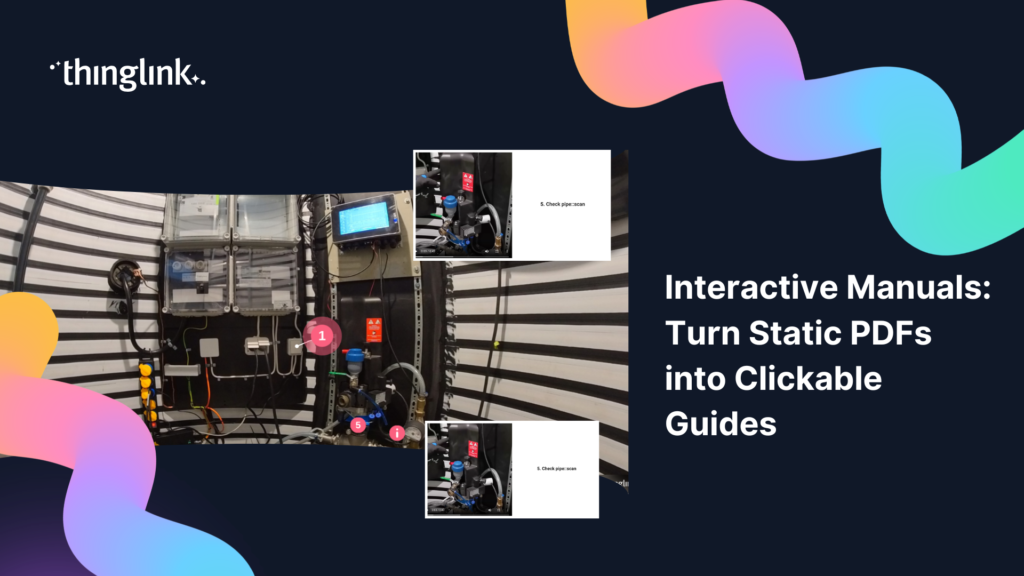
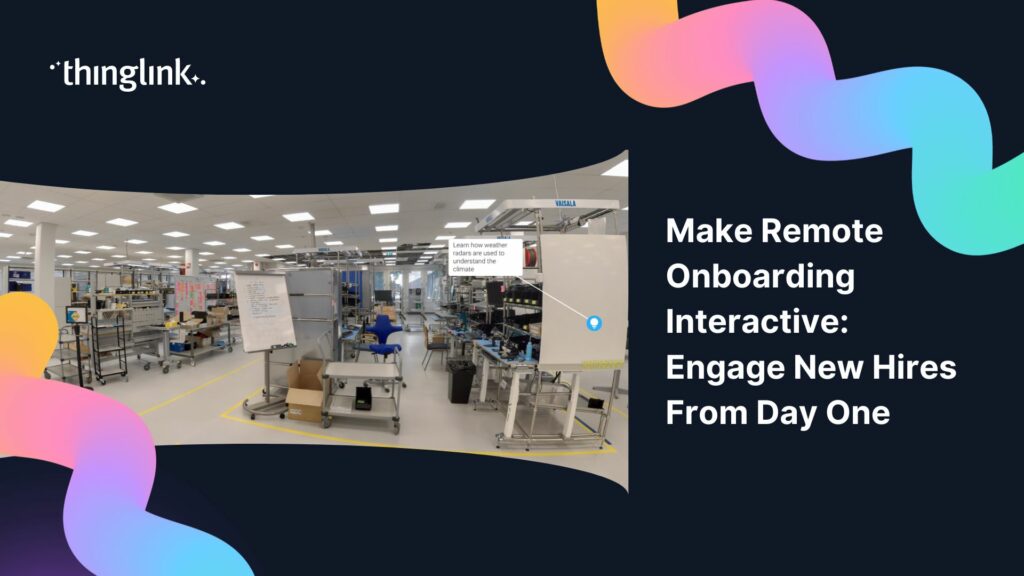
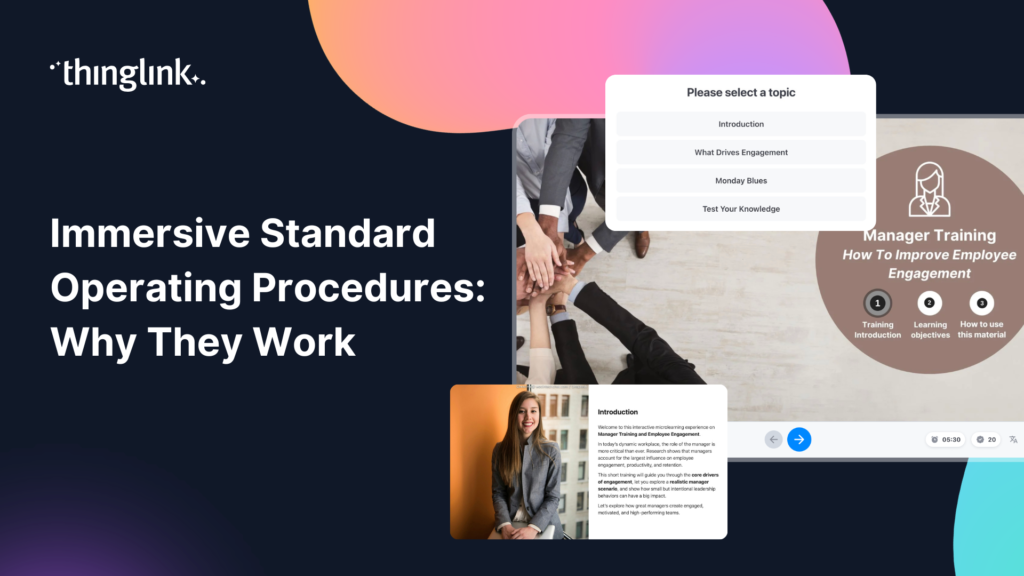
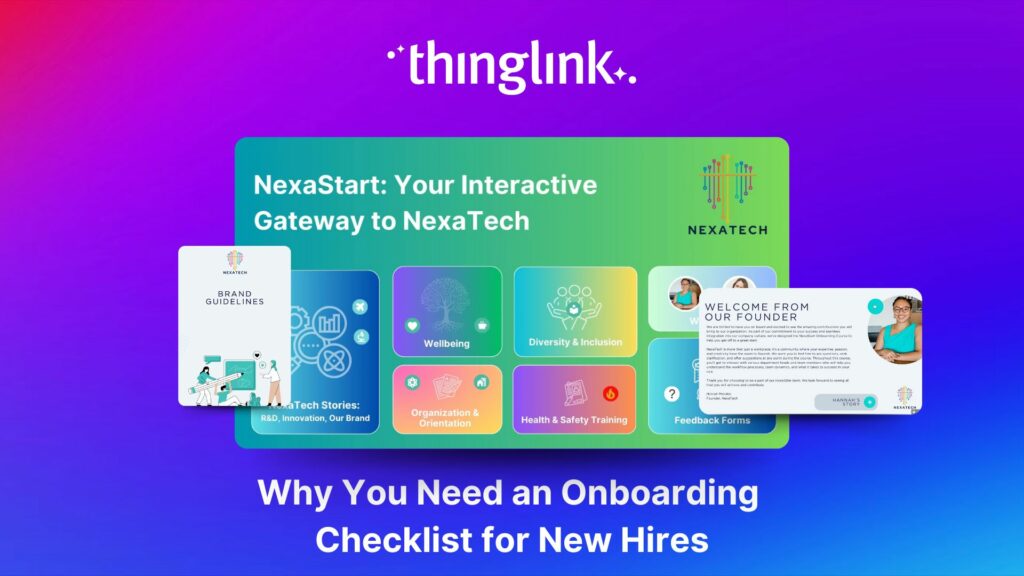
- Interactive images or documents, great for onboarding guides, policy walkthroughs, and product knowledge
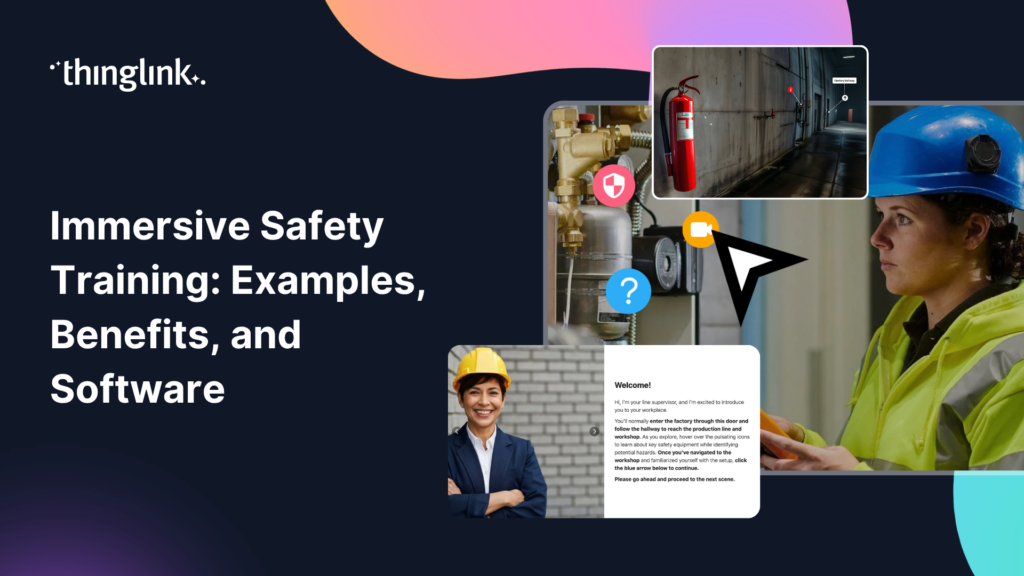
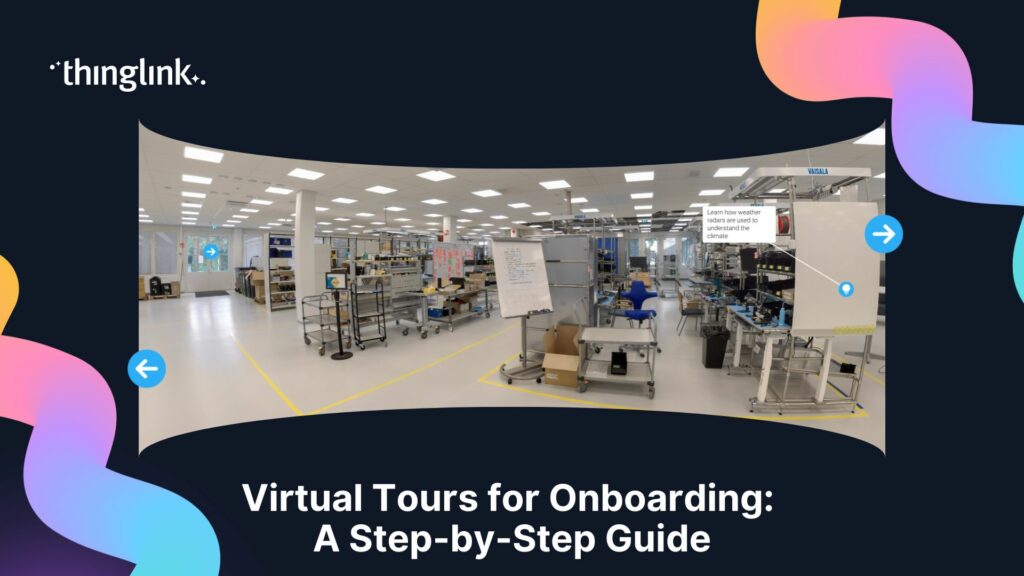
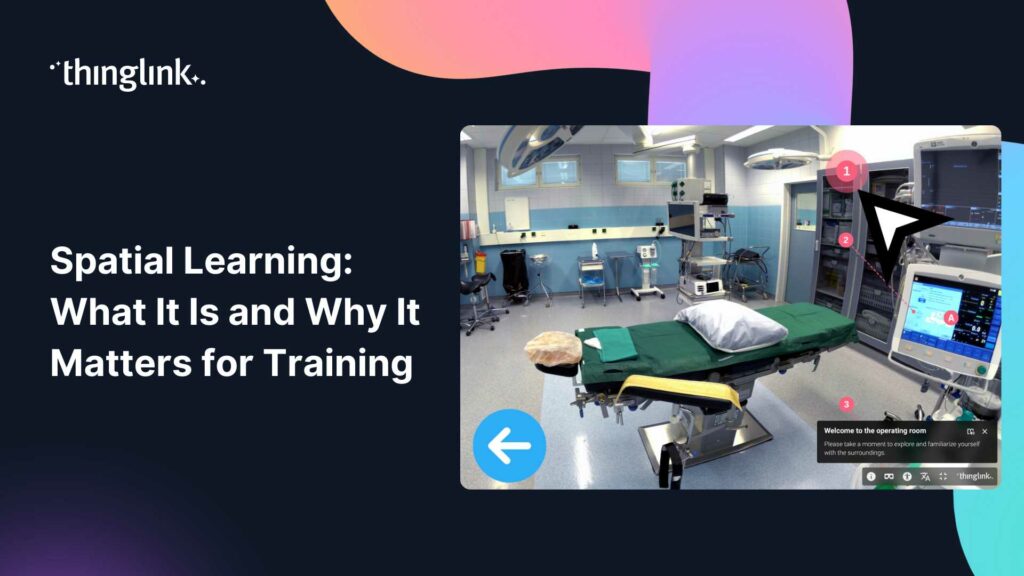
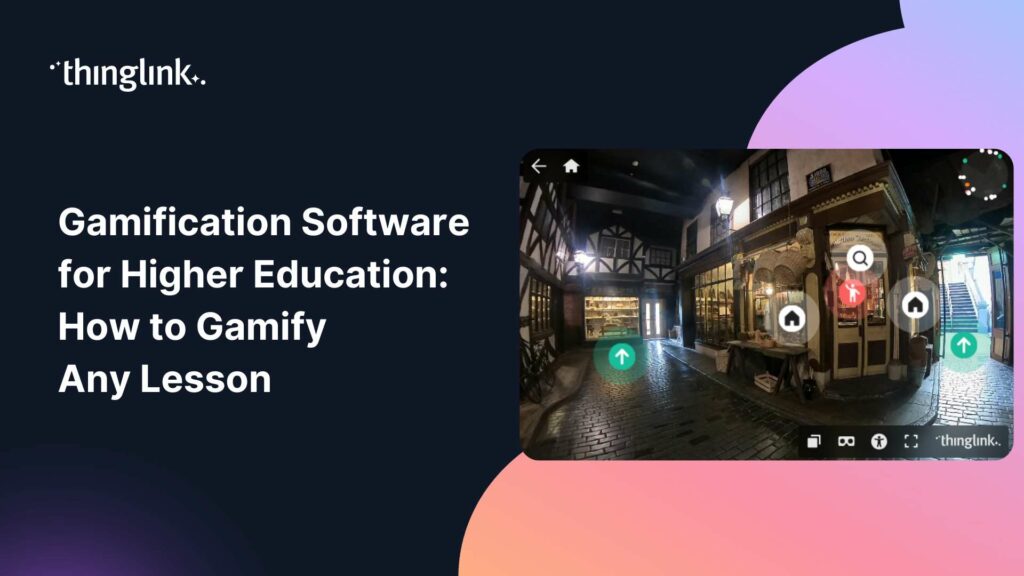
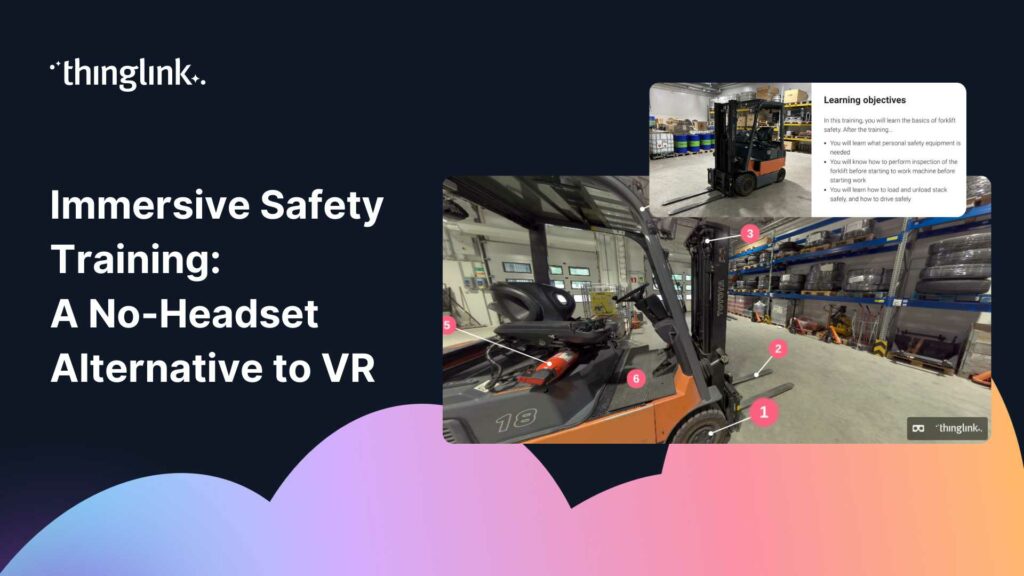
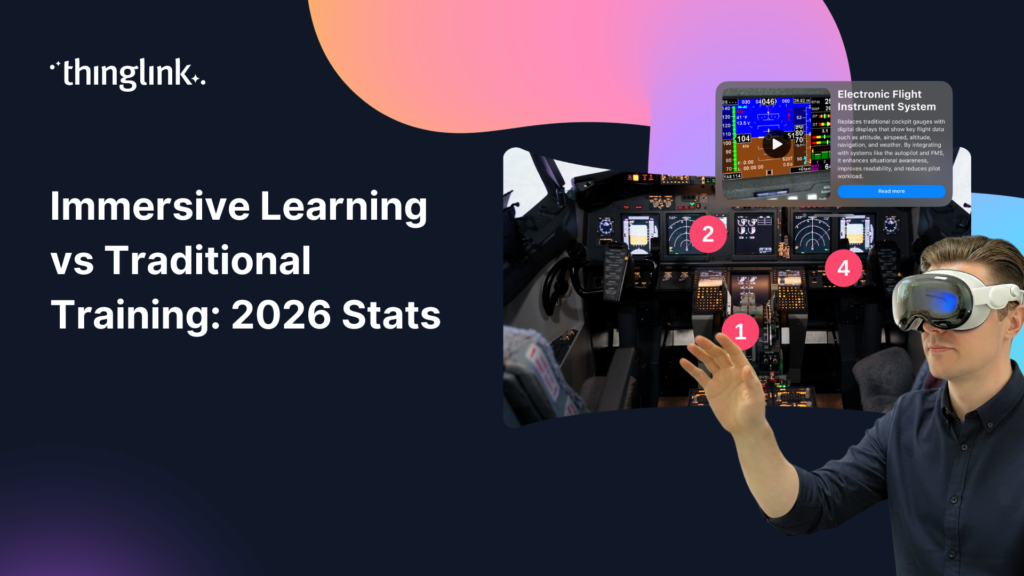
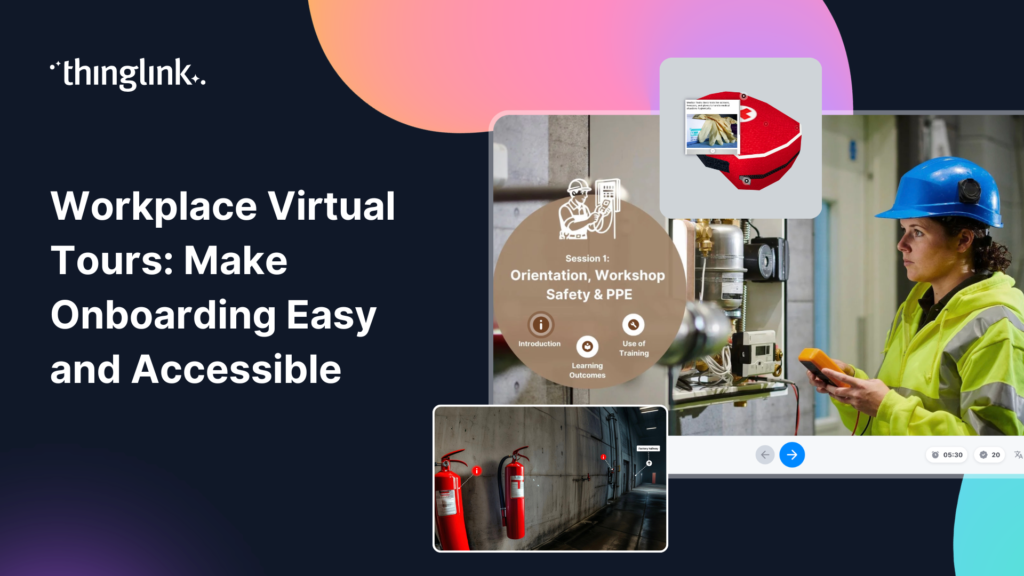
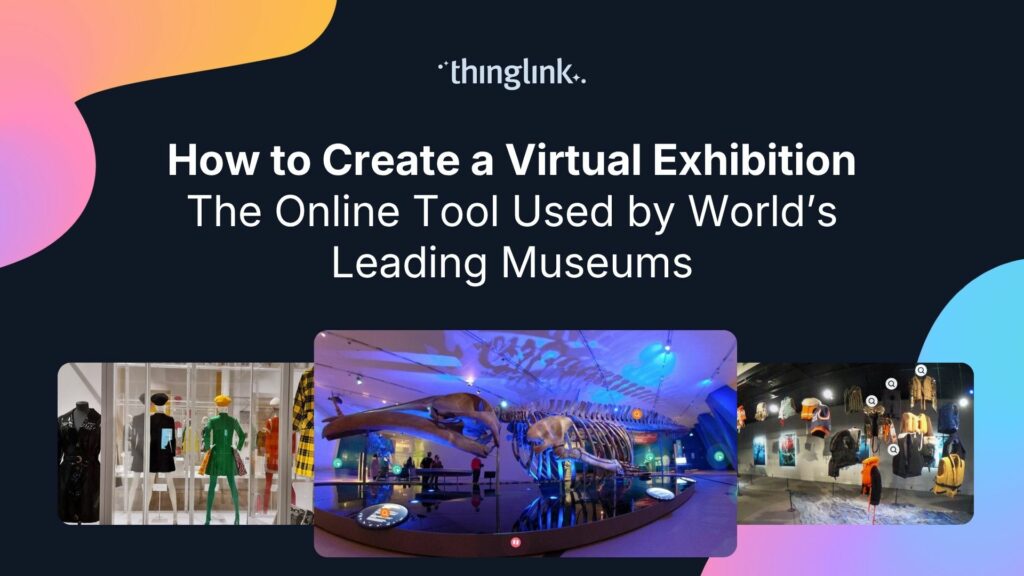
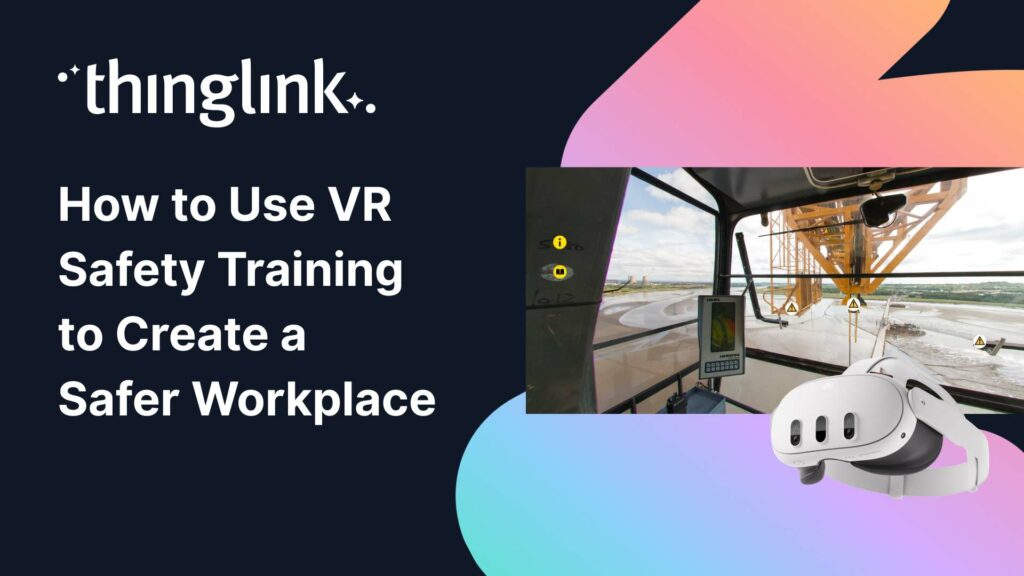
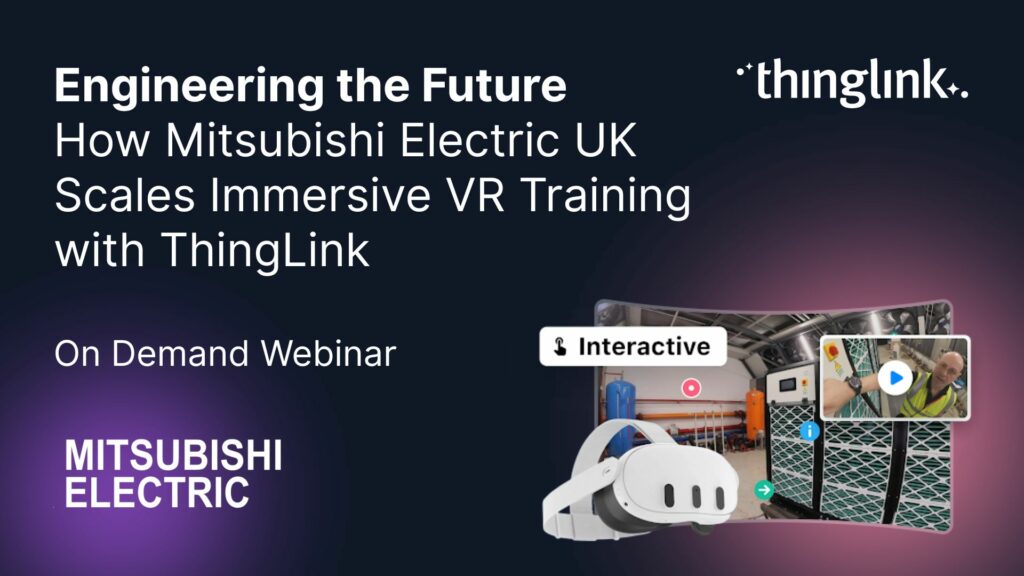
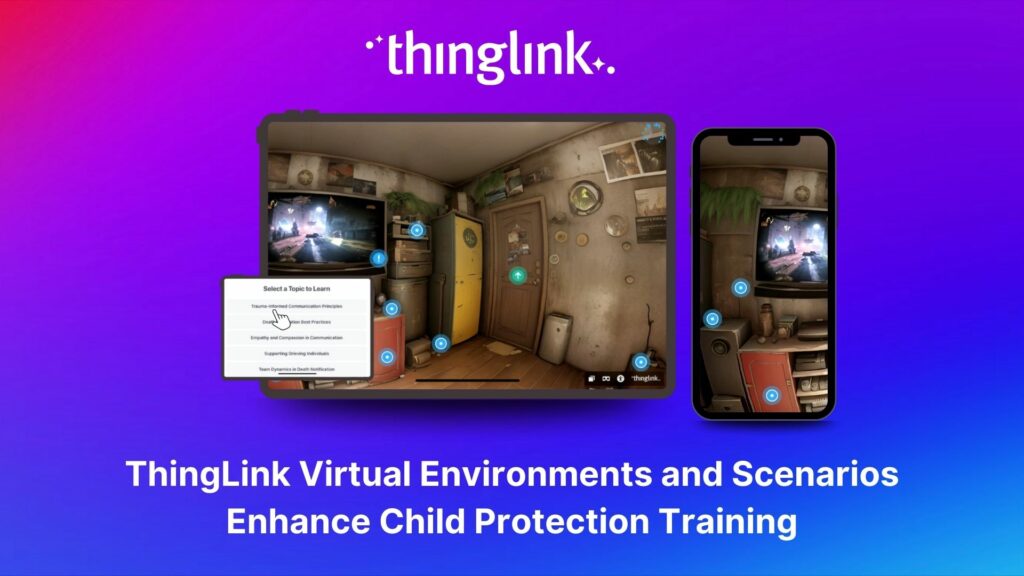
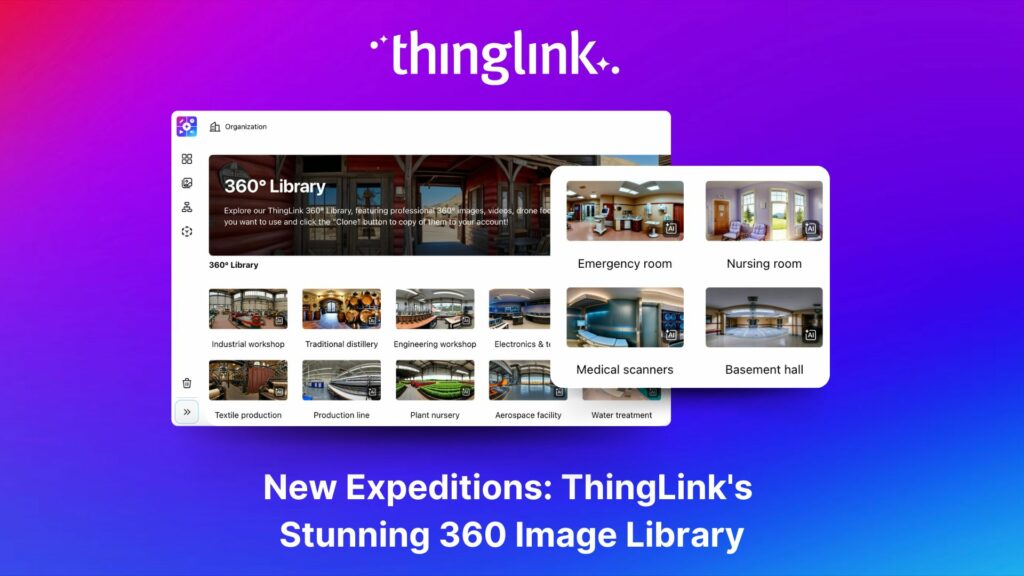
- 360-degree virtual environments, ideal for workplace safety, site induction, or any training that benefits from spatial context (see how this works in realistic virtual learning environments)
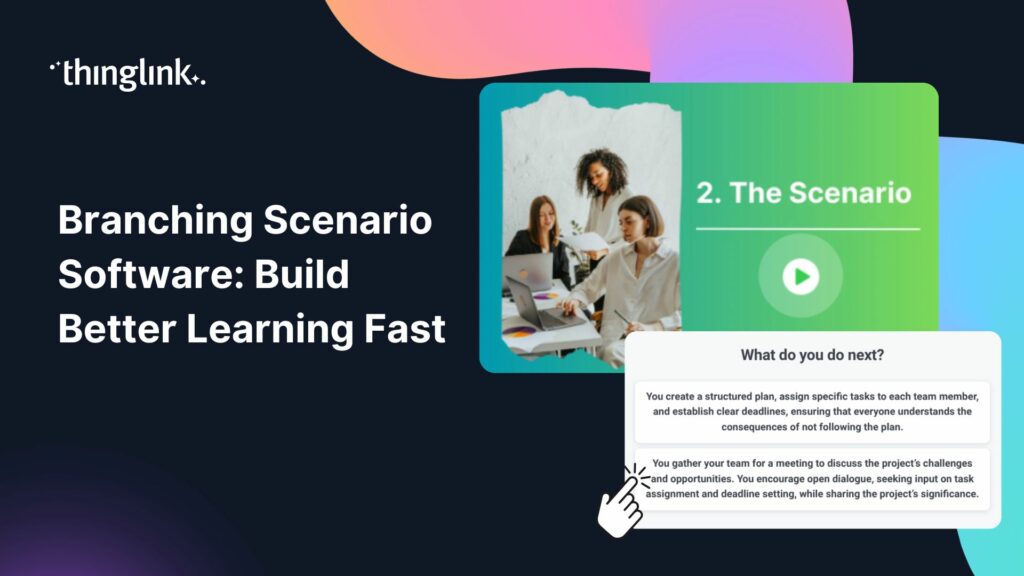
- Branching scenario simulations, perfect for soft skills, compliance, and customer service training
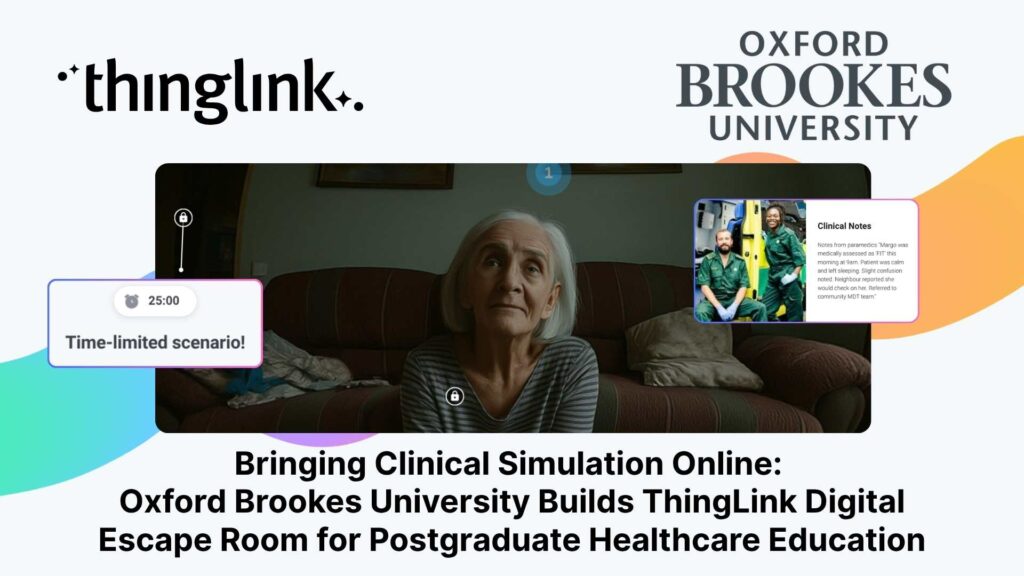
- Virtual escape rooms, a high-engagement option for team-based or gamified learning (explore the approach in our guide to virtual escape rooms for employee training)
Day 2: Let AI Do the Heavy Lifting
Generate Your Script and Scenario Structure With AI
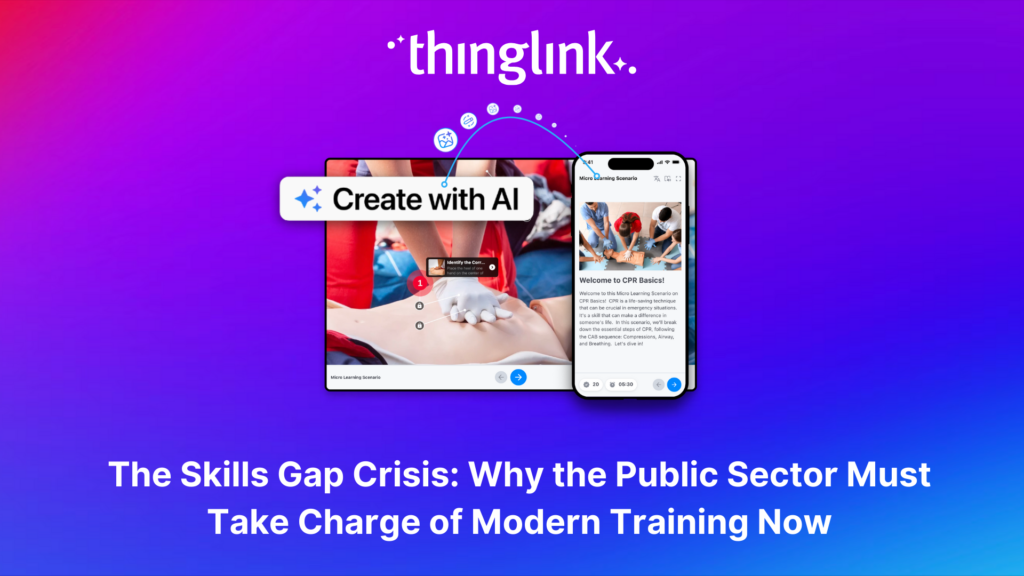
This is where the five-day timeline becomes realistic. Instead of writing every scenario from scratch, use AI tools to generate a first draft based on your learning objectives.
A good prompt might look like: “Write a five-scene branching scenario for a customer service training course. The learner plays a retail team member handling a complaint. Each scene should offer three response choices with different outcomes.”
Within minutes, you have a working skeleton. Your job is to review, refine, and make it specific to your organisation. This approach can cut content development time by more than half.
Source or Create Your Visuals
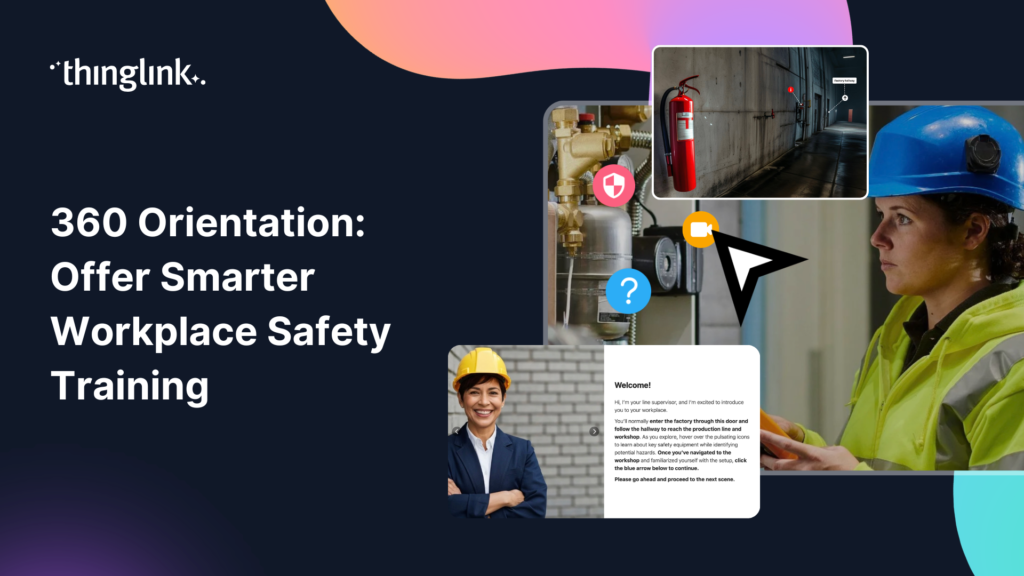
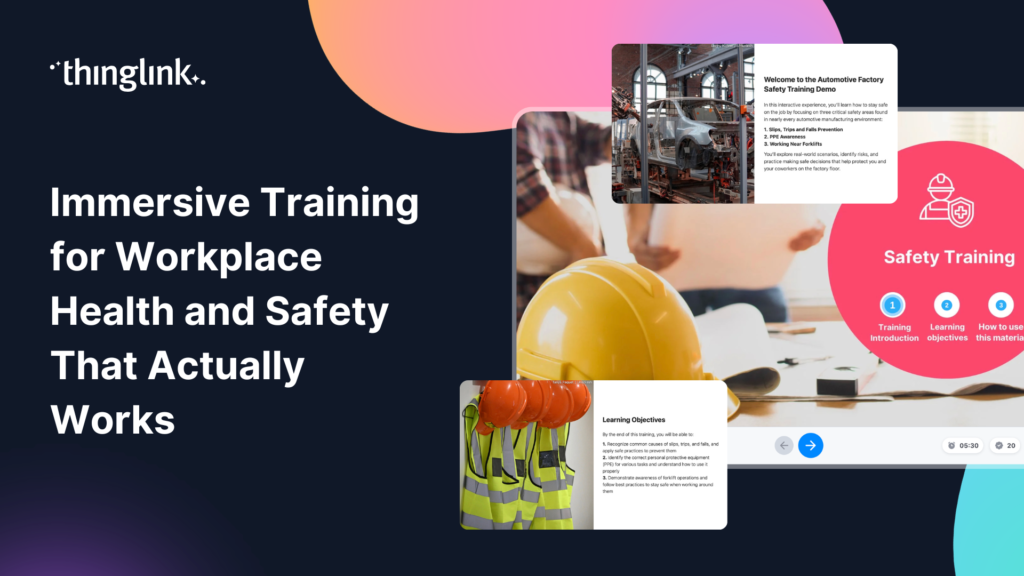
On Day 2, also gather the visual assets you will need. These might be 360-degree photographs of your actual workplace, stock images, or AI-generated visuals. If you are creating health and safety training, real images of your facilities add authenticity and relevance. Our post on immersive training for workplace health and safety covers this in more detail.
Day 3: Build Your Interactive Scenes in ThingLink
Upload, Arrange, and Annotate
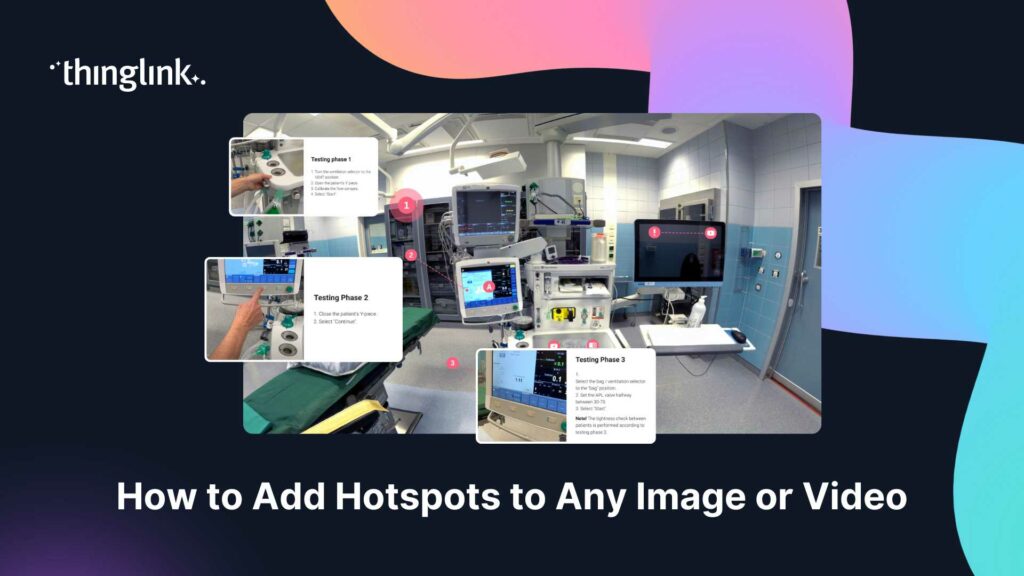
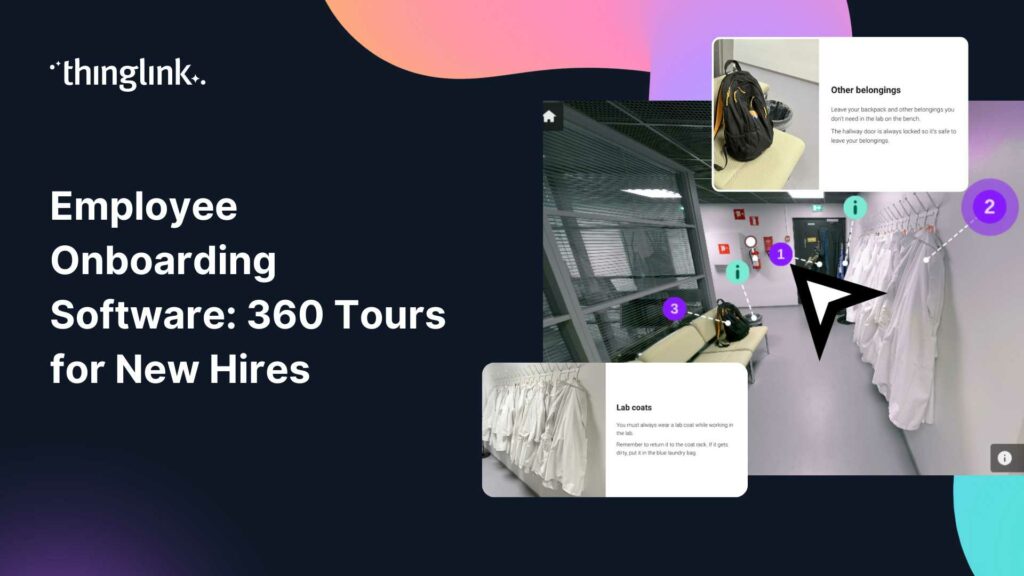
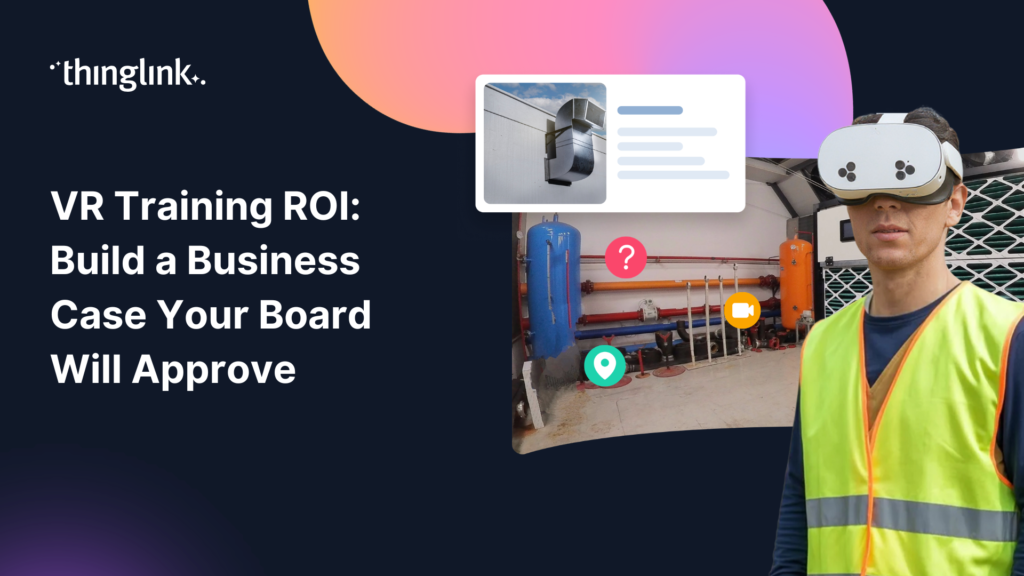
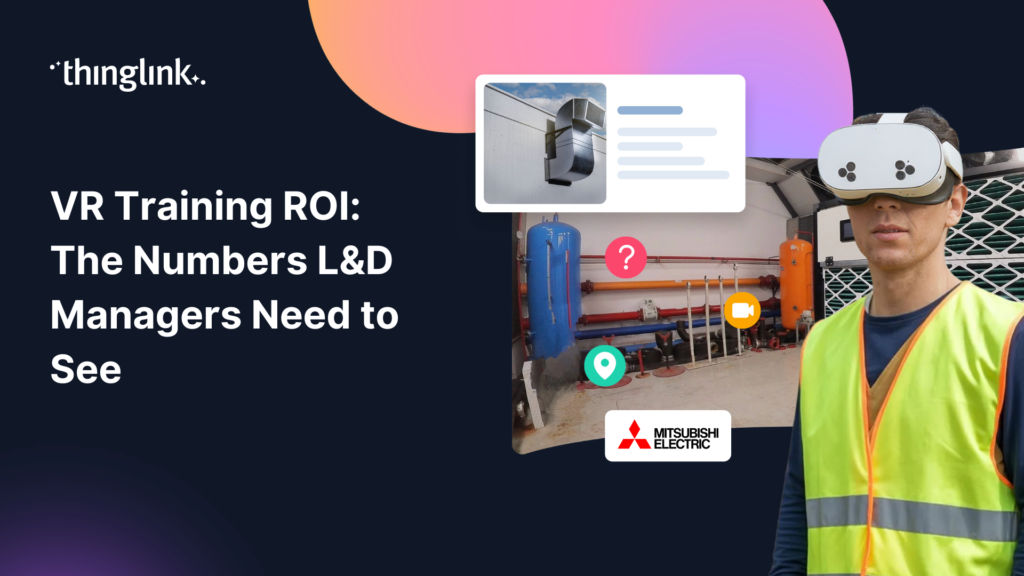
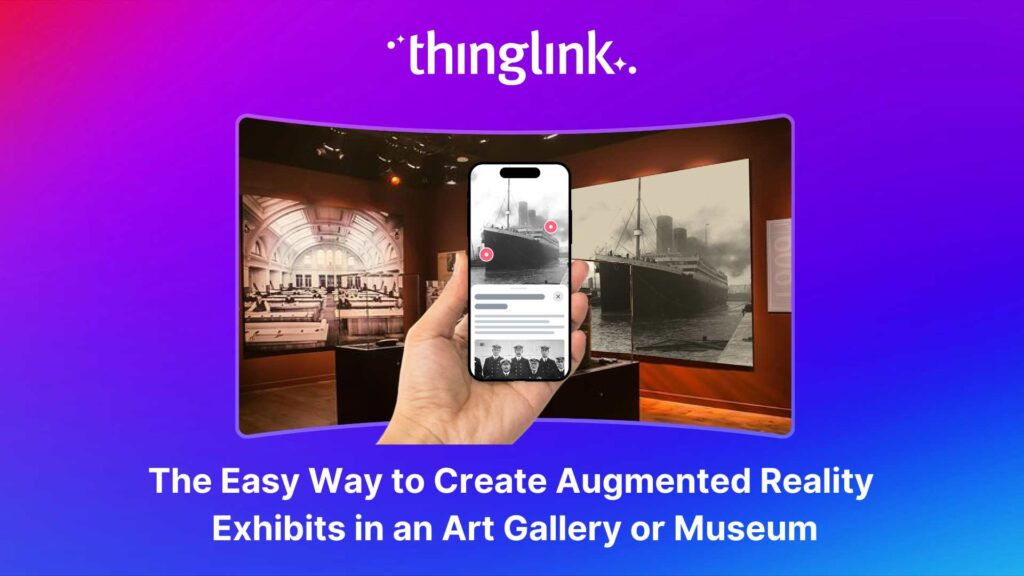
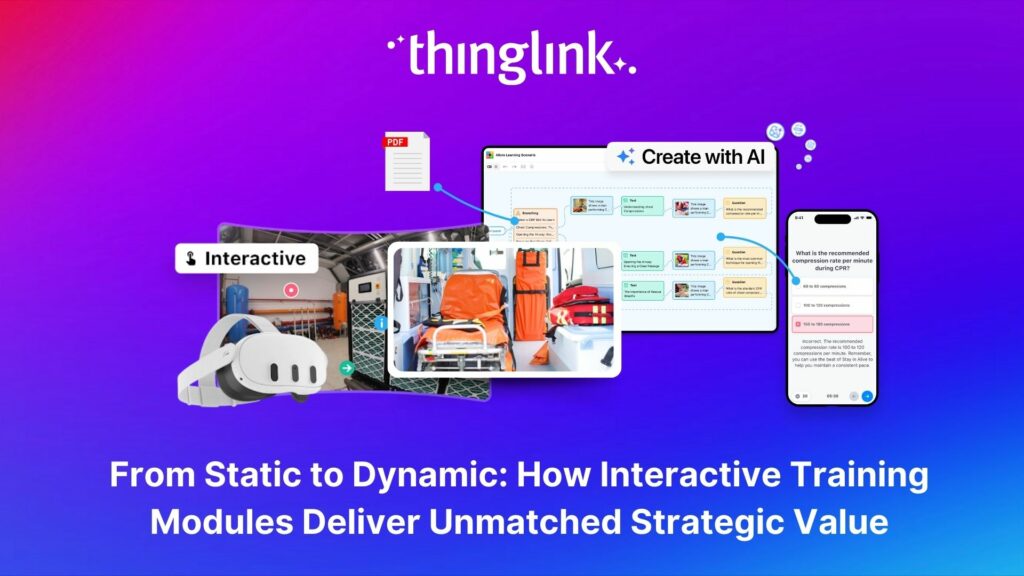
With your content ready, Day 3 is pure building. Upload your images or 360-degree media into ThingLink and begin placing interactive tags. Each tag can contain text, video, audio, quizzes, links, or embedded media. Think of tags as the moments where your learner pauses, reflects, or makes a choice.
For each scene, use the Scene info panel to add context. This feature lets you display a title and description that appear automatically when a viewer loads the experience, useful for setting the scene, sharing instructions, or providing accessibility information. You can learn more about how the Scene info panel works in the ThingLink support centre.
Keep Navigation Intuitive
Your learners should never feel lost. Use clear visual cues for clickable elements and keep the number of choices per screen manageable. Three to five interaction points per scene is a good rule of thumb for maintaining focus without overwhelming the learner.
Day 4: Add Branching, Feedback, and Assessment
Create Meaningful Consequences
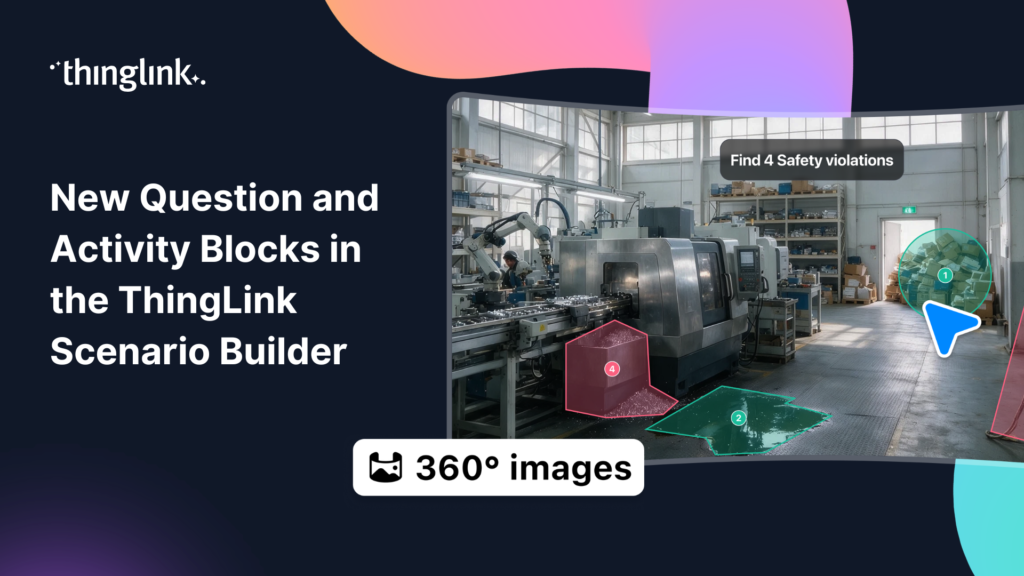
Branching scenarios only work when the choices matter. On Day 4, build out the consequence paths you drafted on Day 2. A correct decision should move the learner forward confidently. An incorrect one should redirect them to a learning moment, not just a dead end.
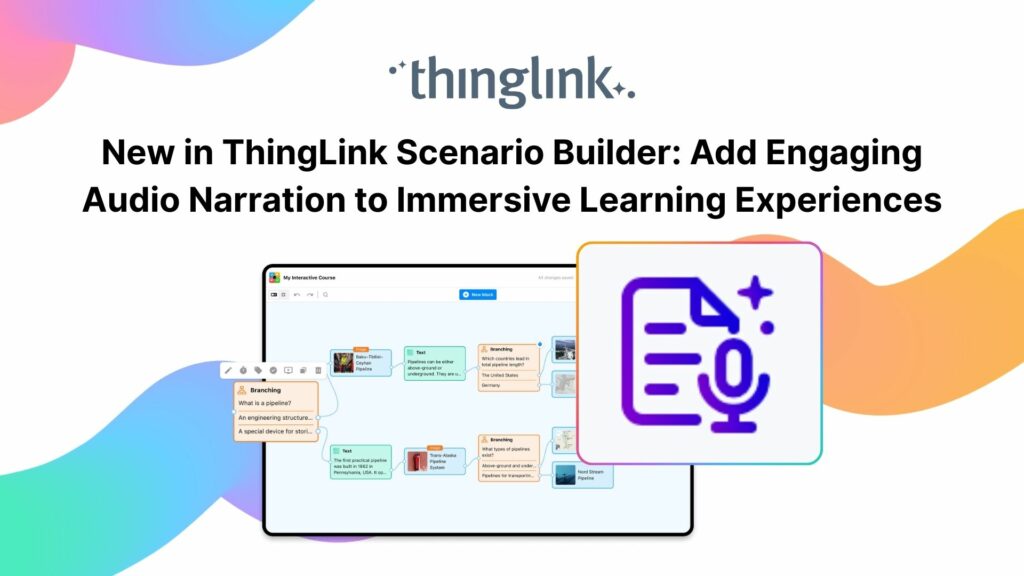
ThingLink allows you to link scenes together, creating a seamless branching experience within a single environment. This is what makes the platform so powerful for scenario-based online employee training, you are not just presenting information, you are putting learners through a structured experience.
Embed Assessment Naturally
Rather than a bolt-on quiz at the end, weave assessment throughout the experience. Use interactive tags to ask reflective questions at key moments. This reinforces learning in context and gives you data on where learners are struggling.
Day 5: Test, Refine, and Publish
Quality-Check From the Learner’s Perspective
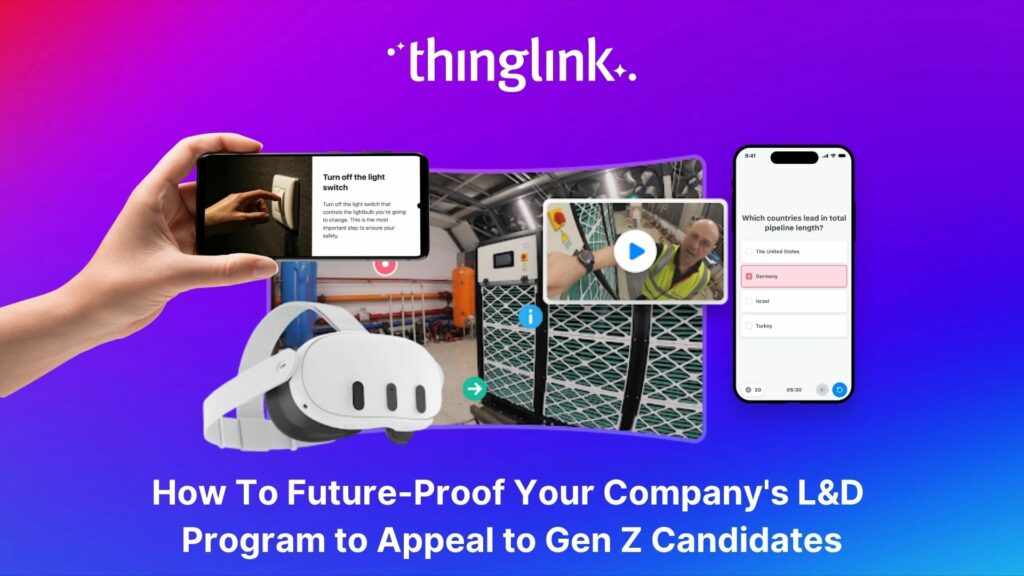
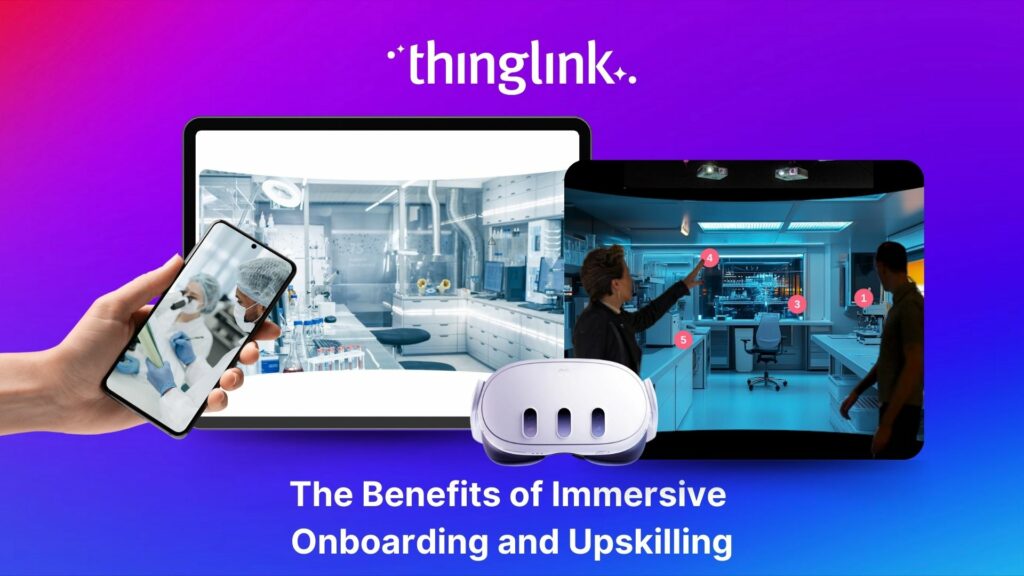
On Day 5, put yourself in your learner’s shoes. Walk through every path. Check that all tags open correctly, that branching leads where it should, and that the experience works on the devices your team uses. ThingLink experiences are accessible on desktop, tablet, mobile, and via VR headsets such as Meta Quest, so test across formats if your rollout requires it. Learn more about ThingLink XR on Meta Quest for immersive hardware deployments.
Share and Track
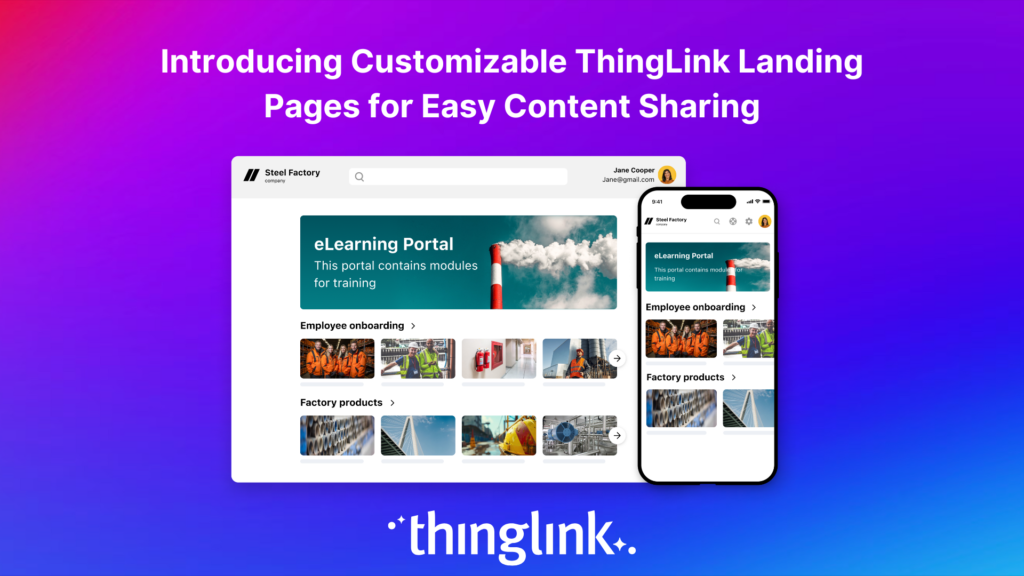
Publish your training directly from ThingLink and share via link, embed code, or your existing LMS. You can monitor engagement through ThingLink’s built-in analytics to see which scenes are being completed and where learners are dropping off.
In action! Explore this example below.
What You Can Build in a Week
In five focused days, a small L&D team can realistically produce a complete interactive training module covering onboarding, compliance, customer service, health and safety, or soft skills development. The combination of AI content generation and ThingLink’s intuitive builder removes the two biggest bottlenecks: writing time and technical complexity.
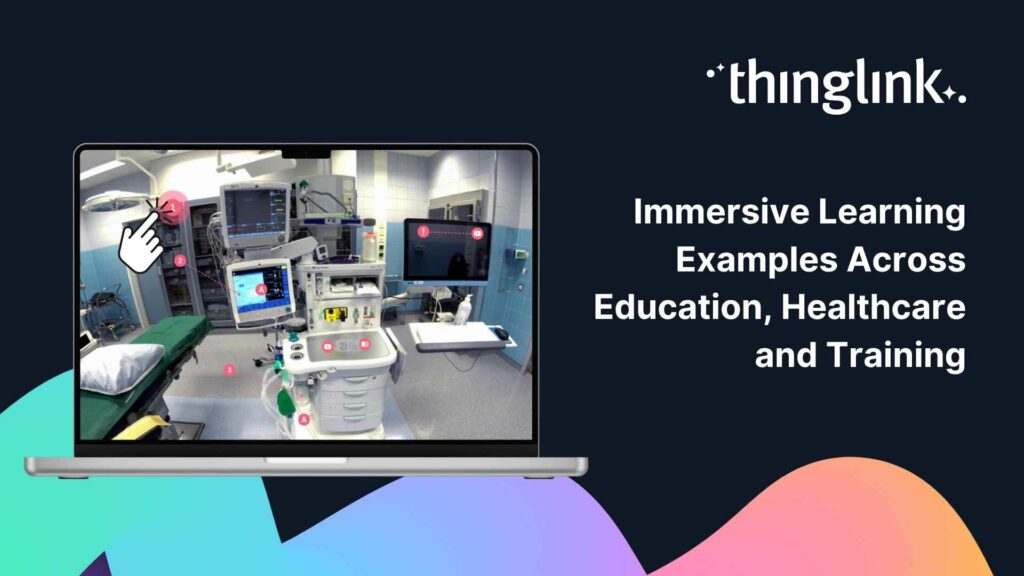
If you want to see what this looks like in practice across different sectors, explore how healthcare teams are using immersive learning in our post on immersive learning for medical schools and healthcare teams.
Ready to Build Your First Immersive Training Module?
You don’t need a big budget or a specialist team to create online employee training that genuinely engages. You need clear objectives, the right tools, and a plan. ThingLink gives you the platform, this post gives you the plan.
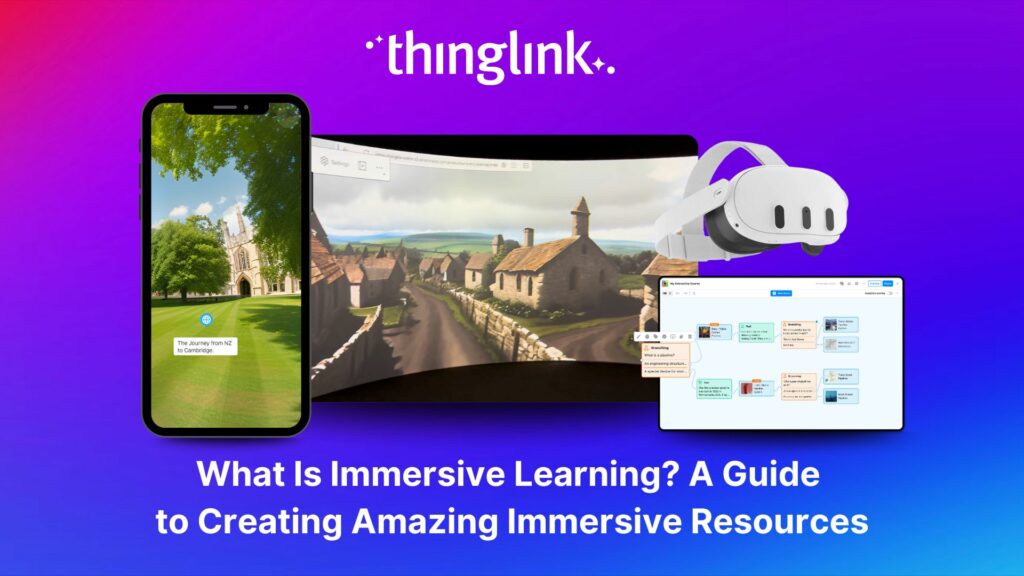
Explore more ideas for engaging your team with our roundup of the best virtual team building activities and employee training games, or dive deeper into the world of immersive learning with our complete guide to immersive learning.
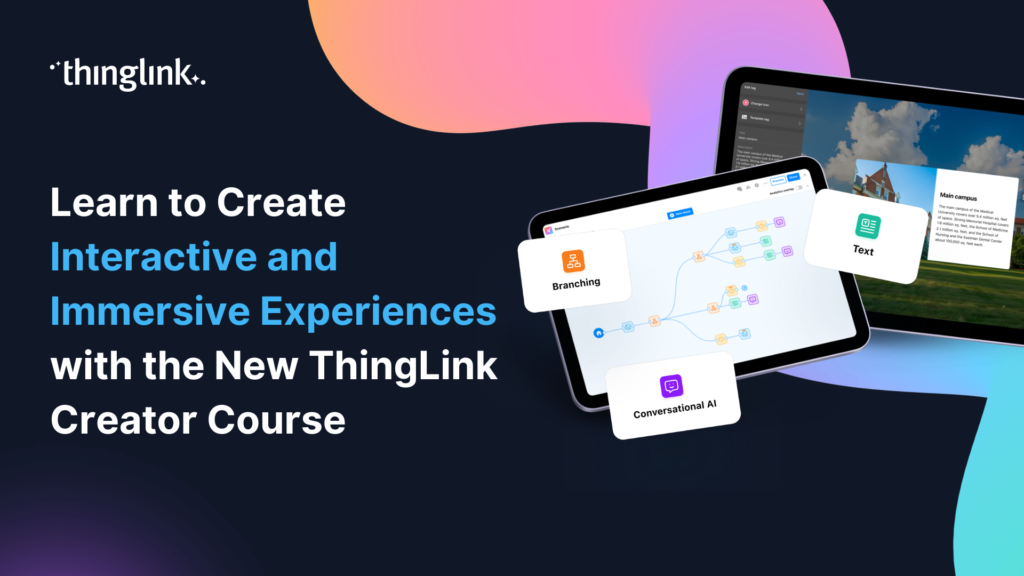
Want hands-on guidance? The ThingLink Creator Course walks you through building interactive and immersive experiences step by step. And if customer service training is a priority for your team, watch our on-demand, dedicated immersive customer service skills training webinar.
Your five-day build starts now.