How to Make a Google Forms Virtual Escape Room
Virtual escape rooms are a great way to engage K-12 students in learning, and offer a unique and interactive learning experience. Just like physical escape rooms, they’re both fun and challenging at the same time! They can be completed individually or in small groups, and you can set them for completing in class, or to be completed at home. In this blog, we’ll walk you through a step-by-step guide to creating your own virtual escape room using Google Forms. And if you want to make your escape room even more immersive, we’ll also show you how to make an escape room using ThingLink, and share some great examples!
What is a virtual escape room? And how does it work?
If you’re completely new to the concept, virtual escape rooms (which can also be referred to as digital breakout rooms, digital escape rooms or online escape rooms) are digital games where players have to answer questions to “escape” from a virtual room or environment. The digital locks are questions, and the keys that open them are the answers! These could be puzzles, riddles, clues – or in an educational setting could just be straightforward questions that test knowledge recall or application. To add more of a challenge, some educators add a time limit. And for more of a sense of competition, there could be a prize for fastest finisher – or escapee!
Create your first virtual escape room today!
Virtual escape rooms are simple to create with ThingLink. Start a free ThingLink trial today and see just how easy it is to use!
Google Forms Escape Room Tutorial
Step 1: Choose a theme
The first step in creating a virtual escape room is to choose a theme that aligns with your subject and learning objectives. The theme really could be anything: a historical event, a scientific discovery, a work of literature, an artistic movement. The choice is yours! Make sure the theme has the scope to contain enough engaging content for your students. Once you have chosen your theme, create a narrative or backstory that will set the stage for the virtual escape room.
Tip: You may find it easiest to plan out the questions, answers and other sections of the escape room first in a Google doc, or if you prefer to work from a spreadsheet, add questions and corresponding answers to a Google sheet, just to keep you on the right track.
Step 2: Create a new form and customise it to suit
From your Google Drive, select + New, select Google Form, then select the “Blank Quiz” option. Name your form, and start customising it to match your theme. In the top right corner, select the paint palette icon to change the text styles, colours, and an image header. Choose the header from the selection, or upload your own.
You will now create your first “section”. This will appear as the first page that the students will see. Tip: this doesn’t have to be a question. In fact, it’s often best to “set the scene” with an image, video or text explanation or introduction as your first section.
From the drop down menu underneath the section, select “Continue to next section”. Now it’s time to create a new section and start adding your first question.
Step 3: Add the questions and answers
The icons in the little menu to the right contain all the options. These are (top to bottom):
- Add a Question
- Import Questions: here you can import questions from previously created Google Forms or templates.
- Add a title and description
- Add an image
- Add a video
- Add a new section
Add your first question in the new section. For each question, you need to select an answer type from the menu in the top right corner. It’s usually best to choose the “multiple-choice” and “short answer” question types to create the puzzles – simply because this gives less room for error.
Very important step! For each question, you must select ‘required’ in the bottom right corner by using the toggle feature. This adds the escape room element to the form; only by entering the correct answer can the student move to the next section.
You can also add “response validation” here. Click the three dots to the bottom right of the question dialogue box. This allows you to widen the scope of possible answers. For example, if the correct response is any number between 1 and 5, tick response validation, choose “number” from the dropdown menu that appears, and set limits to “between” 1 and 5. There are 10 different number-based parameters you can choose from, or you can choose similar settings for text, length of answer or “regular expression”.
Step 4: Repeat to the finish
You then repeat these steps, adding questions and/or other elements to each section, until you have the complete form as you have planned it out. It can contain as many sections as you like.
For your final question, the section that students will move on to once the correct answer has been submitted can be a Success/Congratulations/You have escaped! message, delivered in the form of an image, video, or simply text.
Tip: For a full how-to guide with all the different options available for formatting questions, go to Google’s Support pages here.
Looking to make a more immersive virtual escape room?
Whilst the escape rooms that you can create with Google Forms are very straightforward to create, it’s possible to make an even more engaging and immersive version of a virtual escape room in a few easy steps with ThingLink!
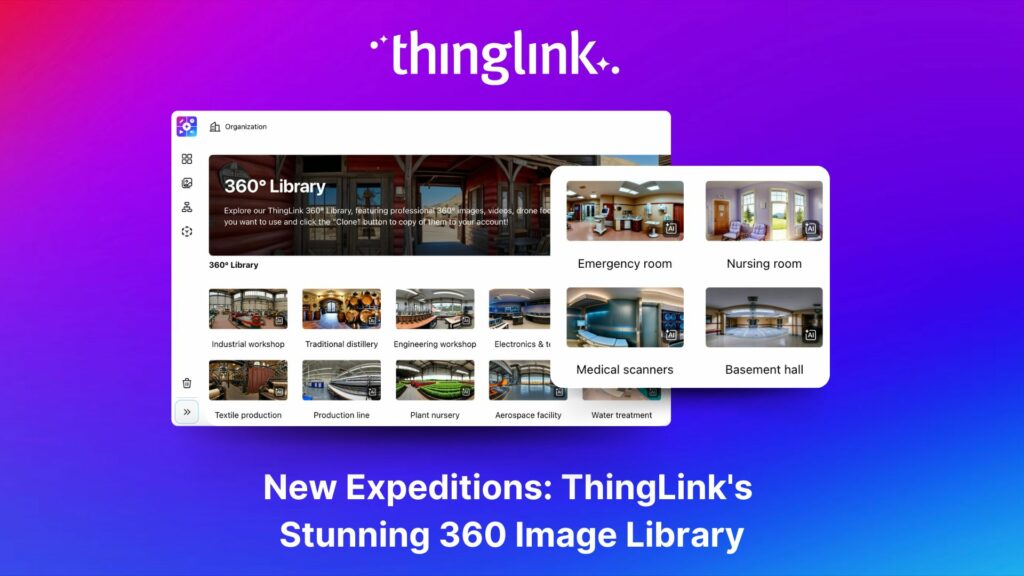
You can use a 360 image from ThingLink’s free image library to create a room or space for your students to explore. They will be finding and solving clues around the image that will help them answer the question that allows them to escape. Simply add more 360 images for additional rooms or spaces for them to move through as a “tour” via a series of clues!
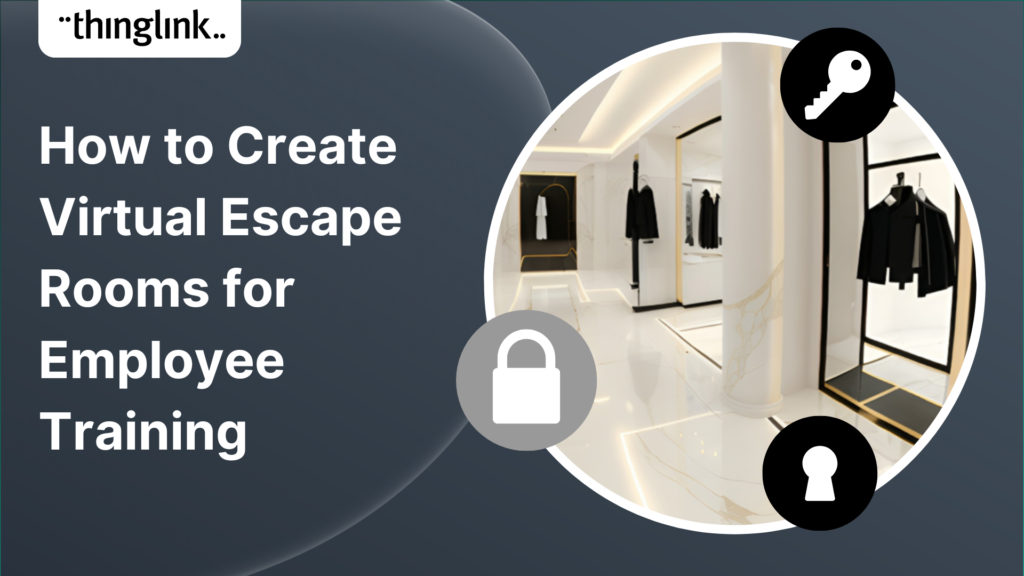
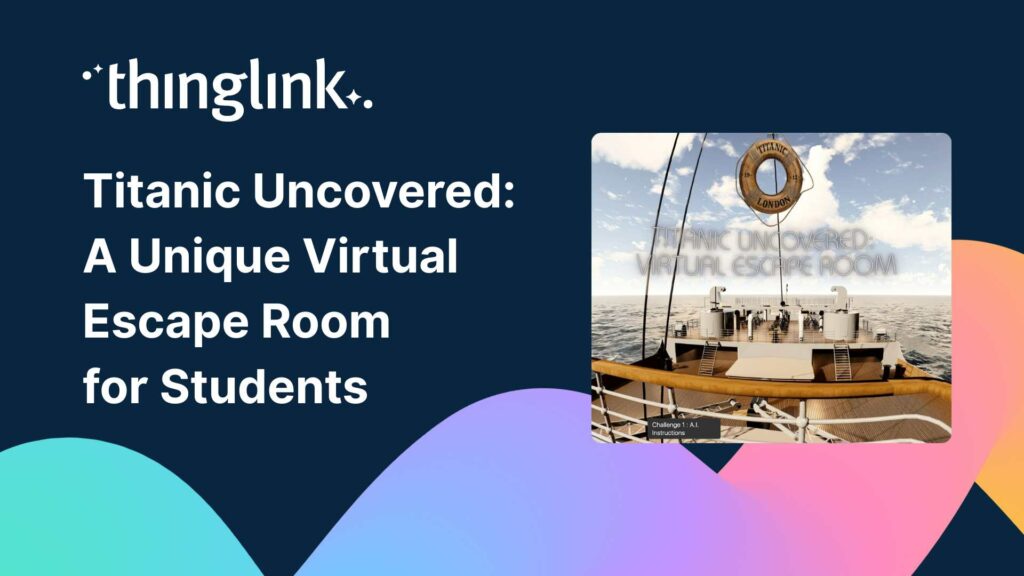
Here’s what a single-scene escape room looks like in ThingLink, below. This version was created for medical students at the University of Central Lancashire – you can read more about how it was made here.
If you don’t already have a ThingLink account, your first step in creating an escape room like this is to set one up , which you can do here.
For your simple but incredibly effective escape room, you will be using the Tour Tag and the Conditional Transitions feature. In brief, the player(s) can only escape the room/space/scene (or move to the next room if your game features multiple scenes) if they enter a correct answer into the box which appears when they click the tag! By exploring the interactive tags or hotspots that you have placed around your scene, participants will be able to read, watch or listen to the clues you have provided to reach the final answer they require to escape. It’s worth noting that you can use exactly the same process above for any flat 2D images – a photo, a graphic or even a drawing – but a 360 scene is much more immersive and open to exploration!
Further escape room ideas for ThingLink
You can make the challenge more complex by:
- Increasing the number and difficulty of clues that you provide. This may involve increasing the number of tags in a scene. The players can only escape once they have gathered the information from each tag, all of which they will need to answer the Conditional Transition question. For example, the answer they require to escape could be a word made up of the first letter of the answers to all the questions/images in each tag within the room. You may want to number the tags so they have to move through them in sequence.
- Creating multiple rooms or scenes that the participants have to move through in order to finally escape the last room.
Adding More Interactivity to your Virtual Escape Rooms
You could also upload audio directly to tags within the scene where you explain certain tasks or objectives in order to give participants “hints” along their journey through the virtual escape room.
You could include clues and puzzles or riddles that will help the players. Or what about adding some fun elements like videos or image galleries that provide background information about the topic?
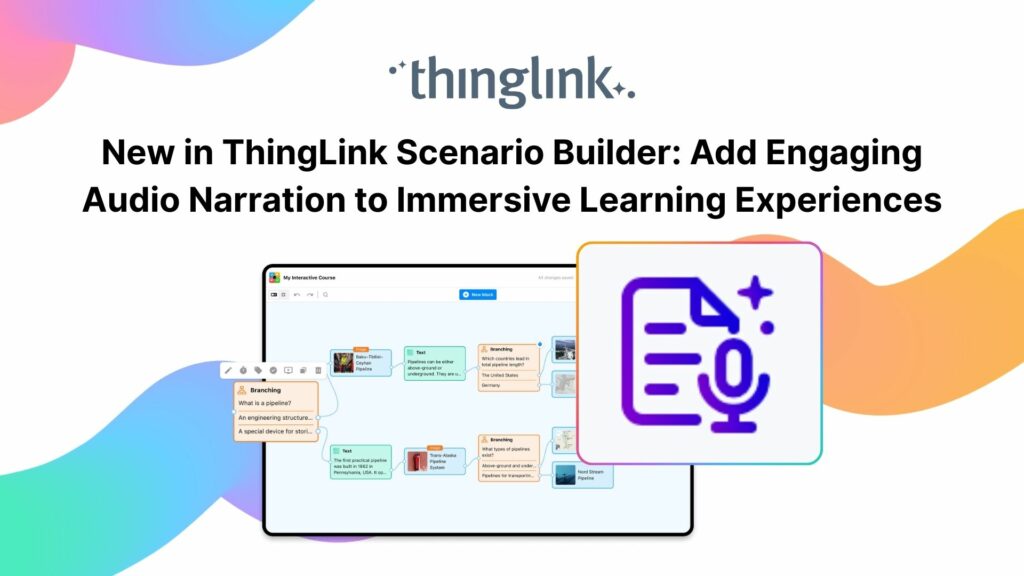
Choose your own adventure with ThingLink’s Scenario Builder
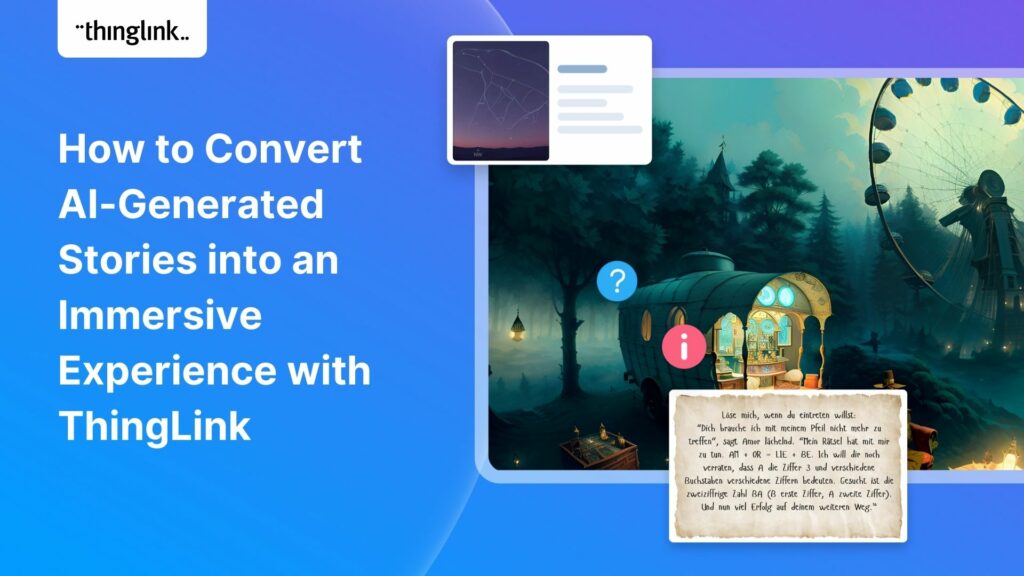
Another way to create truly immersive learning materials with ThingLink is the powerful new tool Scenario Builder. Incredibly easy to learn and use, it allows you to create branching scenarios where learners can “choose their own adventure” through a scenario.
Scenario Builder is the only branching solution that allows you to combine various media types including videos, audio, 360° media, 3D and images into a complete learning experience. Anyone can easily create engaging online simulations for learning and development, with no design or coding experience.
Start creating today!
To get started with creating amazing learning materials like these, start a free ThingLink trial today and see just how easy it is to use!