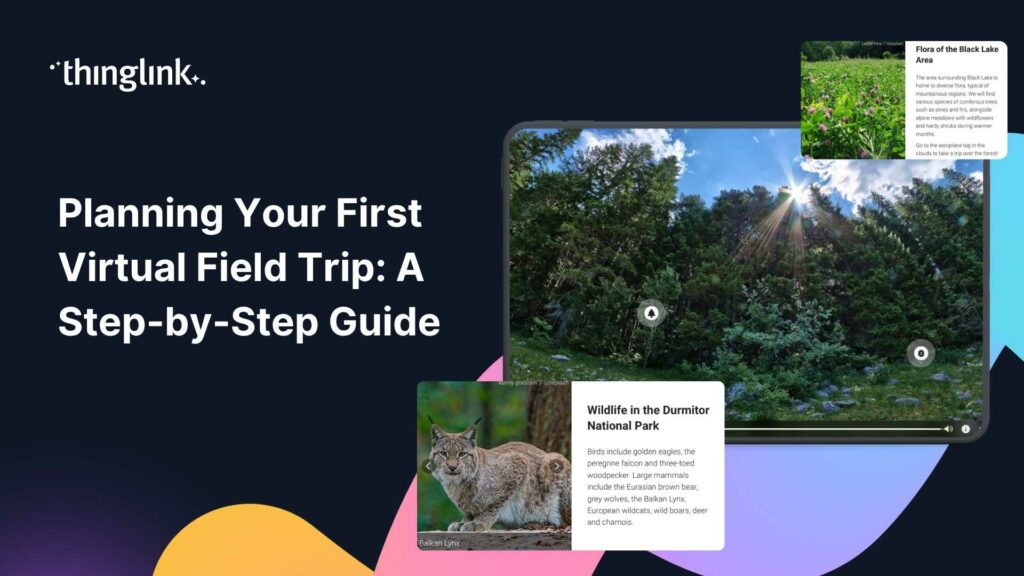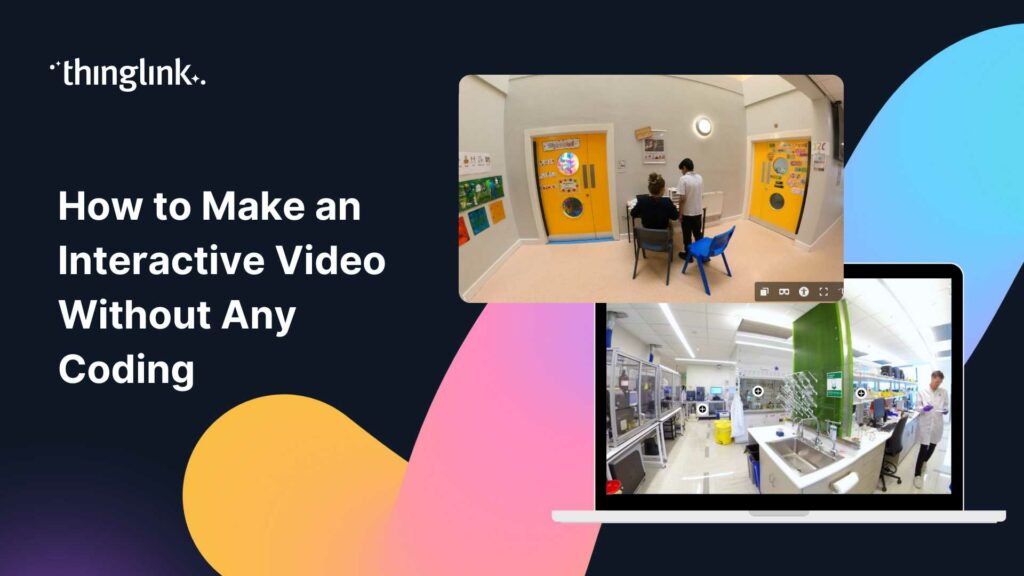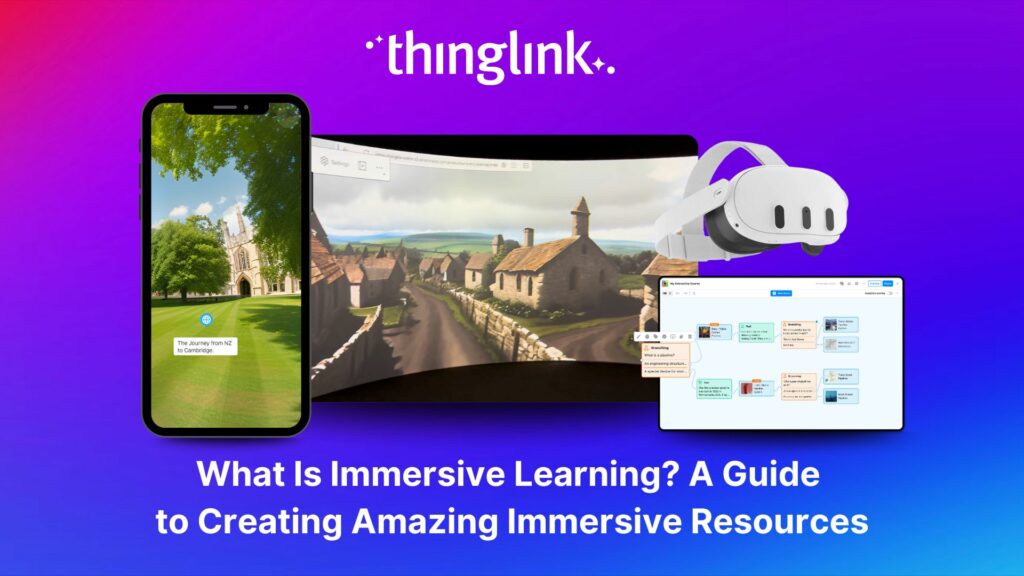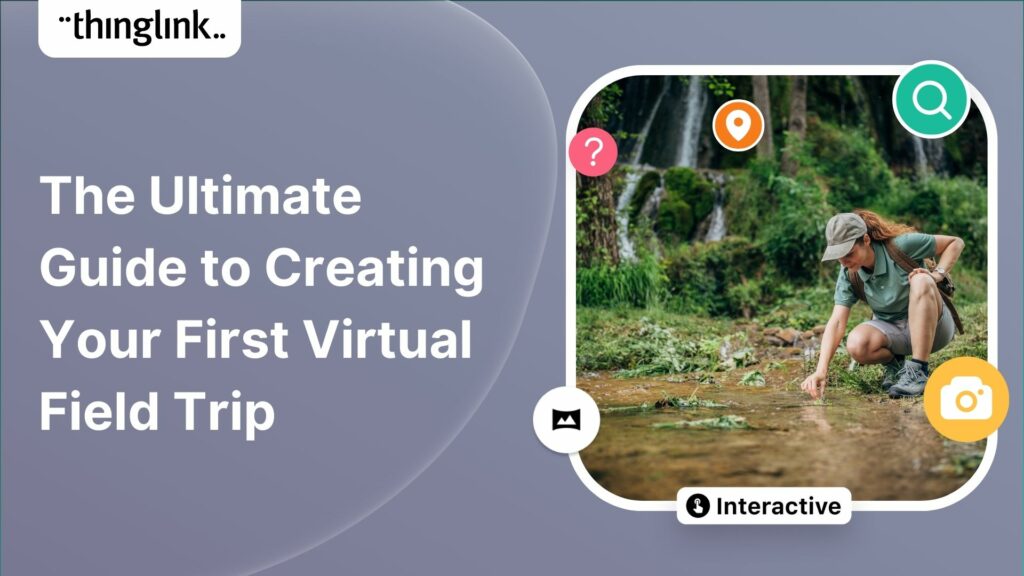
The Ultimate Guide to Creating Your First Virtual Field Trip
Virtual field trips are an ideal way to immerse learners in real world environments without ever leaving the classroom, lab or lecture theatre. There are a number of suitable platforms and apps that have been developed over the last decade to make this possible, but one of the favourites with educators is ThingLink. This interactive tool allows anyone to create their own engaging interactive student learning experiences that are tailored to students’ needs. ThingLink’s popularity comes from the fact that it is designed to be incredibly easy to learn and use for creators, whether for school, college or university, or distance learning courses.
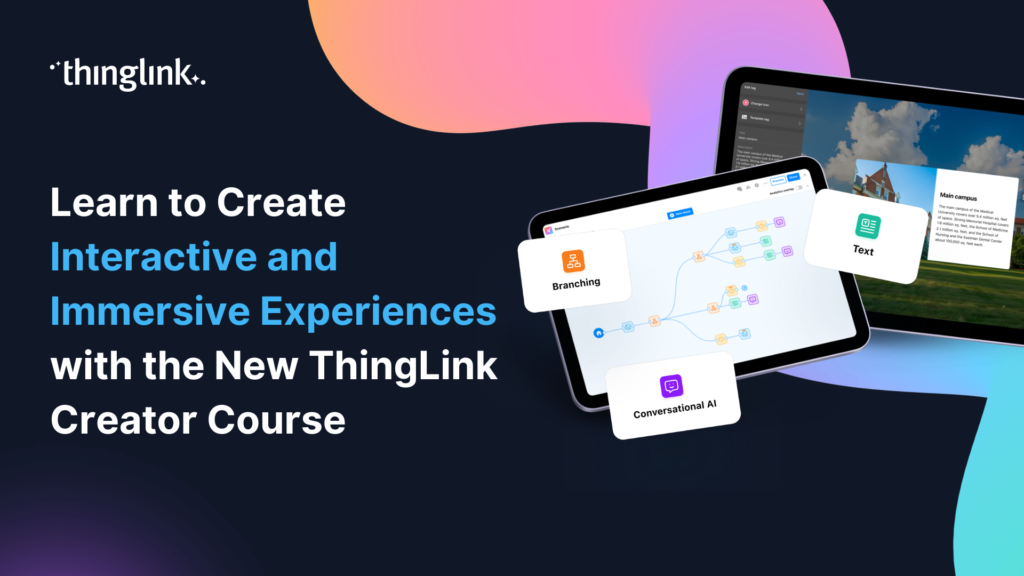
With ThingLink’s in-house development of the new Pano to 360 tool, creating a virtual field trip for your students is now easier than ever before!
In this guide, we will take you through a step-by-step process of creating your first virtual field trip with ThingLink. You will also be able to register here to learn more about the amazing new Pano to 360 tool which allows anyone to create stunning 360 images using any smartphone!
What exactly is a virtual field trip?
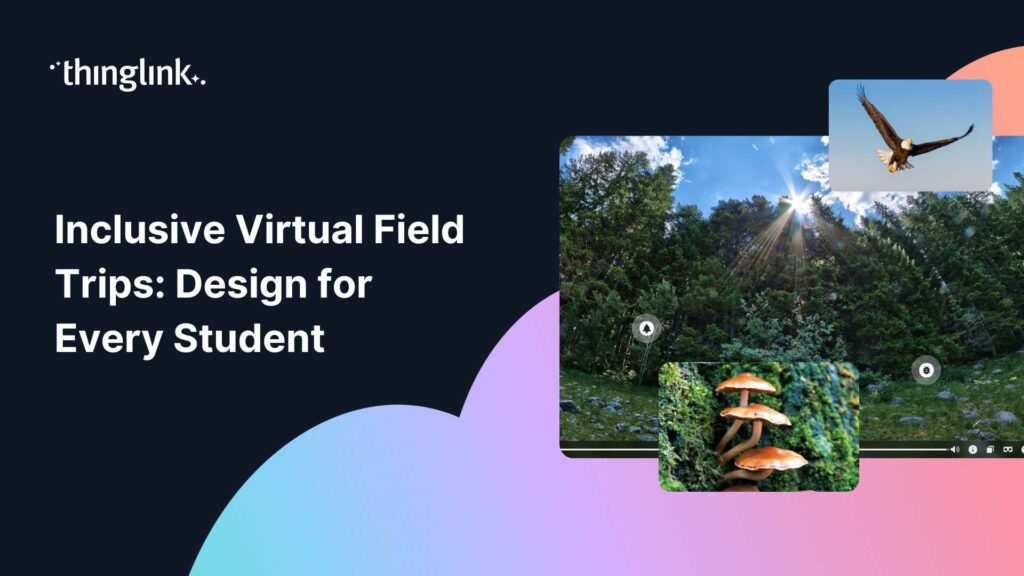
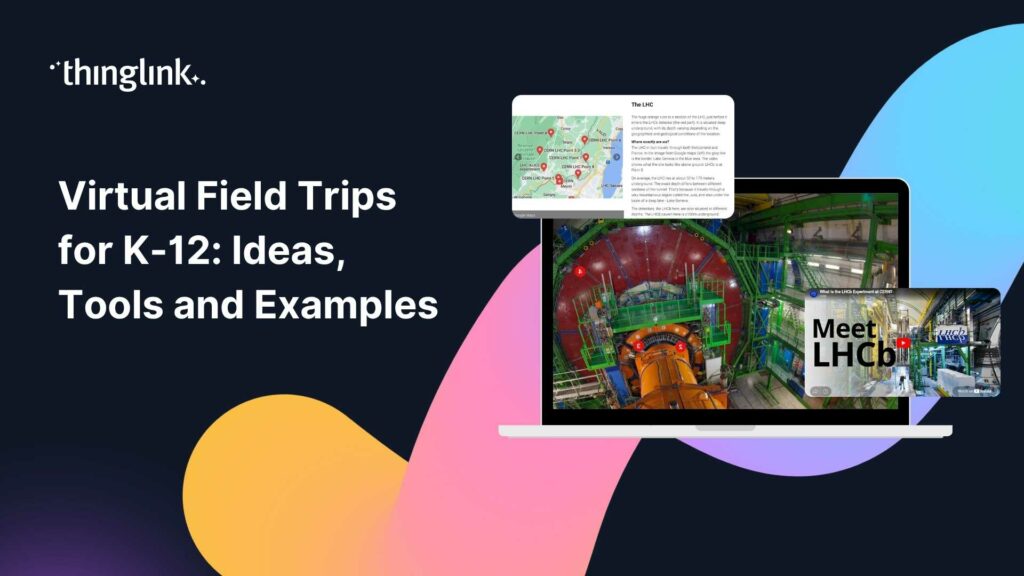
Virtual field trips are simply online versions of the real thing. They generally consist of a group of linked scenes taken at different site locations presented together as a holistic virtual experience. The students can move through the field trip, exploring the different stations or points of interest in turn. They are generally best created using 360 images, which create an immersive experience. 360 videos can also be used – for more on how you can use 360 videos, see the useful guidance in this blog here.
Examples of virtual field trips
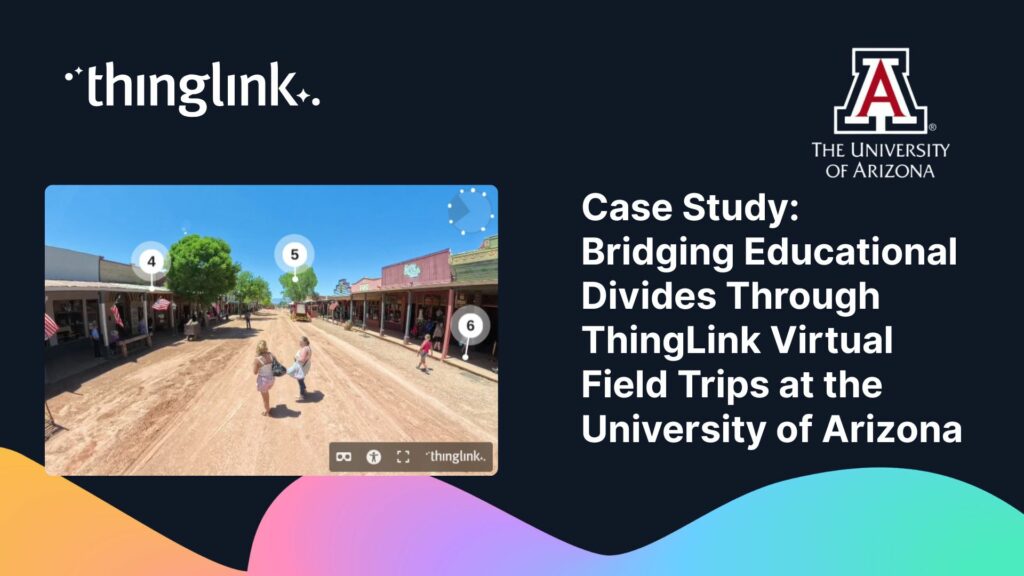
We have shared some really impressive and award-winning virtual field trips made by Higher Education institutions with ThingLink over the last two years – here are useful case studies on two of our favourites! There are further examples to explore at the bottom of the blog.
- How to create a virtual field trip: Marine Biology example
- How to create virtual field trips for post grads: Queens University Belfast
We hope these give you some great ideas on how you can use the virtual field trip concept to create interactive and valuable learning resources for your own students and learners. Why not use these as templates for your own design?
Why create a virtual field trip?
The pandemic helped to highlight why virtual field trips are so valuable. Apps like Google Earth and Google Arts & Culture showed how it was possible to open up the world to students even when they were stuck at home. Bodies all over the world such as National Geographic, NASA, the Louvre and the British Museum created free virtual field trips for anyone to access, sometimes giving rare insights into their research work.
However when educators are able to create their own bespoke online field trips, the learning experience becomes even more valuable as they can be tailored to learning outcomes, lesson plans and individual class or learner needs.
When learners are unable to get hands-on experience of a location because of access or travel limitations, virtual field trips can effectively open up the environment to them. They are of particular use to students of geography, natural sciences, history and social studies but could really be used in any subject area where a site visit would usually be part of the learning activities provided.
Museum educators also use ThingLink to create interactive virtual tours for those who can’t access exhibitions, historical site and collections in person. This example below was created by the Smithsonian, the world’s largest museum complex including their famous museum of natural history and zoos. A real behind the scenes at the museum!
How to create a virtual field trip with ThingLink
The most common approach is to use the ThingLink Editor to create a field trip in which students can explore the different tags or hotspots, as well as move from scene to scene. They can either move between scenes in a completely free-form and self-guided way, or be guided through the tour by way of conditional transitions between scenes, and guided or locked tags.
Get started on your virtual field trip: images
Start by selecting the images that will be the foundation of your tour. Note: It is possible to create a virtual field trip with normal images as opposed to 360 ones, but using 360 imagery will certainly create a more realistic and immersive experience! Create as many individual 360 scenes as you need by uploading your images to the editor.
Below is a walkthrough video of how to make your first ThingLink which covers all you need to know for getting started from scratch to creating your first ThingLink scene. You could create a virtual field trip with just one scene, or you could link a number together to make a field trip containing a number of different sites.
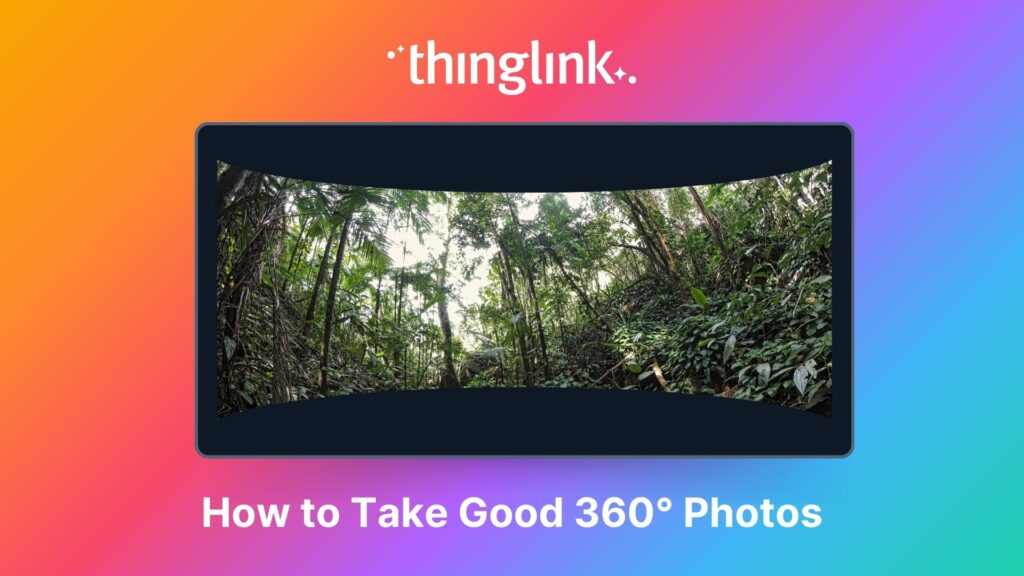
How to source 360 images for your virtual field trip
No 360s? No problem! There are a number of ways that you can source 360 images – from online libraries and stock suppliers to AI, and now ThingLink’s breakthrough new tool – “Pano to 360”.
- With a 360 camera: You may be lucky enough to have access to a 360 camera such as a Ricoh Theta or Insta360 with which you can snap your own imagery for your field trip. If so, uploading your own images to the ThingLink editor from your drive or device is very straightforward. Simply follow the steps in the short tutorial above!
- Use the 360 Image Library: One of the free resources that ThingLink provides on all accounts is the 360 Image Library. This useful resource contains free-to-use images from all over the world, from heritage sites to national parks, Antarctica to the Amazon rainforest! Read more about the library here. To use one of the library images, simply clone it into your own account (see below).
- Clone any 360 scene from another user’s ThingLink content: The clone feature in ThingLink means that you can clone any 360 scene from a ThingLink where the creator has made their content public via the privacy settings. Read how to to clone ThingLink content here, plus see how to change the settings on your own content to allow or disallow cloning.
- Image licensing: It’s also possible to purchase, license and download 360 images from a commercial site such as 360Cities.
- Create 360 images with AI: Did you know it’s possible to create 360 images using text prompts? Check out this blog which explains how a student at Basingstoke College of Technology used Skybox to create her own 360 images for her coursework project. There are lots of tips and inspiration in there for creating your own!
- NEW!! Create your own 360 images using a smartphone and ThingLink! Until June 2023, creators were able to use Google Street View to create 360 images using the camera on any smartphone. In the wake of the deprecation of this feature, and following requests from many ThingLink creators worldwide for a solution, ThingLink have developed a ground-breaking new feature: Pano to 360. To learn how to use this feature, watch the replay of our dedicated webinar by registering below, or see this helpful support article.
Register for the on-demand replay!
Make your virtual field trip interactive
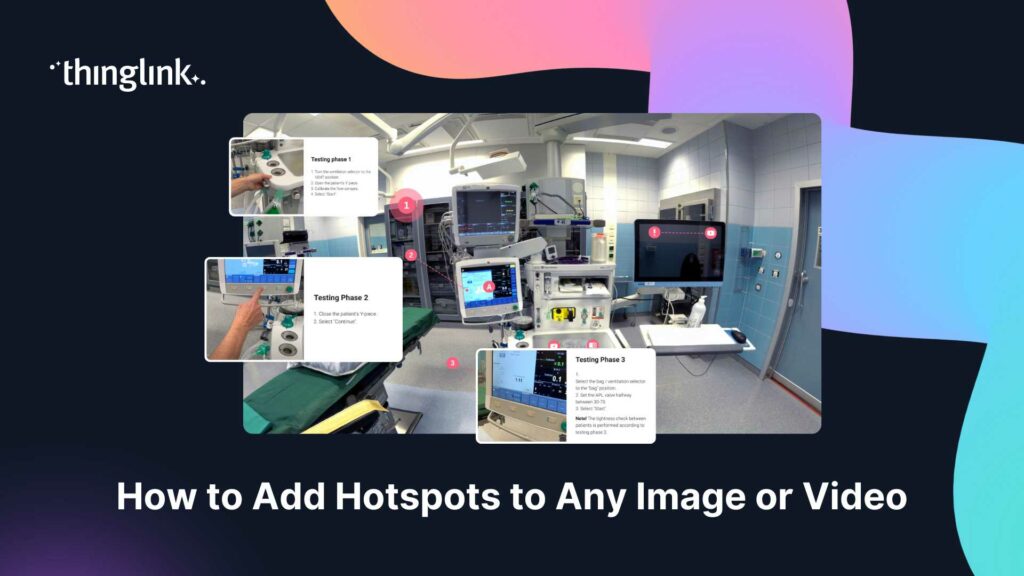
Then add interactive elements in clickable tags within your ThingLink scenes – such as links, text and images, videos, quizzes, polls, 3D objects, apps and tools. For all the details on how to add tags to 360 images, see this support article.
Link your ThingLink scenes together to create a walk-through field trip
Using the Tour Tag, you can then link any ThingLink scene to any other. This was covered in the short tutorial above, but if you need further information, see the support article here.
Pro tip: To help orientate your learners in the field trip, why not begin with a map page as your initial ThingLink scene? Alternatively you can upload a floor plan or other map image which will sit in the top right corner of every scene. Read how to do this at this support post here!
How to Share Your Virtual Field Trip
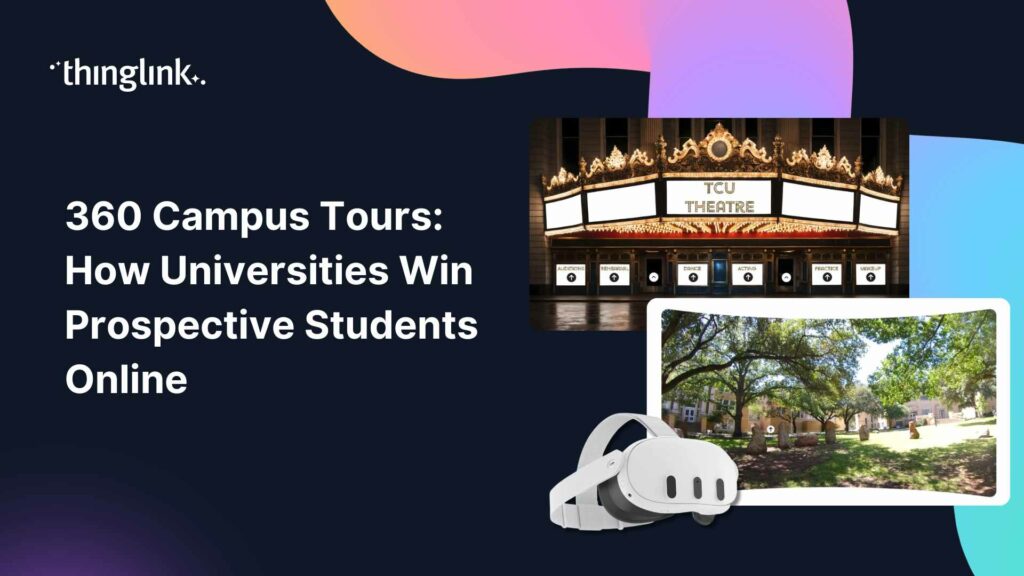
Most educators find that the most effective way to share a virtual field trip is through their school’s learning management system (LMS). ThingLink integrates with a huge range of educational platforms including Google Classroom, Moodle and Canvas. However with ThingLink, it’s also possible to set your privacy settings to public so that a virtual tour or field trip can be accessed via your website. In this way, many high schools, colleges and universities are creating virtual tours of their site or campus to attract potential students and increase admissions enquiries. See how universities and colleges worldwide are doing this in this blog.
ThingLink is also viewable in virtual reality (VR) mode for a really immersive experience. For full details of how to do this, take a look at this support article.
We hope that this blog post has demonstrated just how easy it can be to create a virtual field trip for your students. For more inspiration, join one of our social media communities to connect with other ThingLink users and educators! The ThingLink Education Group on Facebook or the LinkedIn ThingLink Community are great places to start. We look forward to welcoming you!
Further reading and inspiration

Book a free consultation
If you’d like to learn more about how you can save resources and effectively support learners with scalable XR and impactful training, schedule a free call with our Enterprise Executive.