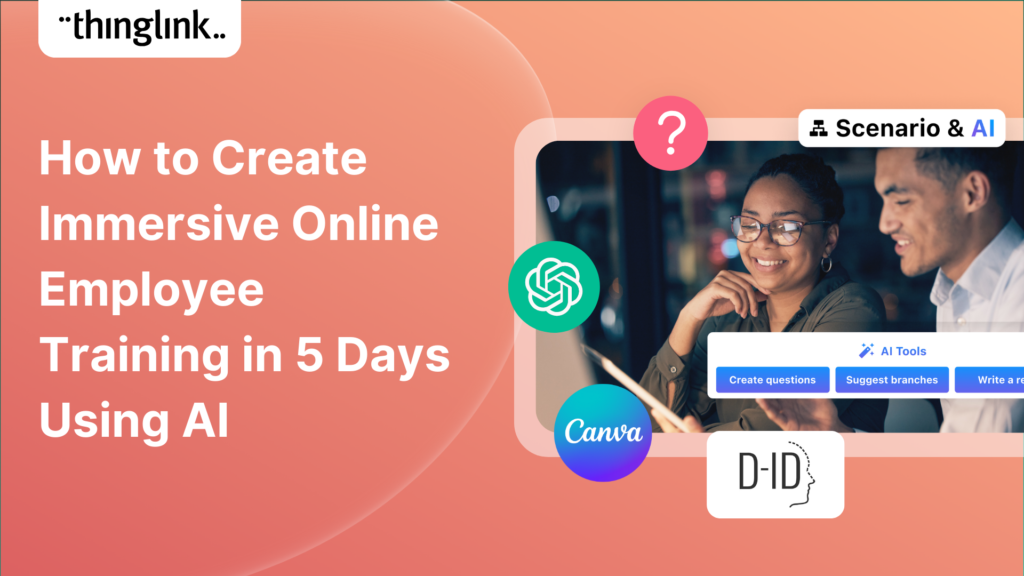
What if you could go from blank canvas to a fully immersive online employee training program in less than a working week? For most learning and development teams,...
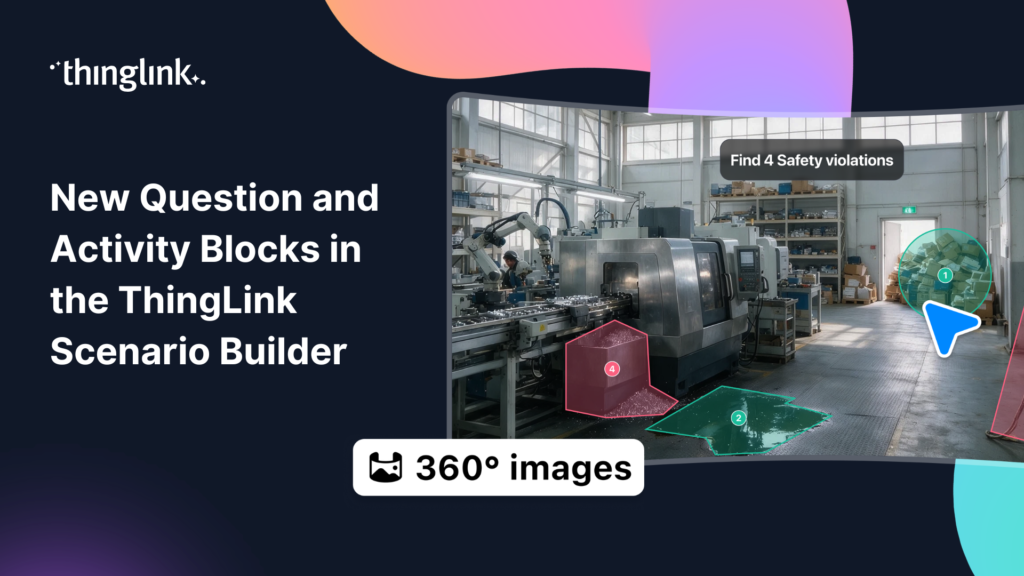
ThingLink Scenario Builder now includes an expanded range of Question and Activity blocks, giving creators more ways to collect learner responses and build interactive...
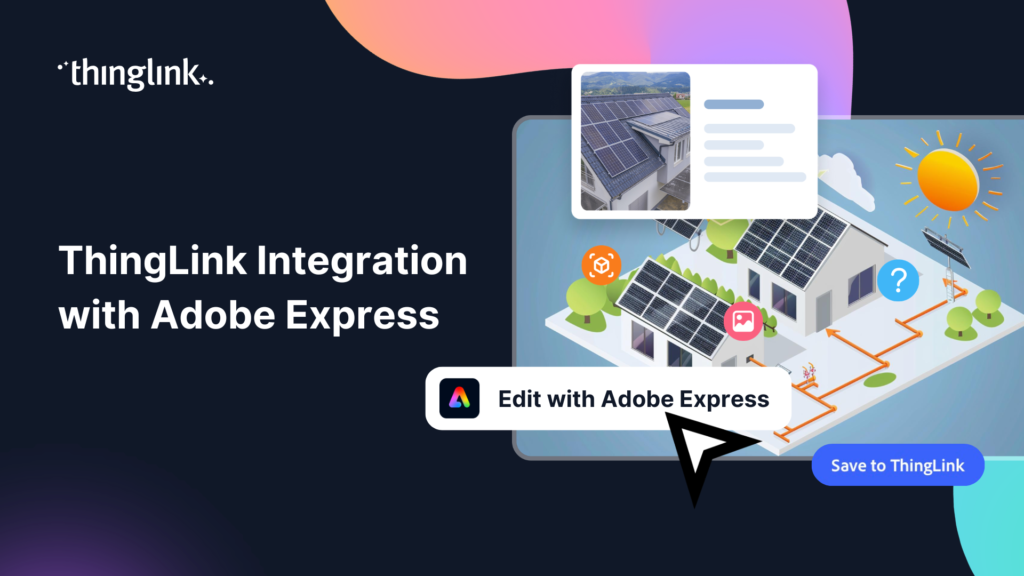
We’re thrilled to announce a brand-new integration between ThingLink and Adobe Express, making it easier than ever to design stunning visuals and turn them...
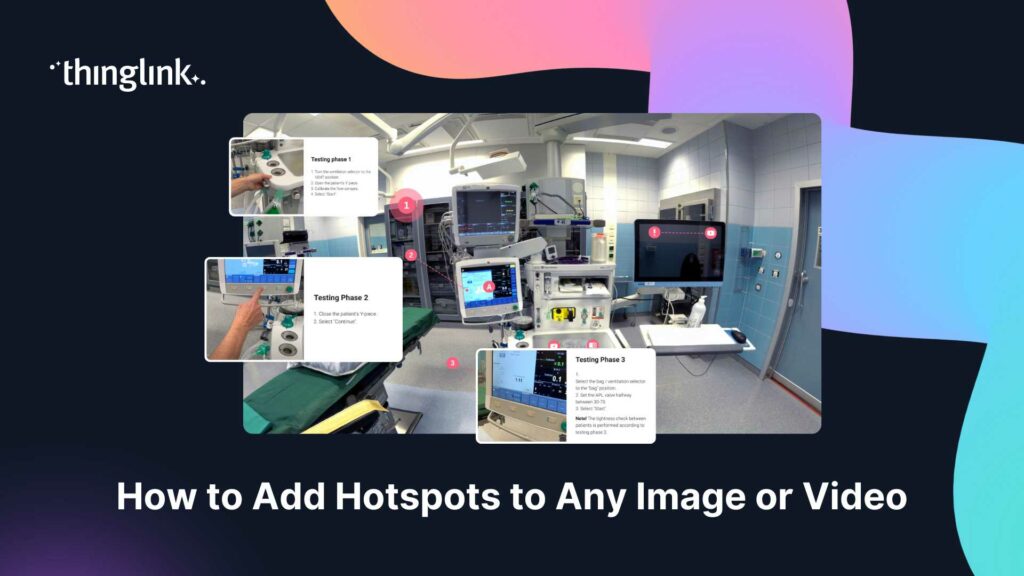
You have a great image or video. You know there is more to say about it. But a static file sitting inside a course or on a webpage can only do so much. What if ...
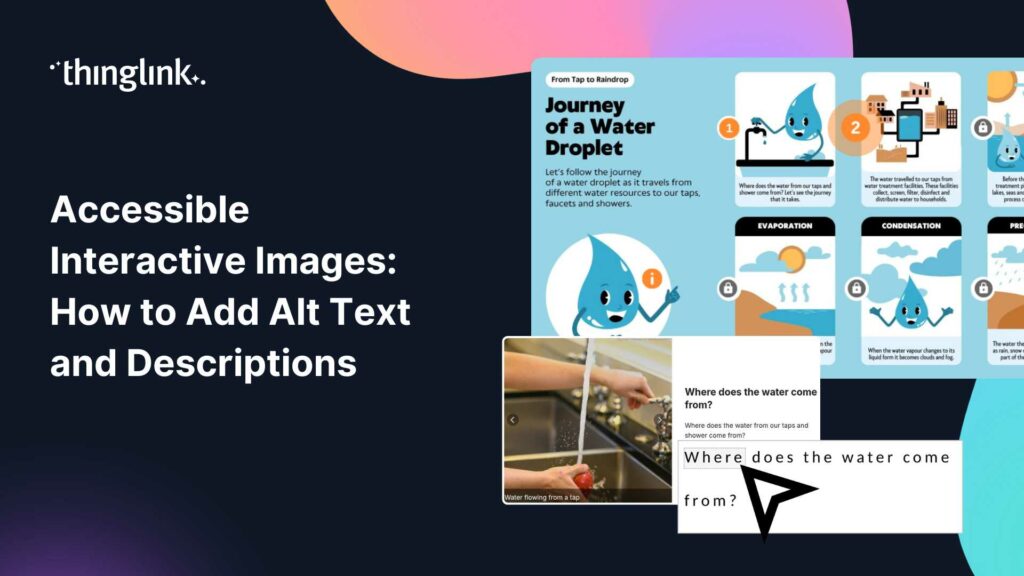
You’ve built a beautiful interactive image. Tags are placed, content is layered in, and the learning journey feels intuitive. But here’s the question...
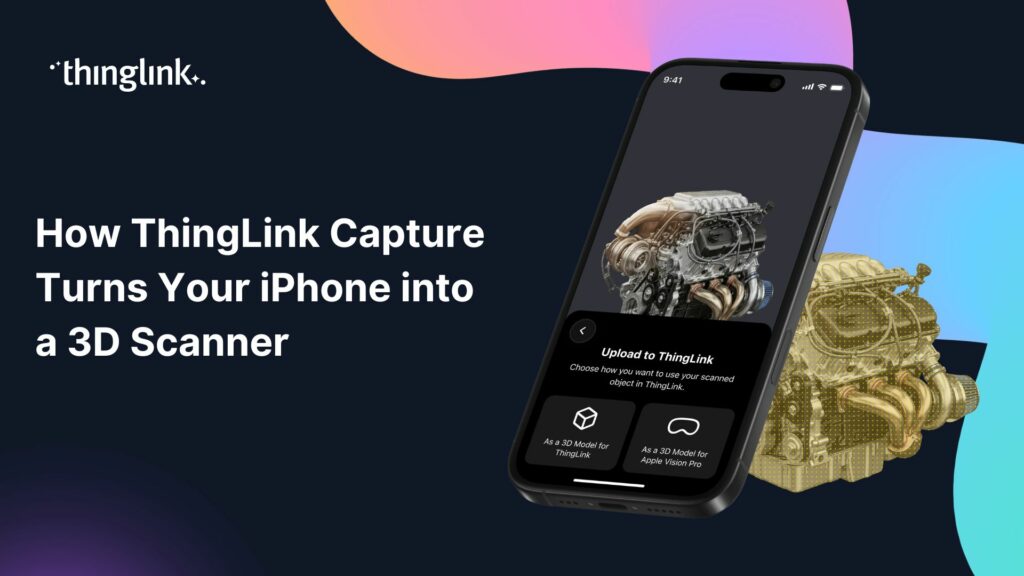
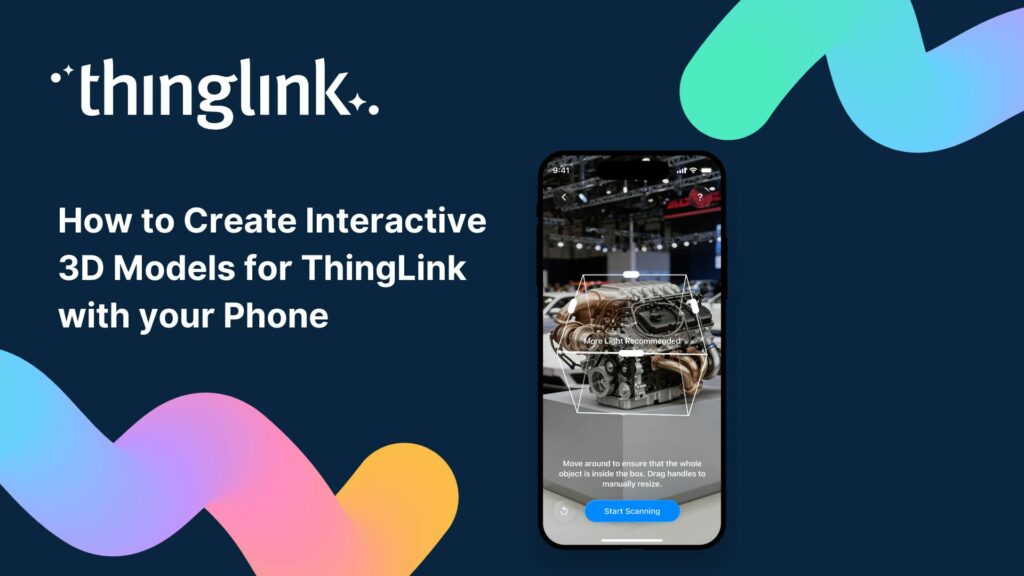
What if the most powerful 3D scanning device in your organisation was already in your pocket? For learning designers and instructional designers, capturing real-world...
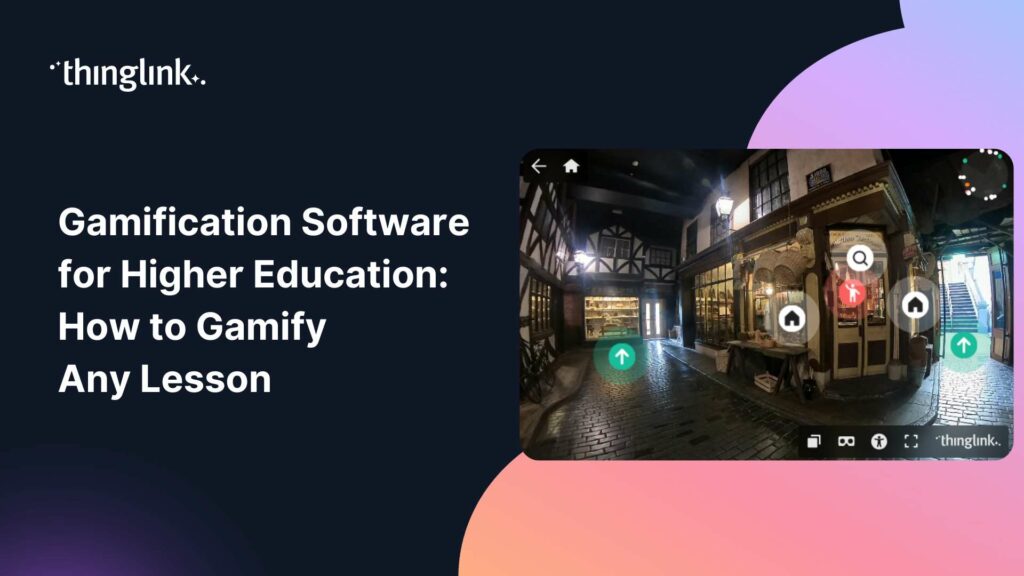
What if your students were genuinely reluctant to stop learning? Not because you threatened a grade penalty, but because the lesson itself felt too good to quit?...
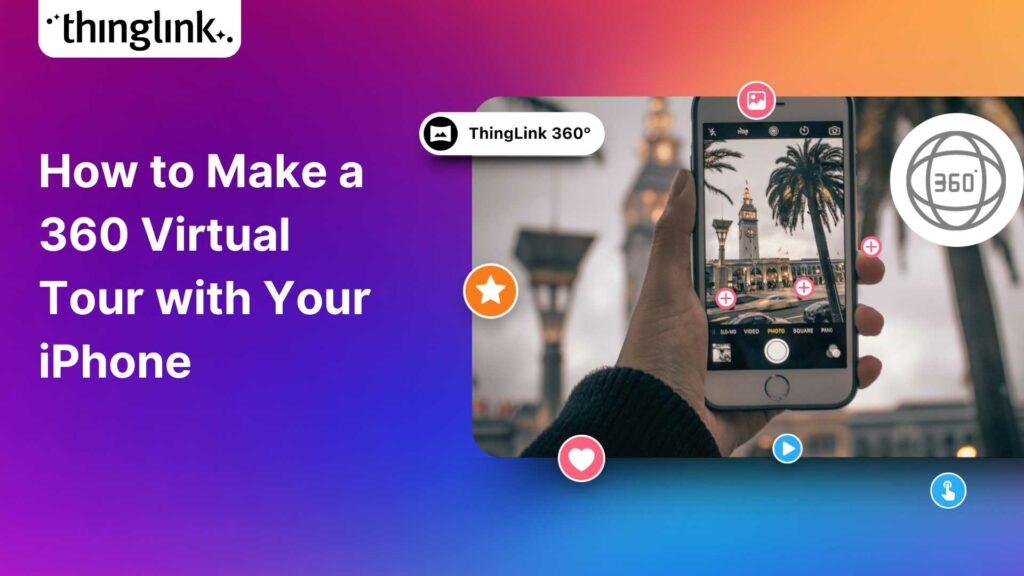
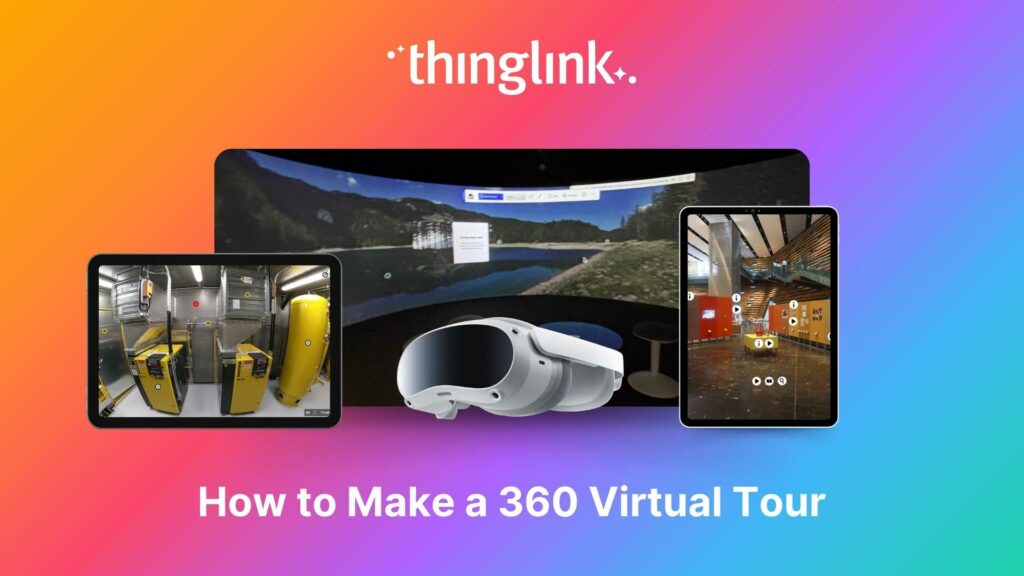
Turn Your iPhone Into a 360 Virtual Tour Creator What if the most powerful 360 virtual tour software you need is already in your pocket? With ThingLink’s ...
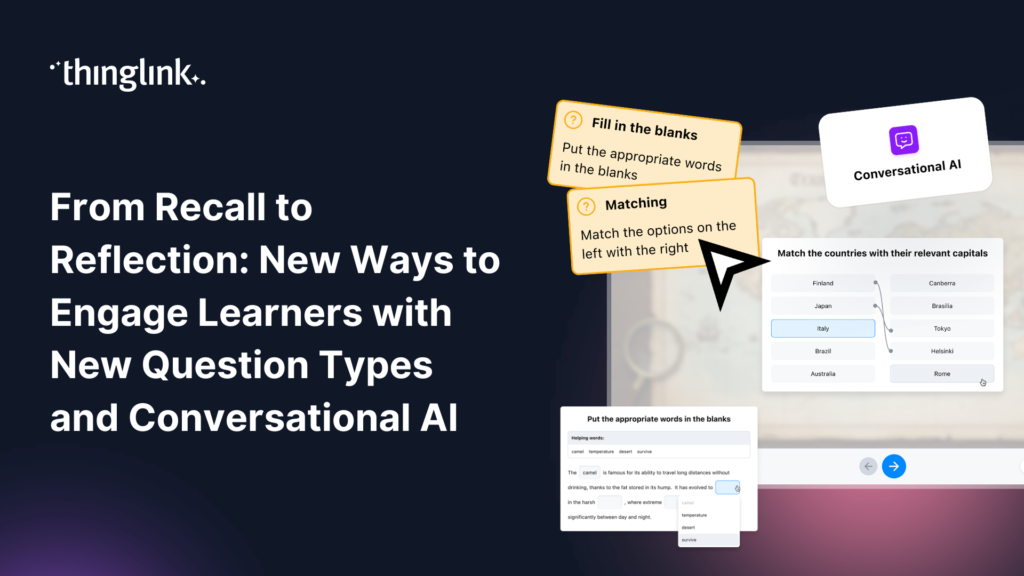
Great learning experiences don’t rely on a single type of interaction. Sometimes learners need to recall key facts. Sometimes they need to recognize patterns,...
What if your students could stand inside a volcano, walk the halls of a world-class museum, or explore a university campus without leaving the classroom? Virtual...
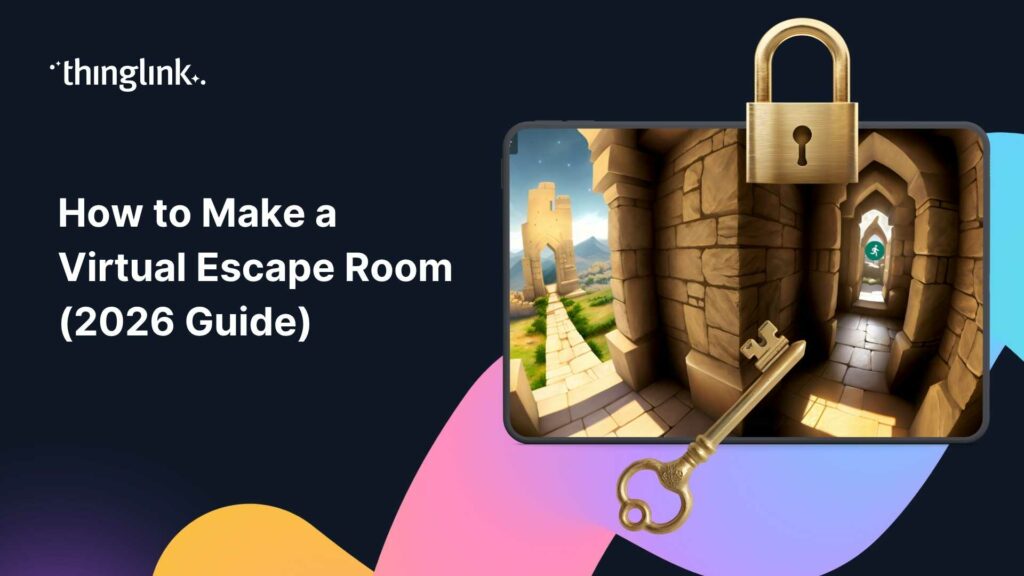
What if your next training module felt less like a slideshow and more like a mission? Virtual escape rooms are one of the most engaging formats in digital learning...
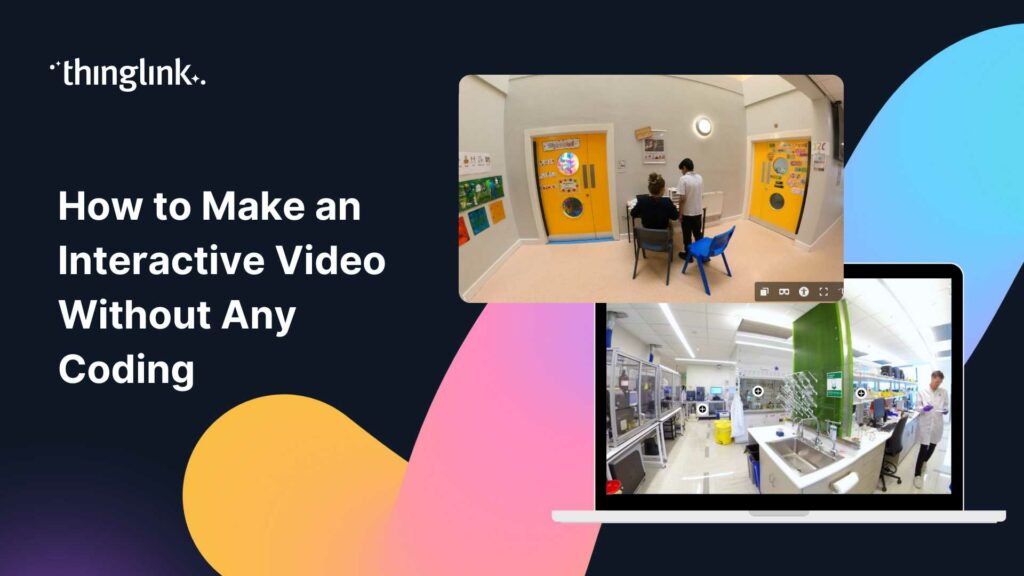
You have great training content. You also have a team of busy learners who click away from passive video within the first two minutes. Sound familiar? Interactive...
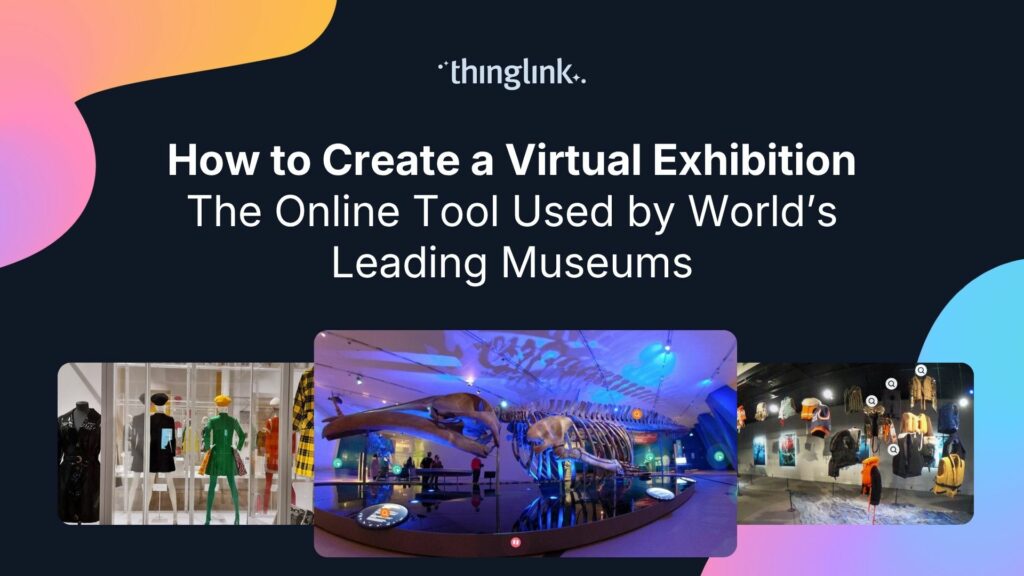
Regardless of size, museums worldwide face challenges related to funding, staffing, and audience engagement. One way that museums are overcoming these challenges...
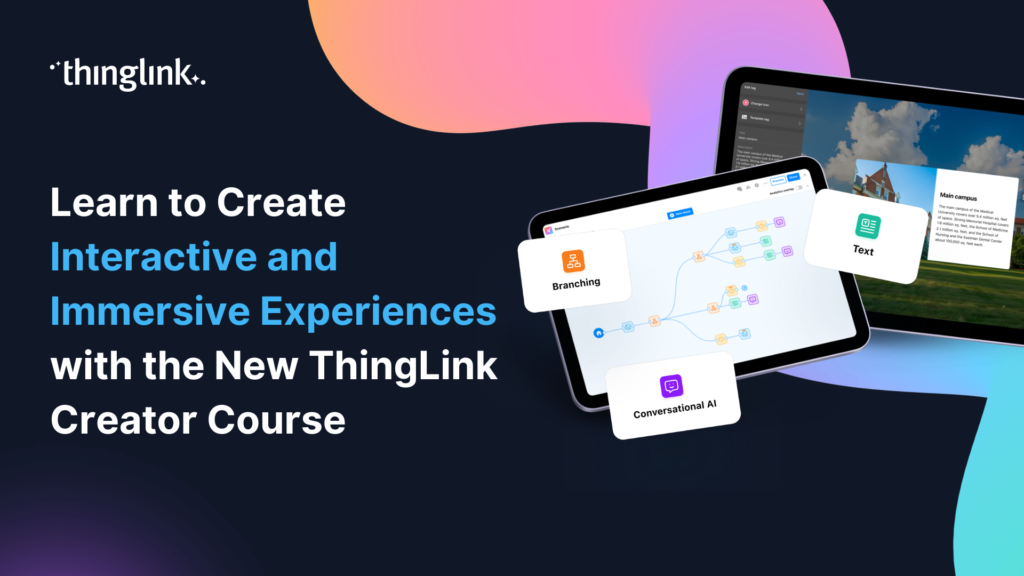
🚀 The Official ThingLink Certified Creator Course is now live! Whether you’re completely new to ThingLink or looking to deepen your skills, the new Certified...
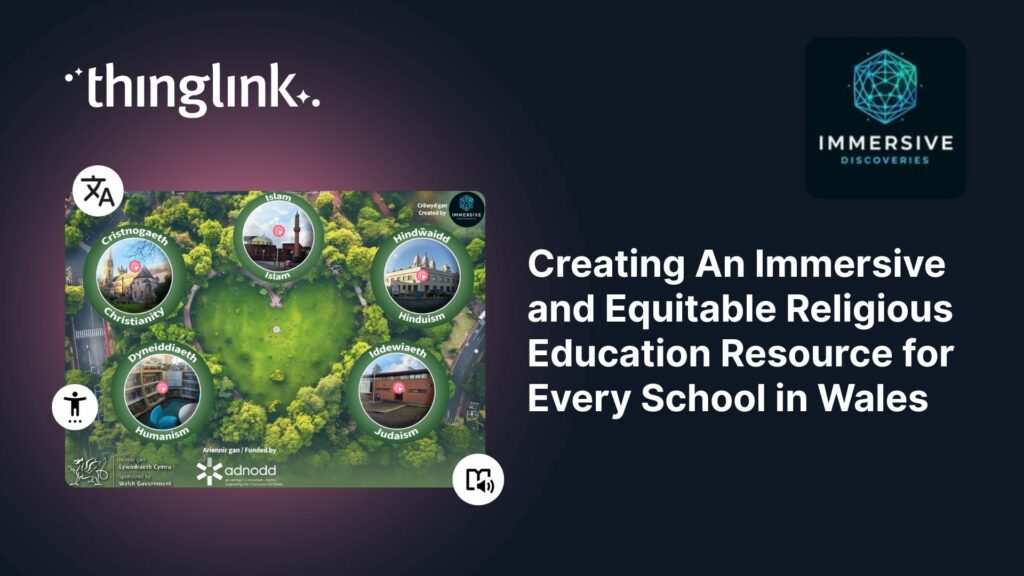
Educator Gemma Zeeman is founder of Immersive Discoveries, and a Qualified Teacher who has taught from Reception to Year 6. She currently works as a Research Assistant...
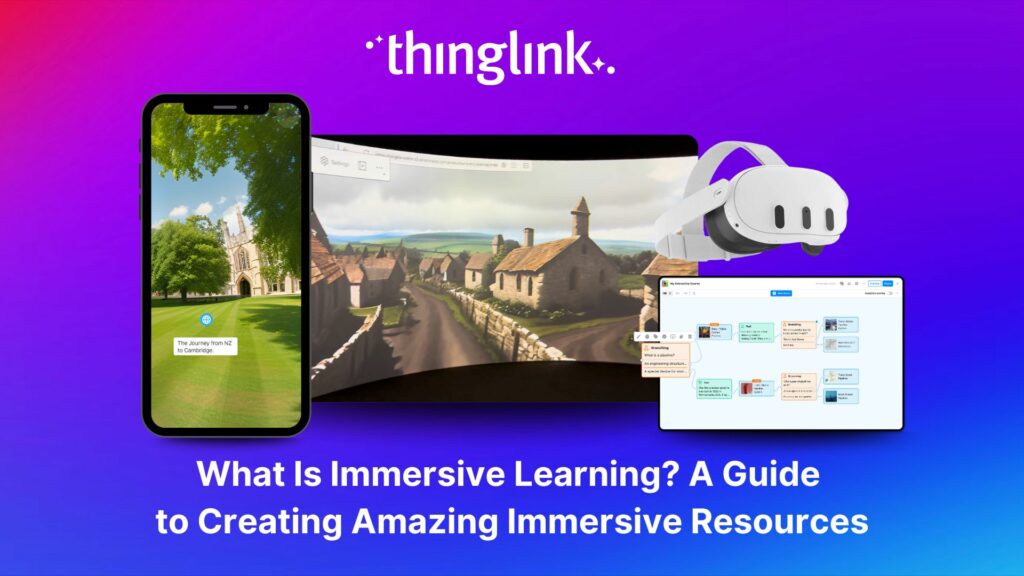
What is Immersive Learning? Immersive learning is a modern approach to education and training that uses interactive, spatial experiences to place learners in real-world...
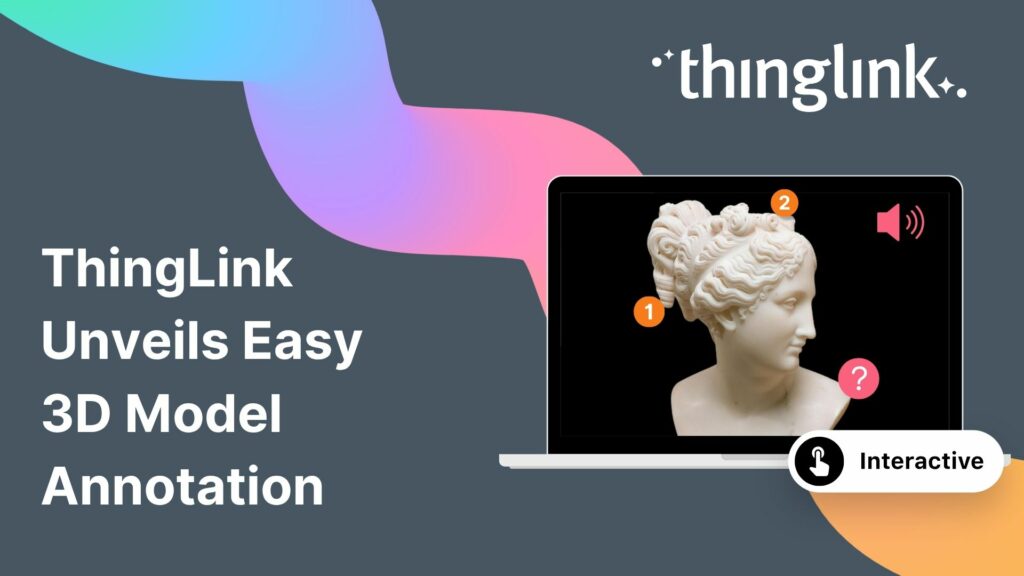
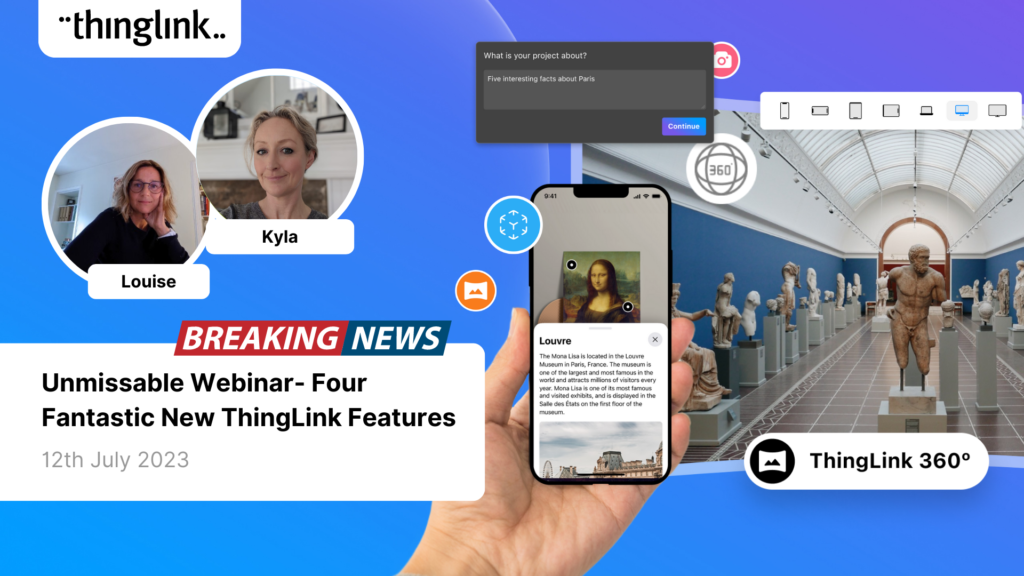
The interactive media platform ThingLink now supports 3D model annotation. In addition to images and videos, ThingLink content creators can now also enhance 3D ...
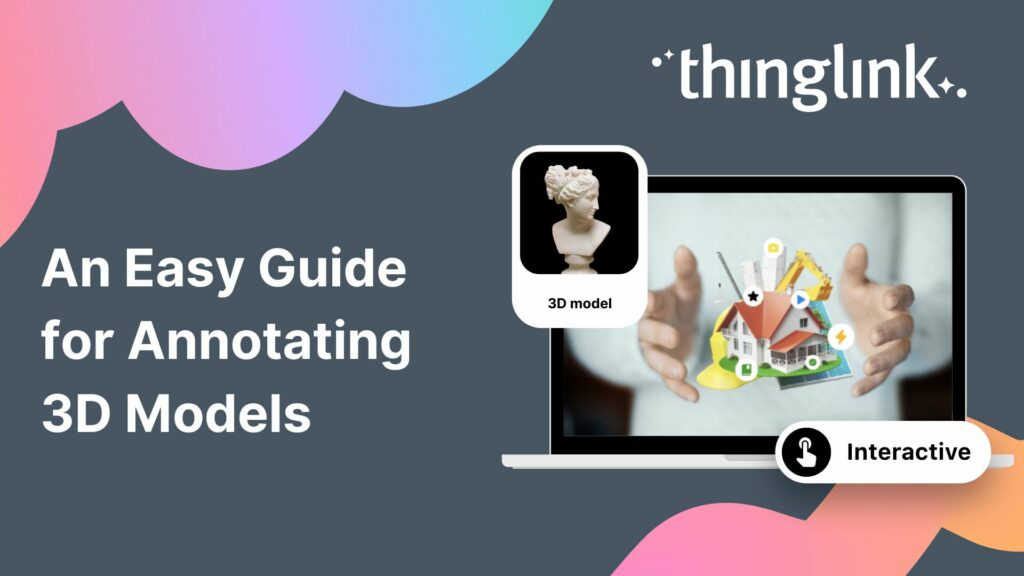
3D models are gaining popularity as the process of creating them has become more user-friendly. A few years ago you needed dedicated 3D modelling software, and ...
What is 3D Model Annotation? ThingLink allows users to create interactive 3D models as easily as they create interactive images, videos and virtual tours. The feature...
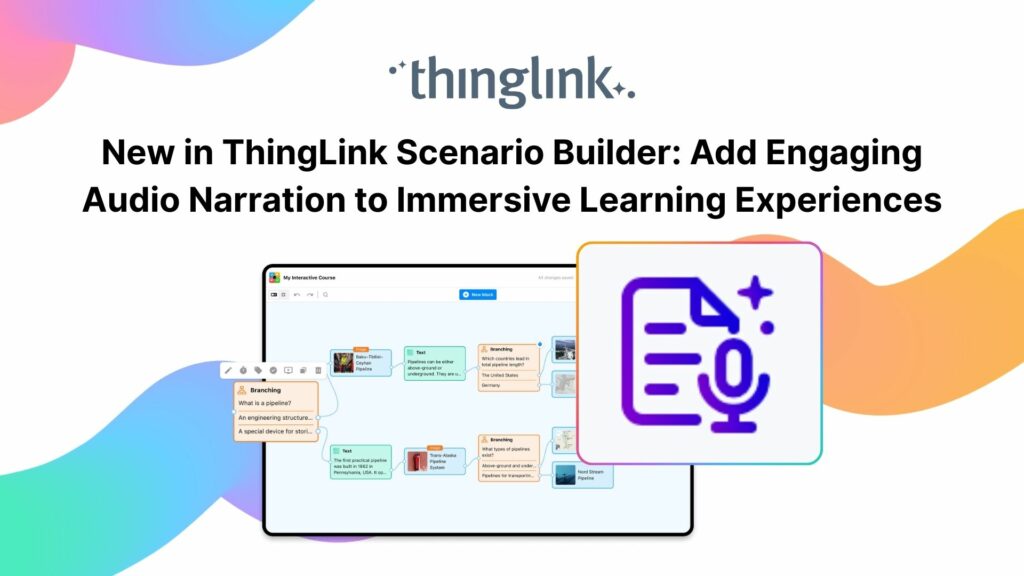
Your text becomes a part of your learning experience, create immersive, podcast-worthy audio every time. We’re excited to introduce a new audio narration feature...
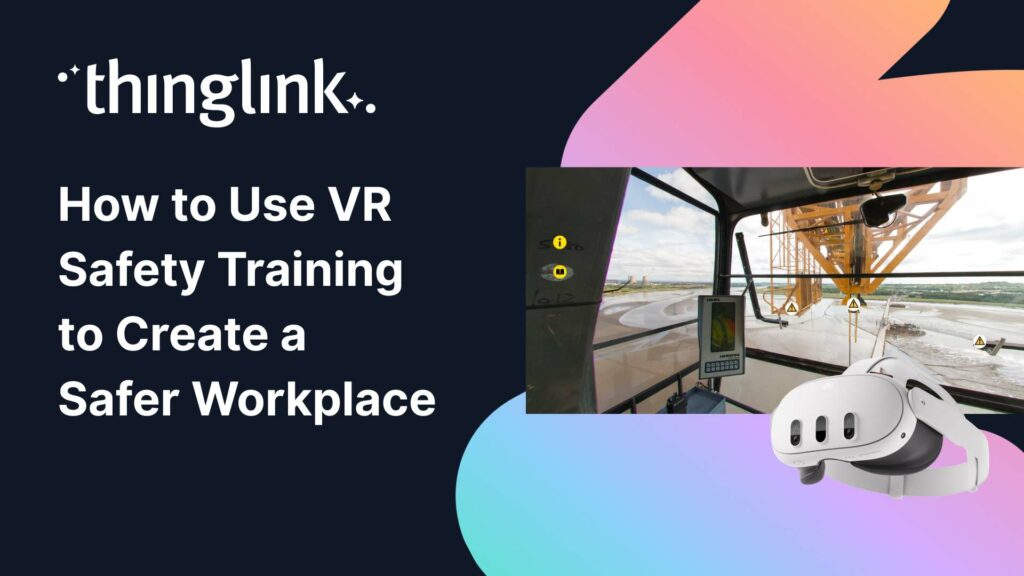
Protecting employee health and safety is one of the most fundamental responsibilities of any organization. Especially in high-risk industries, even a single incident...
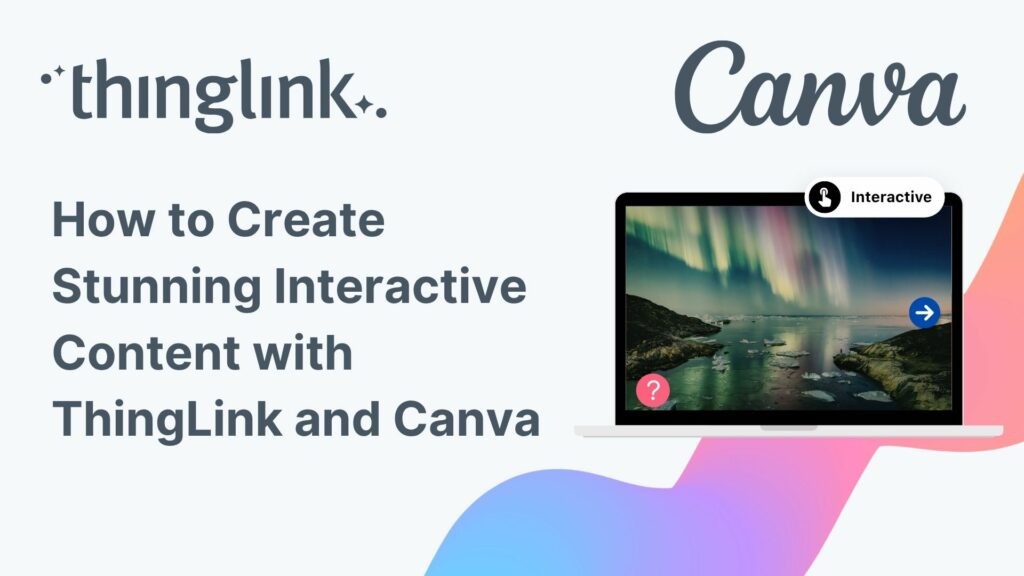
ThingLink’s powerful integration with Canva, the global visual communications platform, is now slicker than ever. You can now create and edit your base images...
Transforming Education with Gamified Learning Experiences Education stands on the edge of a significant transformation, driven by innovative technologies that redefine...
Are you ready to captivate your audience with an immersive, interactive experience? Digital escape rooms offer a unique way to engage, educate, and entertain your...
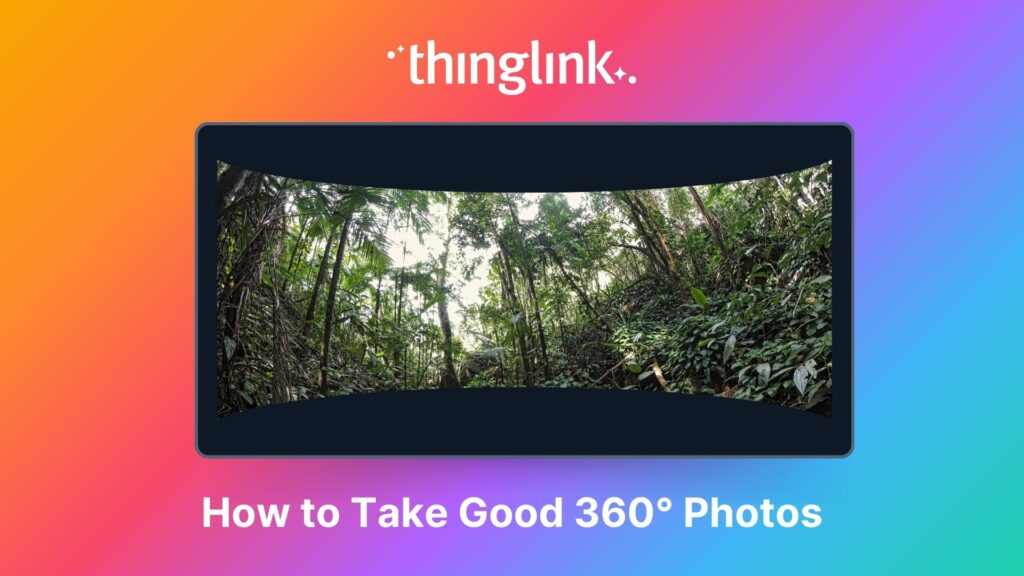
An Introduction to 360° Photography for Beginners 360 degree images or photospheres capture the entire surrounding environment in a single shot, allowing viewers...
Looking for an easy way to create immersive 360° virtual tours or virtual expeditions that work seamlessly in Virtual Reality (VR)? ThingLink is the ultimate all-in-one...
¿Alguna vez has deseado llevar a toda tu clase a la selva amazónica, a la superficie de Marte o a los pasillos del Louvre o del Smithsonian… todo antes del ...
Ever wished you could take your entire class to the Amazon rainforest, the surface of Mars, or the halls of the Louvre or the Smithsonian… all before lunch? ...
A medida que el aprendizaje inmersivo continúa transformando las aulas en todo el mundo, cada vez más escuelas y universidades están comenzando a explorar el...
Para que tu camino en la creación de contenido educativo en XR sea lo más sencillo posible, hemos seleccionado una colección de recursos gratuitos que te ayudarán...
To make your journey through XR learning content creation as easy as possible, we’ve curated a collection of free resources that will help get you started. Packed...
As immersive learning continues to transform classrooms around the world, more schools and colleges are beginning to explore the potential of Meta Quest headsets...
ThingLink has recently made available an inspiring set of three conservation-based 360° videos, designed for learners, educators, and anyone curious about how ...
ThingLink is a fantastic tool for creating interactive and immersive images, videos, and virtual tours. It allows you to bring visuals to life by adding hotspots,...
When creating any visual content for your business, it’s vital that your brand is reflected properly throughout the work. That goes for any content you create...
We believe immersive learning should be within reach for everyone, not just large organizations and institutions. That’s why ThingLink’s new Creator plans are...
LEO, a forward-thinking British multi-academy trust, has pioneered a structured, pedagogy-first approach to digital learning that has driven significant gains in...
 Louise Jones
10 min read
Louise Jones
10 min read
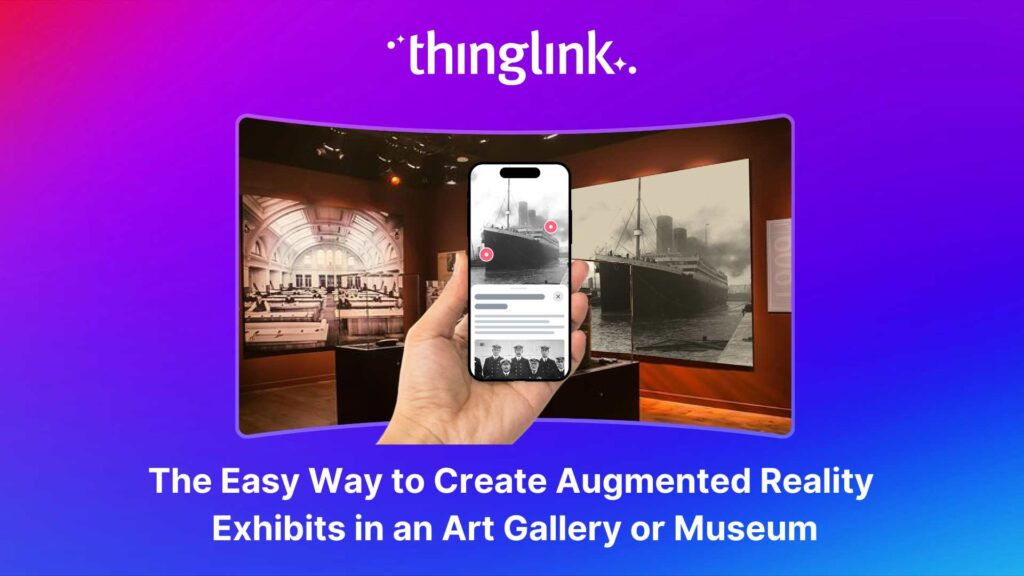
Over the last decade, mixed reality experiences using immersive technology have become increasingly commonplace throughout museums and art galleries worldwide. ...
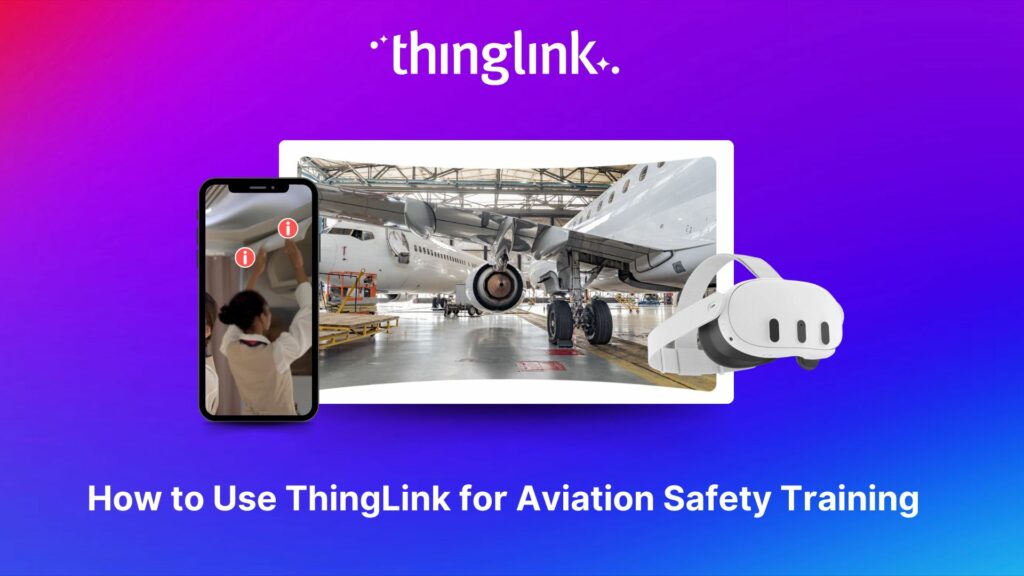
The high-stakes nature of aviation safety demands effective and engaging training methods. Traditional employee training approaches such as instructor-led training...
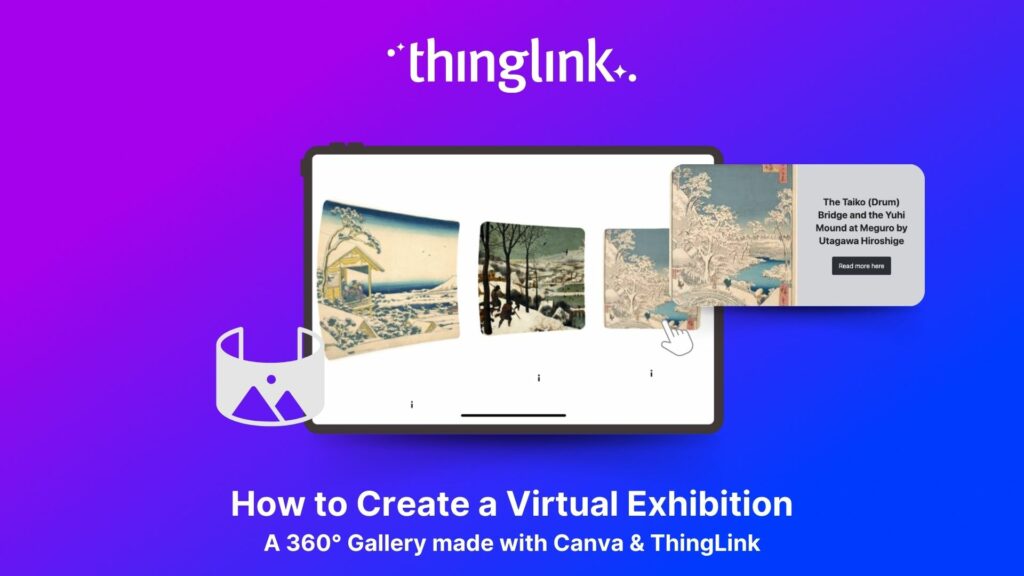
We show you how to make your own interactive 360° virtual art gallery with our Canva template and ThingLink The ThingLink Team have devised a quick and easy way...
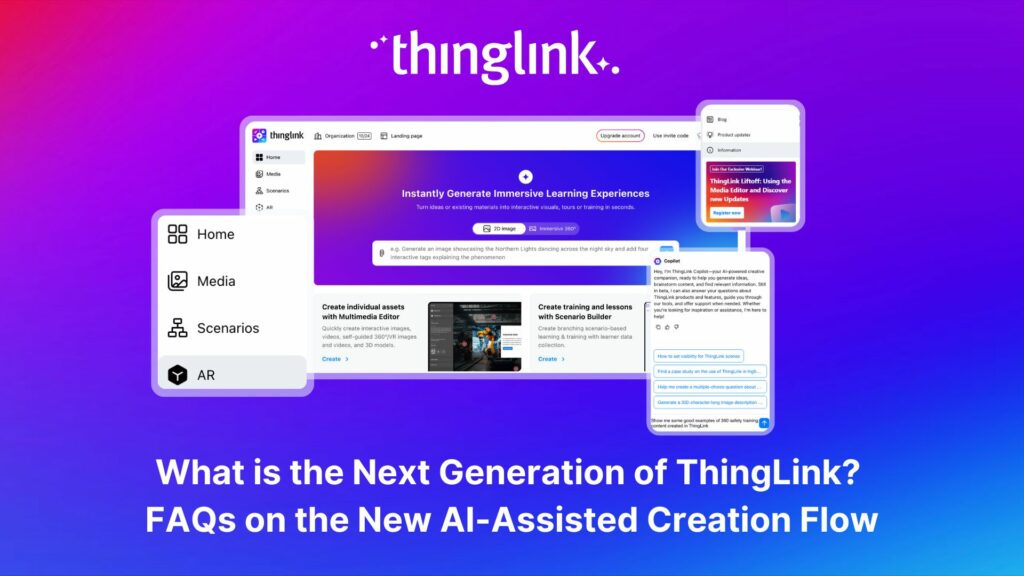
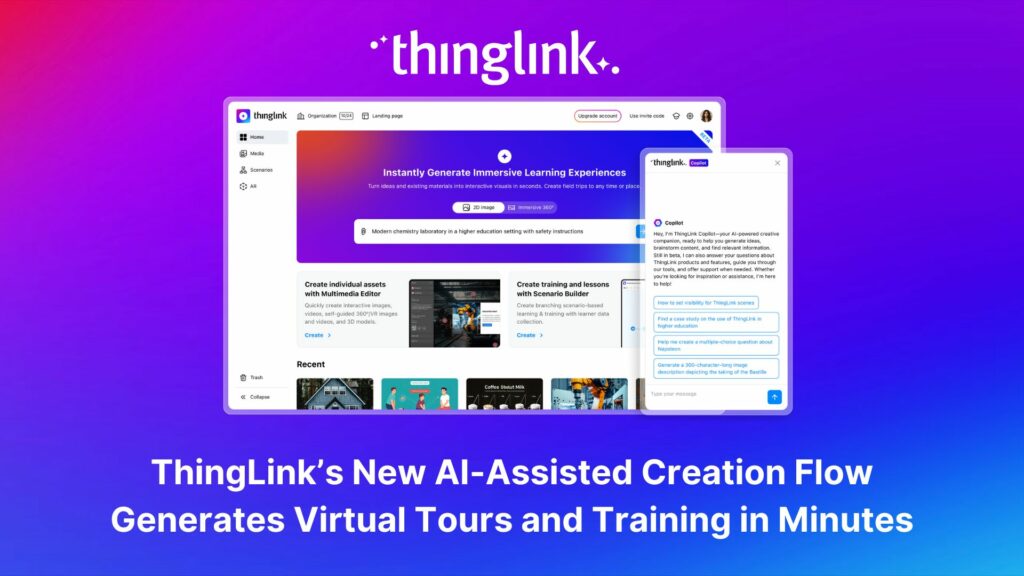
The next generation of ThingLink has launched, with the same easy-to-use immersive learning creation tools now accessible via a fresh new interface. Create...
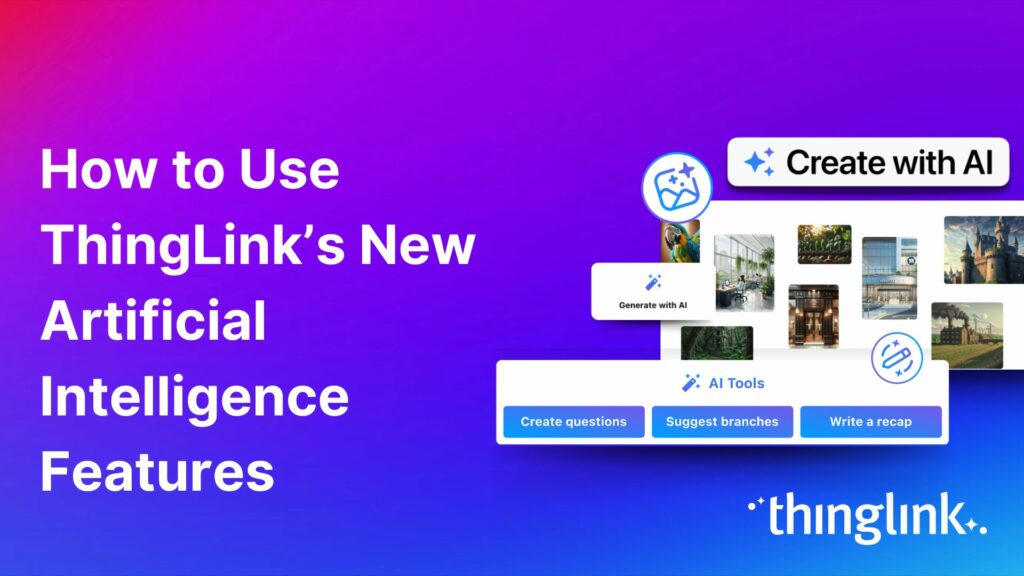
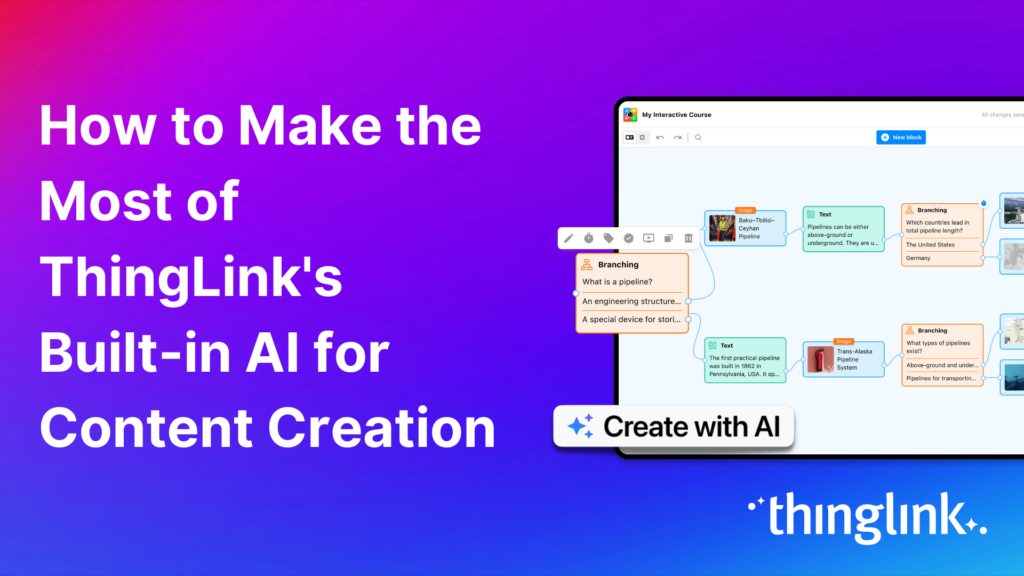
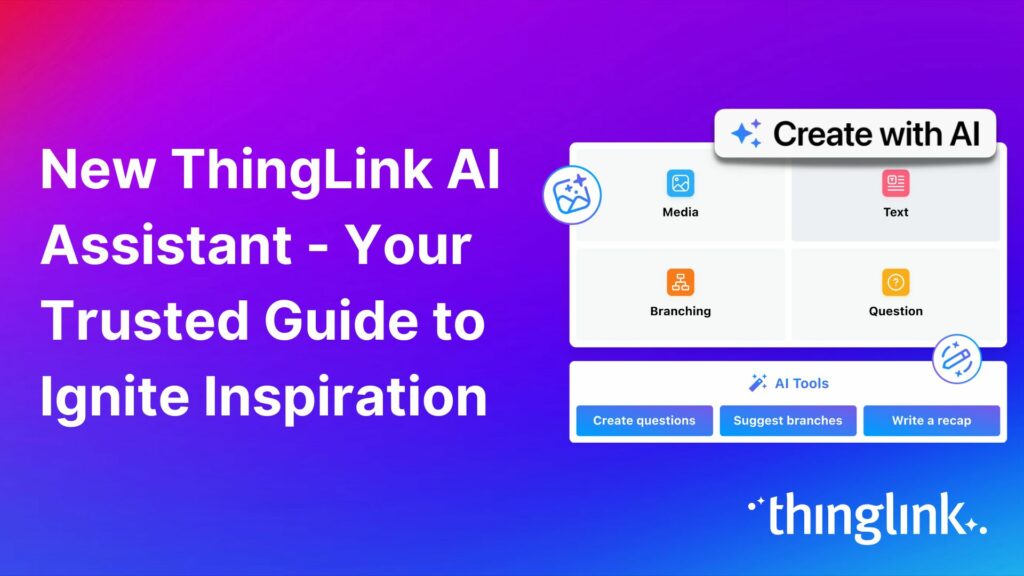
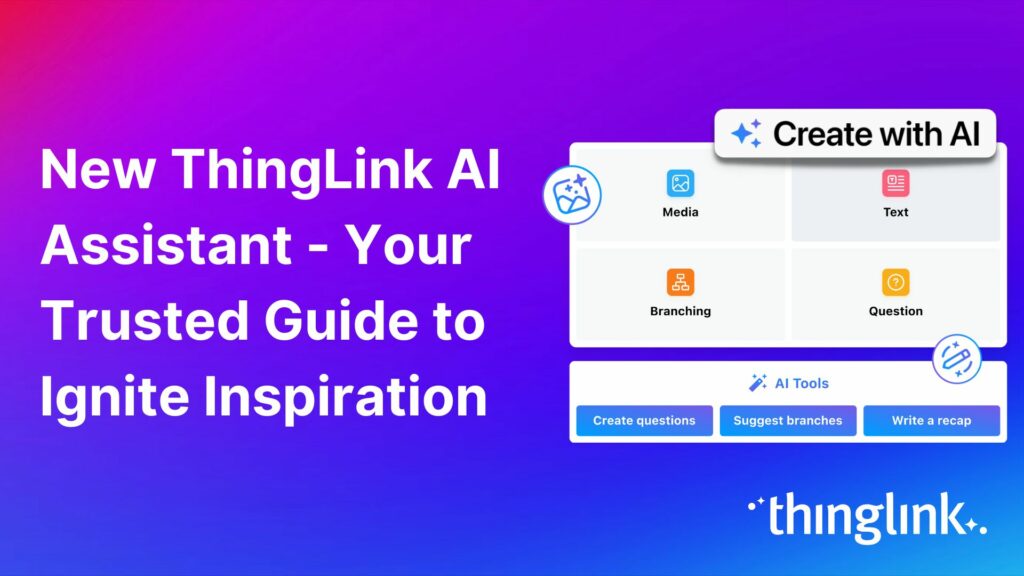
As digital transformation accelerates across industries, the demand for intuitive AI tools that empower non-technical users to create sophisticated learning experiences...
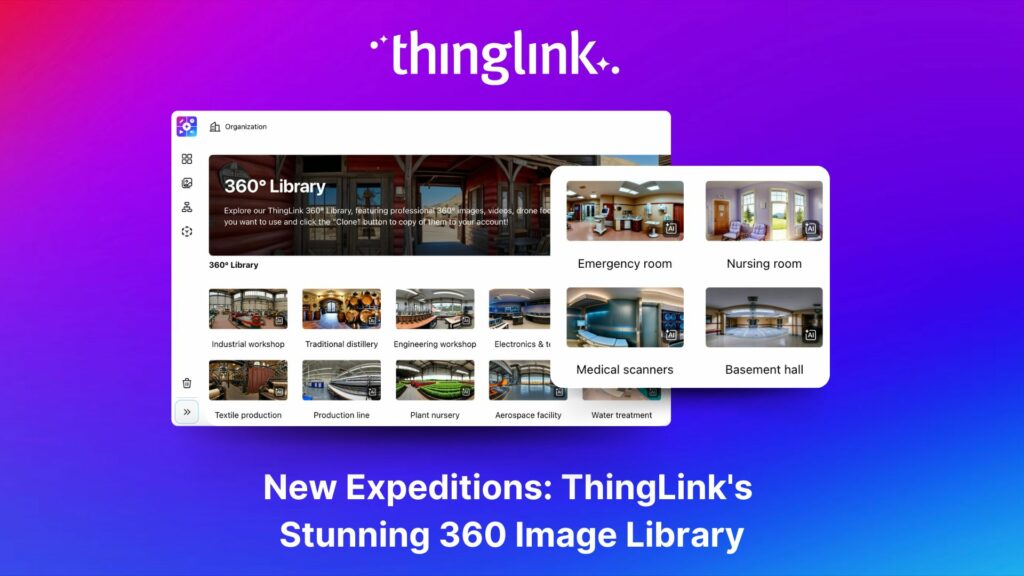
ThingLink’s 360 Image Library is a curated collection of professional 360 images from culturally relevant natural and historic sites. You can use the images...
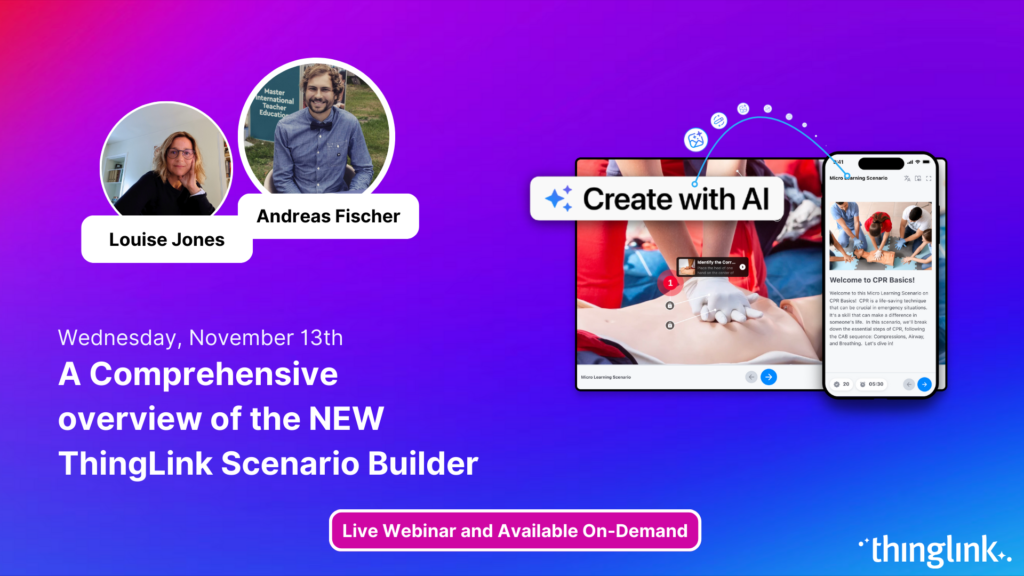
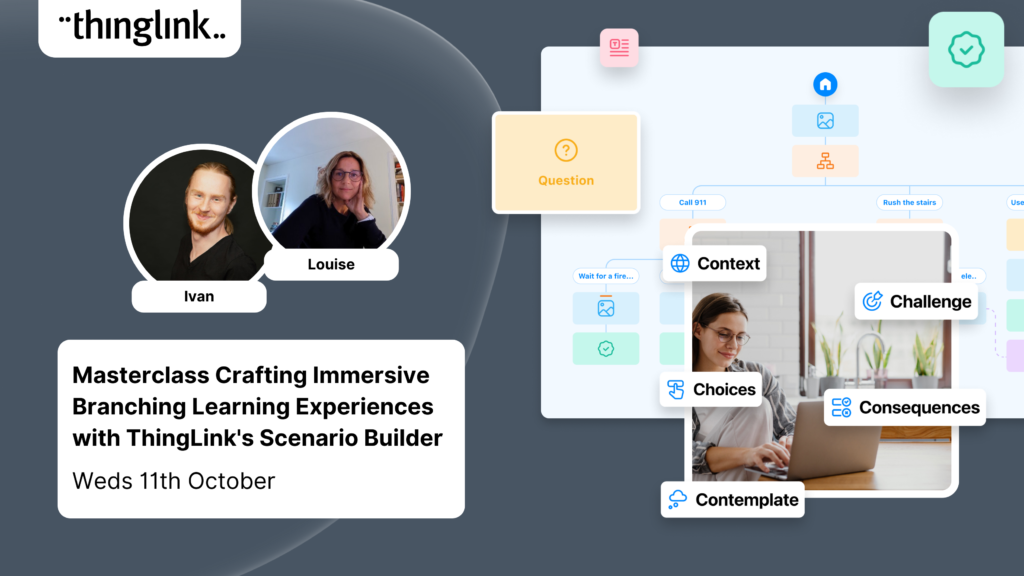
Join us for an exciting exploration of ThingLink’s updated Scenario Builder! In this session, we’ll showcase two powerful paths for scenario creation: building...
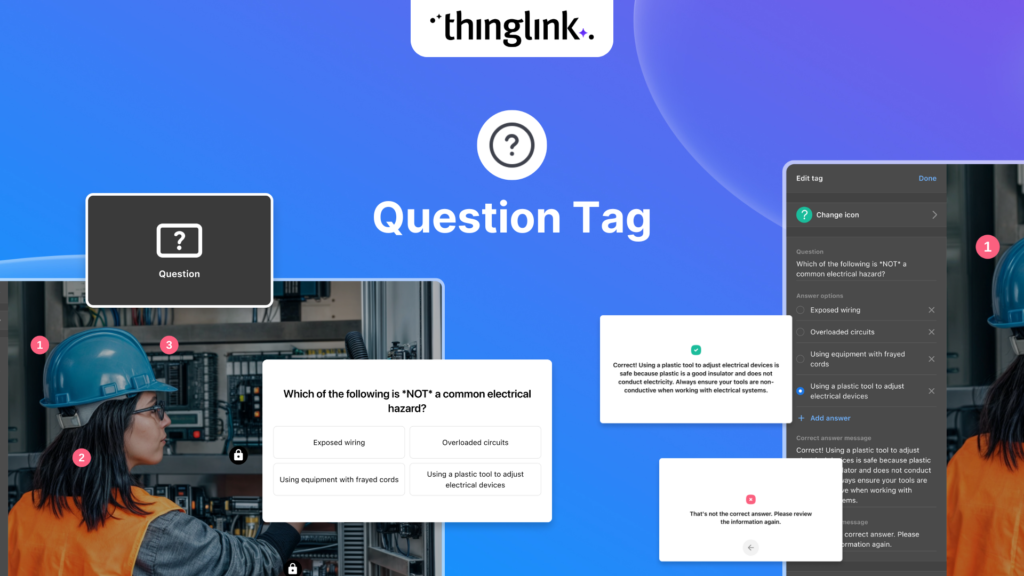
We’re thrilled to introduce a brand-new feature to enhance your learning experiences – the new question tag type for the ThingLink Multimedia Editor! Whether...
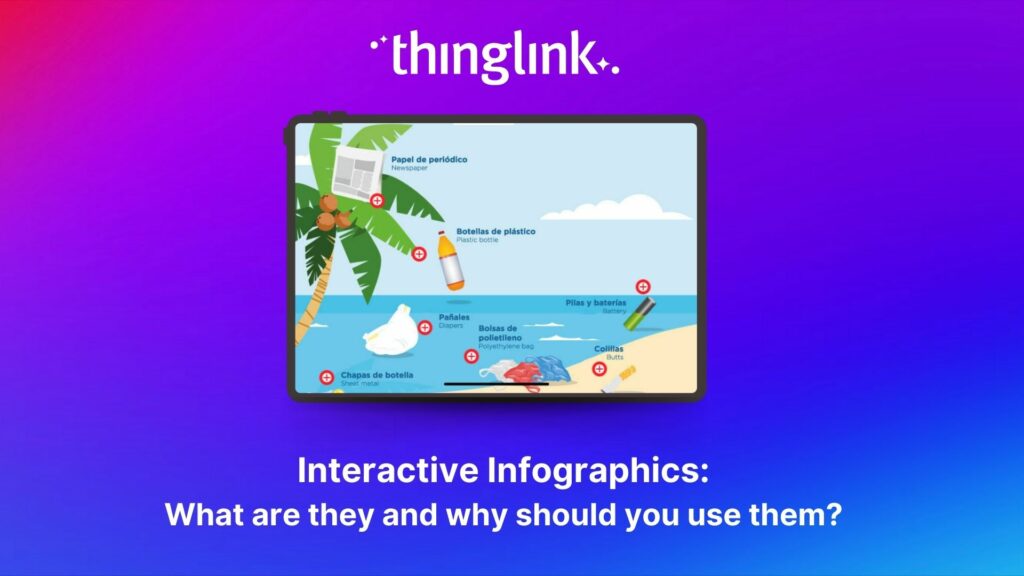
Infographics are the fastest and easiest way to present any complex information. In this blog we’ll show you how to create interactive infographic designs even...
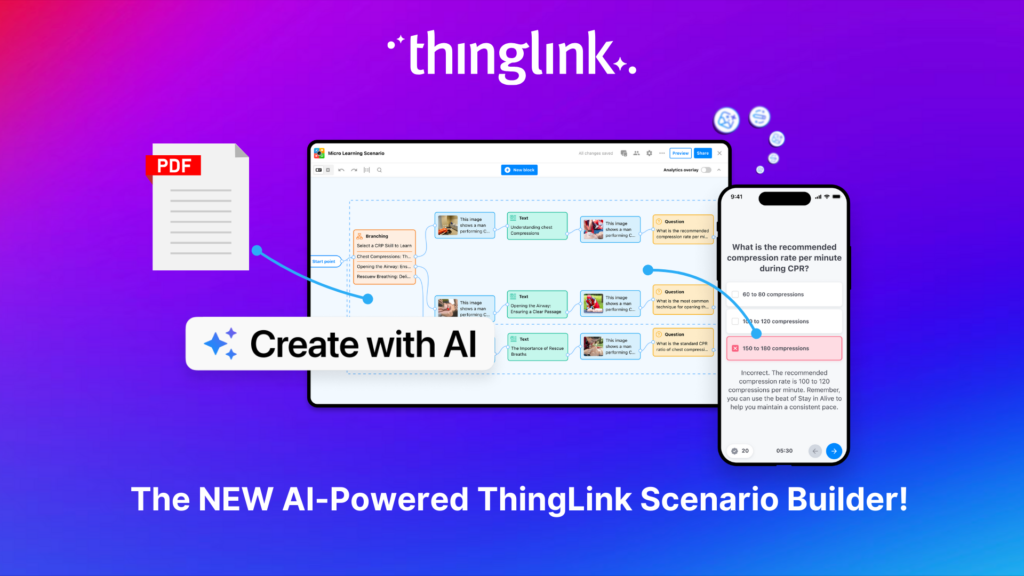
Meet the new and improved ThingLink Scenario Builder, your ultimate tool for transforming static content into immersive, interactive experiences. With AI-powered...
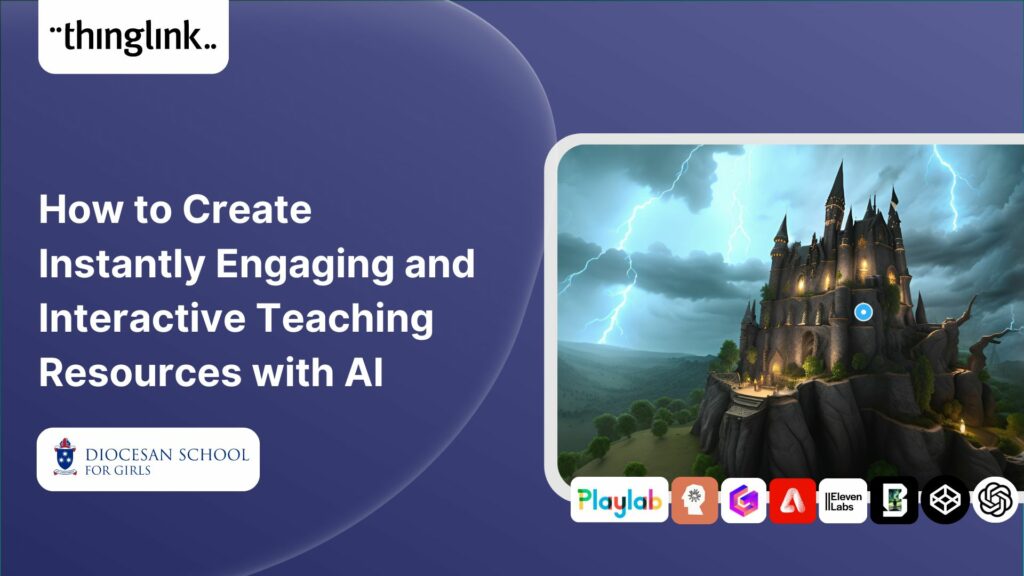
Rob McCrae is the AI Lead and ICT Director at Diocesan School for Girls in Auckland, New Zealand, an independent school of 1600 students aged 5-18. Earlier this...
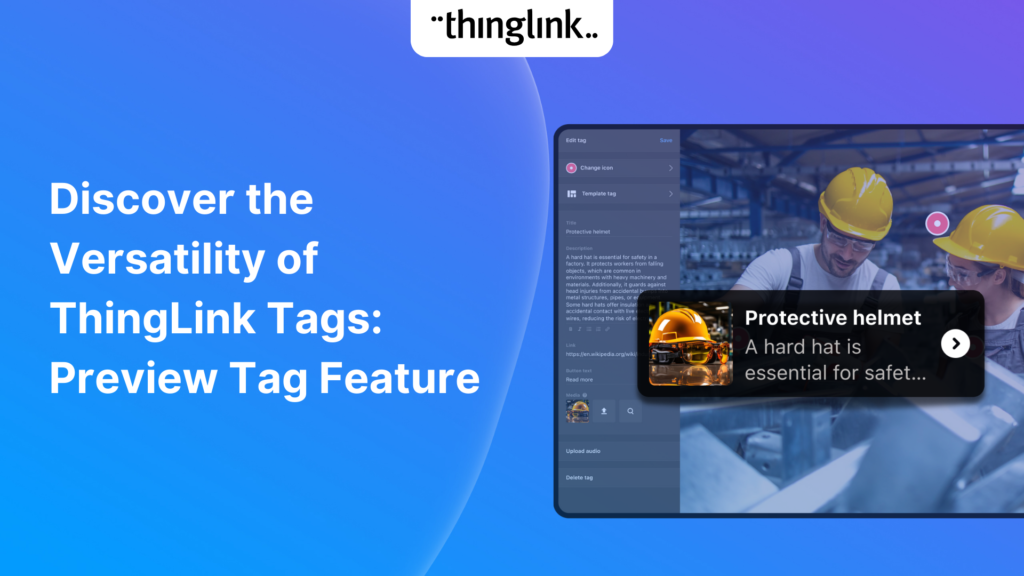
We’re excited to introduce a feature that helps reduce cognitive overload by offering a quick preview of what’s inside text and media tags. Now, when viewers...
In 2023, we launched an exciting group of webinars, to engage with ThingLink creators and explore how AI could be integrated into their work. ThingLink Founder ...
If you’re heading out on an educational trip this end of term, don’t forget your 360 camera to ensure you can re-create the trip as a virtual tour. ...
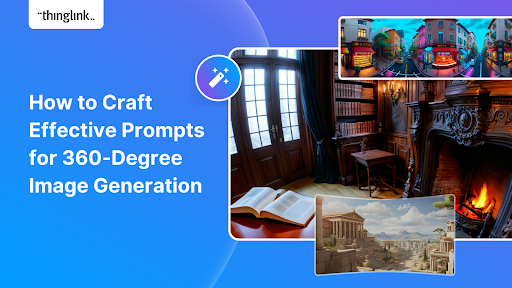
Creating compelling prompts for your immersive 360-degree AI-generated images requires descriptive language that captures the scene’s essence and style as...
Finding engaging and effective methods to train employees is crucial for both individual skill development and team cohesion in any organisation. An escape room...
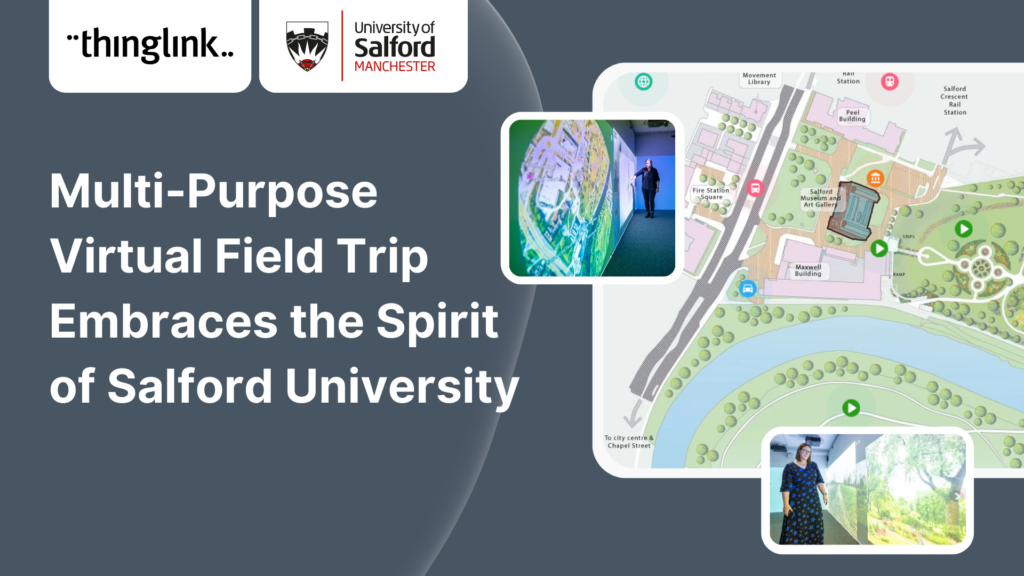
In this case study we look at an inspiring example of collaboration between a university and its local community. The university has created a multi-purpose interactive...
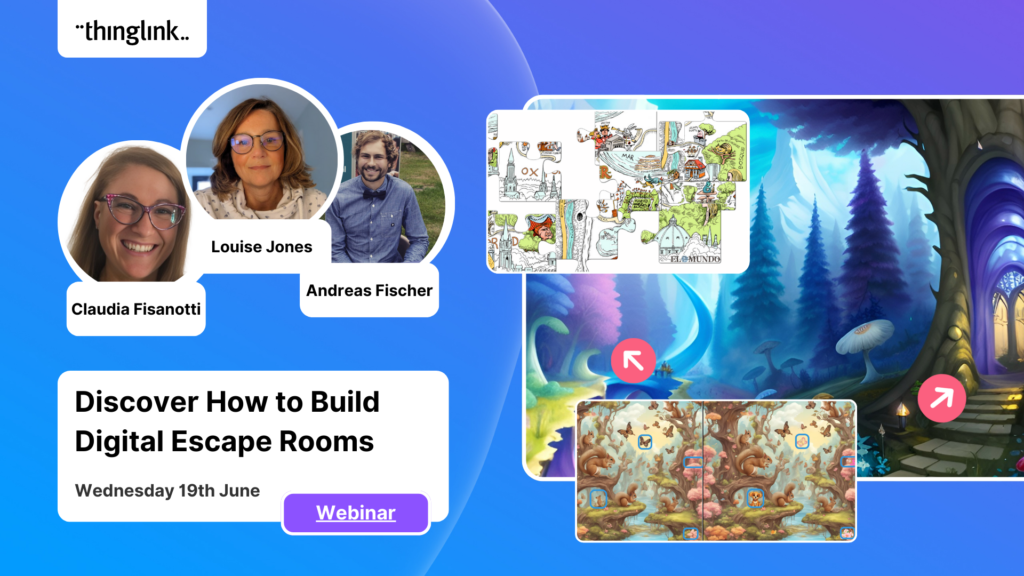
Are you an educator, corporate trainer, or just someone passionate about innovative immersive learning experiences? Our upcoming webinar, “How to Build Digital...
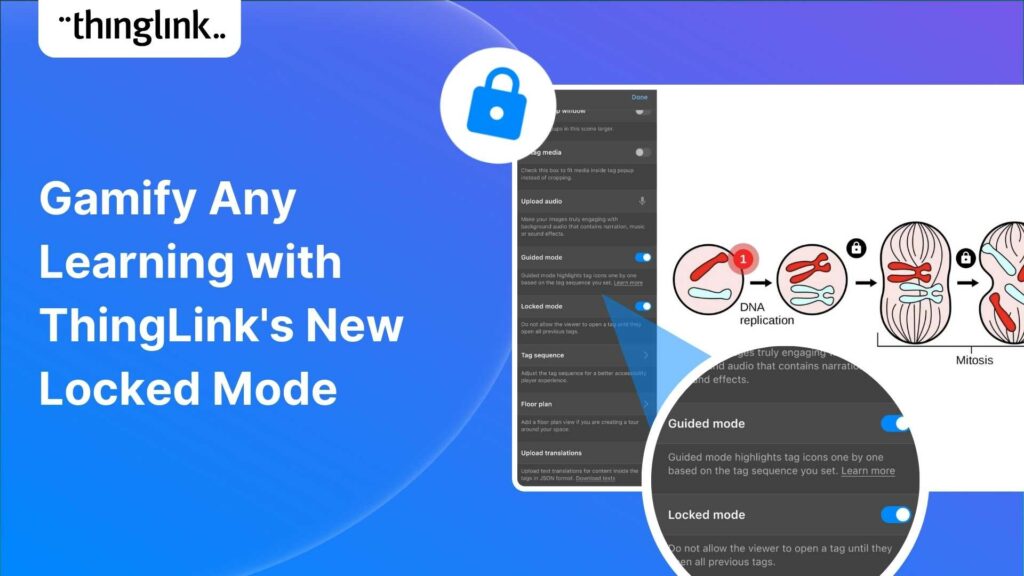
Creators can now enable new Locked Mode for tags, allowing learners to unlock new information as they progress through a scene in a set sequence. In this post we’ll...
Katrina Lilly is a teacher at Te Aratai College in New Zealand, and recently finished a Masters in Contemporary Education at AcademyEx. As part of her masters she...
ThingLink has become an essential tool across numerous industries, making the learning experience more relevant and relatable at every stage. The impact in healthcare...
We are delighted to invite you to our webinar! ThingLink Host Louise Jones welcomed special guest star Jon Neale from Quizizz for a fun discussion and live demonstration...
Discover the new ThingLink Augmented Reality App! In this exclusive free webinar Louise from ThingLink is joined by Special Guests Patryk Wójtowicz, Savonia University...
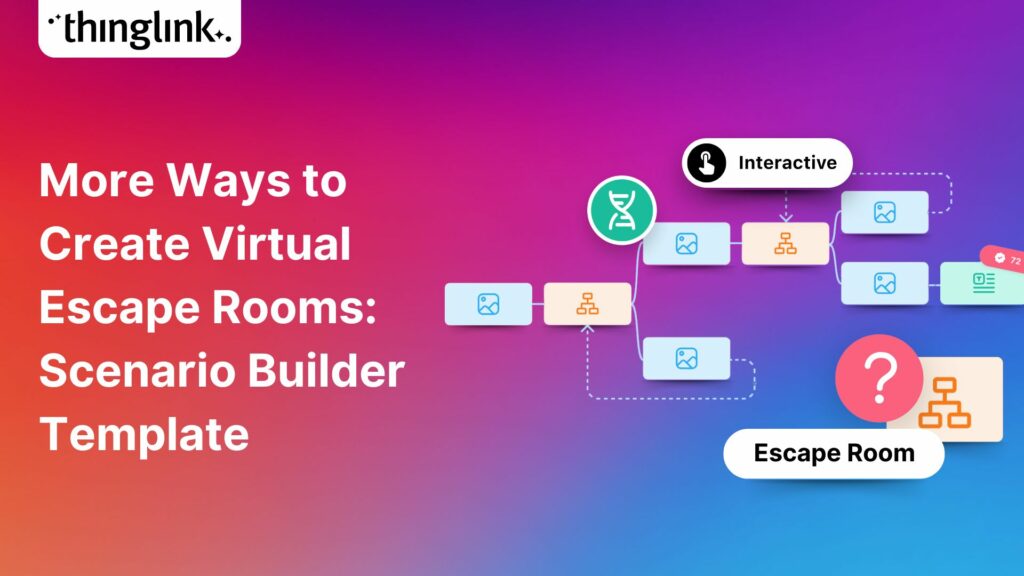
Creating a Virtual Escape Room is now even easier with ThingLink’s Scenario Builder ready-made template! Escape rooms (sometimes called breakout rooms) have...
What a webinar! “Discover Immersive Learning with ThingLink and Adobe Express,” draws upon insights from the recent BETT Education Technology Show. ...
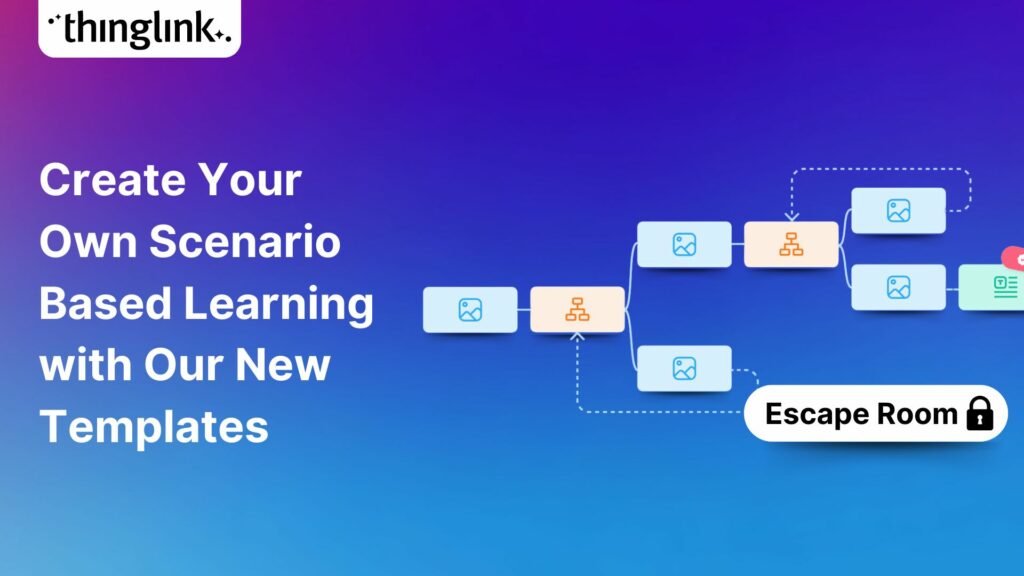
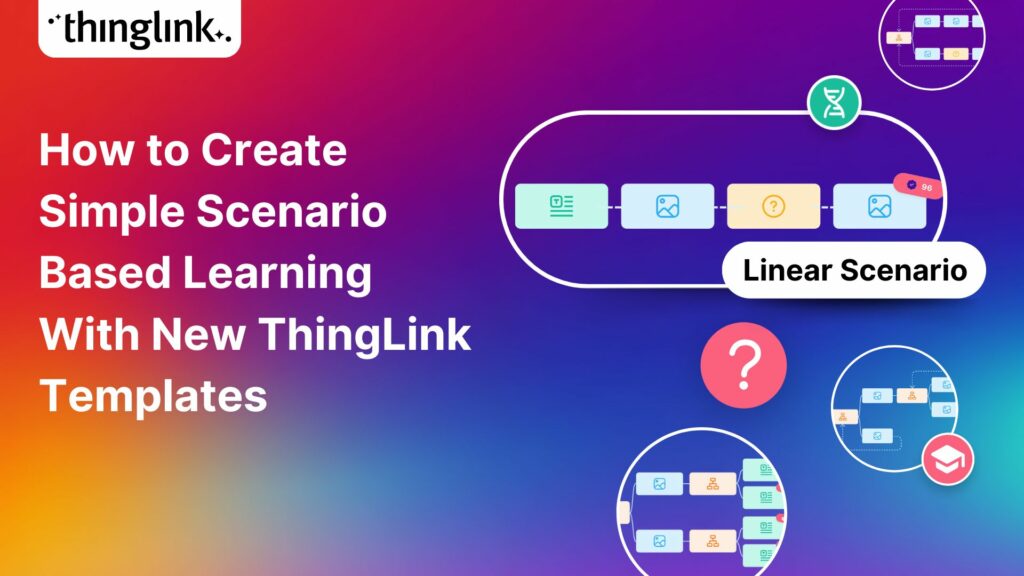
Creating an online course or module is now easier than ever using ThingLink Scenario Builder templates In the world of elearning and corporate training, creating...
Unlock the Secrets to Crafting Mesmerizing 360° Visuals for a Game-Changing Learning Experience! The future of immersive learning is not just about consuming content—it’s...
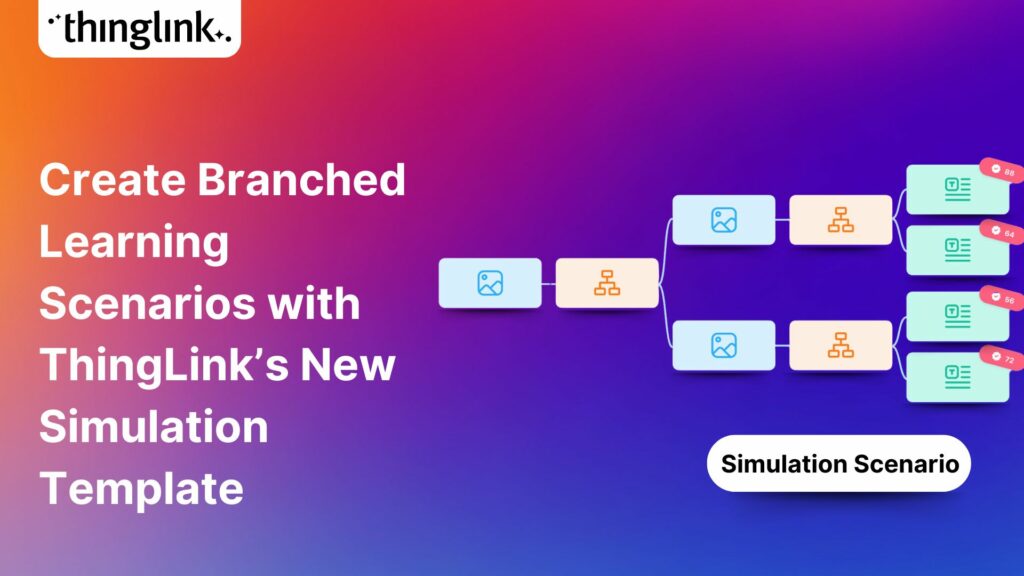
We recently launched new ThingLink Scenario Builder Templates – our latest tools to help you create impactful interactive, scenario-based training. In this...
ThingLink’s Scenario Builder Templates are the newest arrival in our ever-growing set of assistant tools to help you build your own bespoke training and learning...
New Webinar! Masterclass in Crafting Immersive Branching Learning Experiences with ThingLink Scenario Builder In the world of eLearning, branching scenarios have...
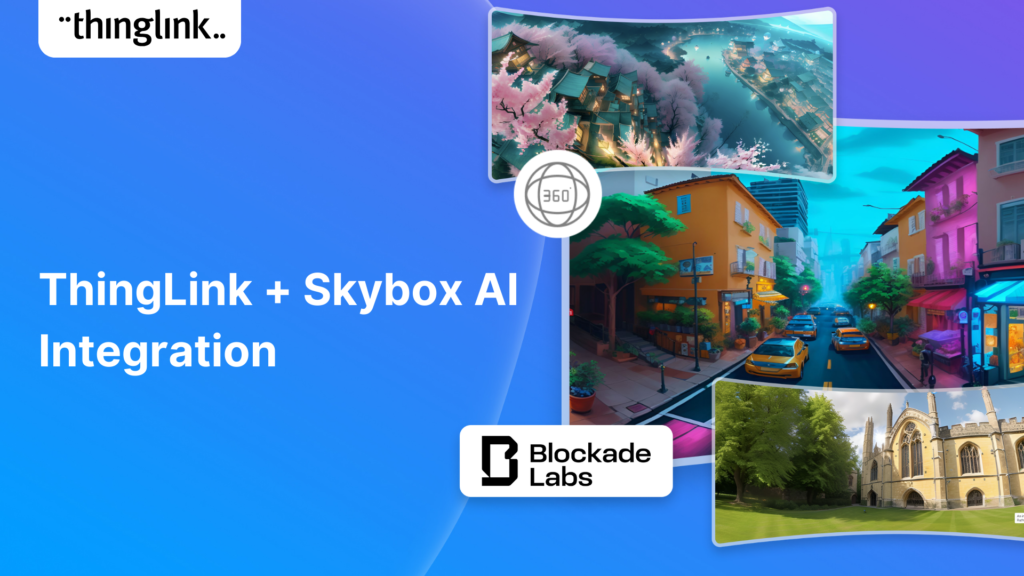
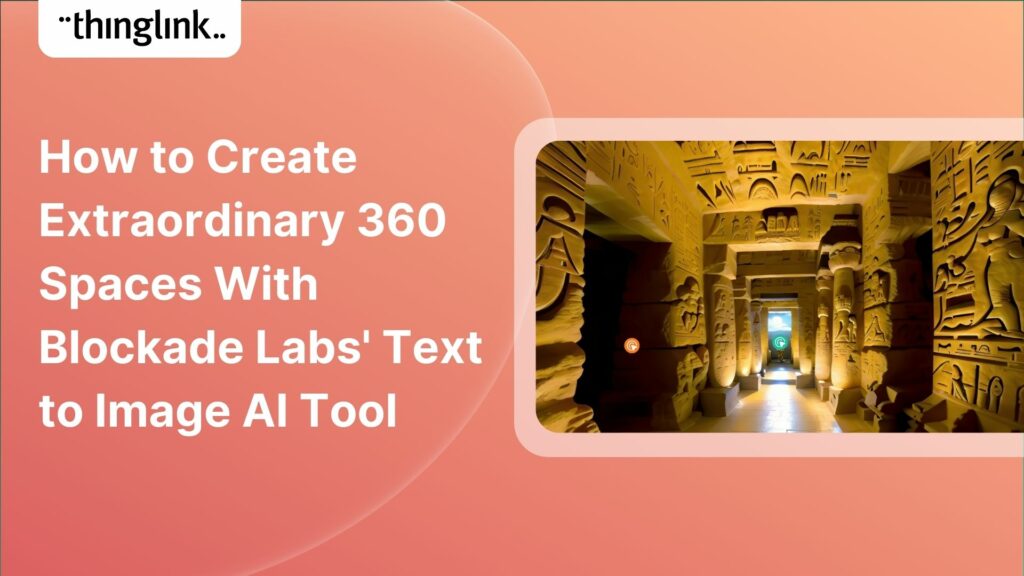
Unleash imagination to design unique environments inspired by literature, mythology, historical periods, and more. With Skybox AI and ThingLink, you’re not...
ThingLink, an award-winning immersive learning technology platform is announcing a strategic partnership with Blockade Labs, creators of Skybox AI, an innovative...
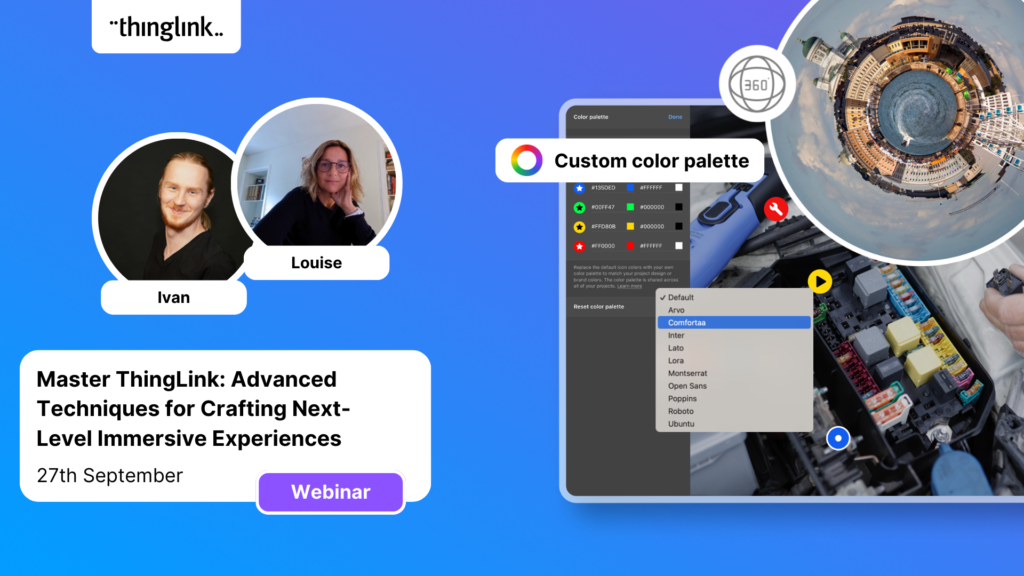
On-Demand Webinar on Advanced Features of ThingLink! Master ThingLink: Advanced Techniques for Crafting Next-Level Immersive Experiences The future of learning ...
We’re excited to unveil new ThingLink Scenario Builder Templates – the latest in a range of assistant tools to help you create amazing interactive training...
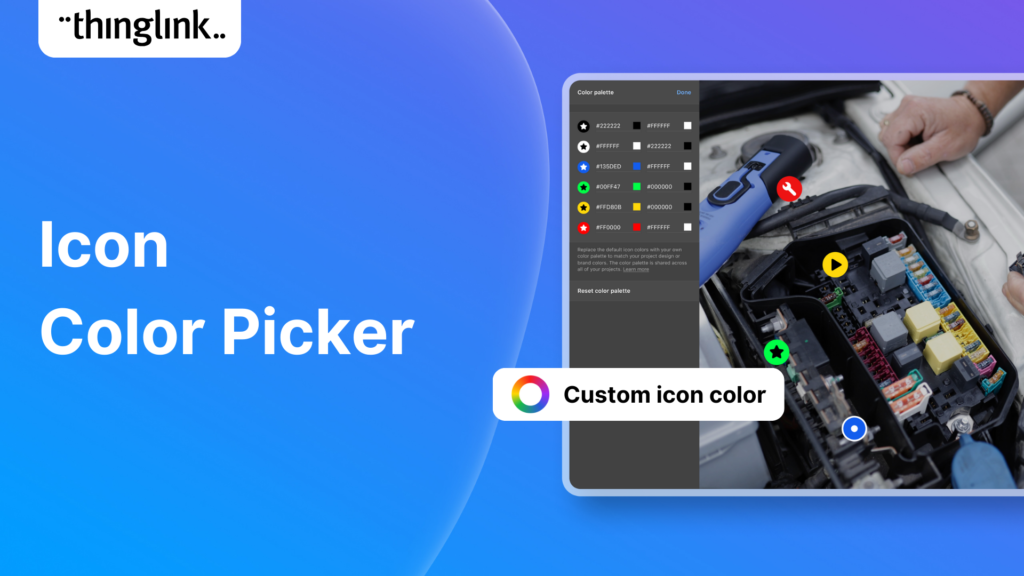
We’re thrilled to announce the launch of our much-anticipated feature: the Icon Color Picker! This great new update comes as a direct response to the invaluable...
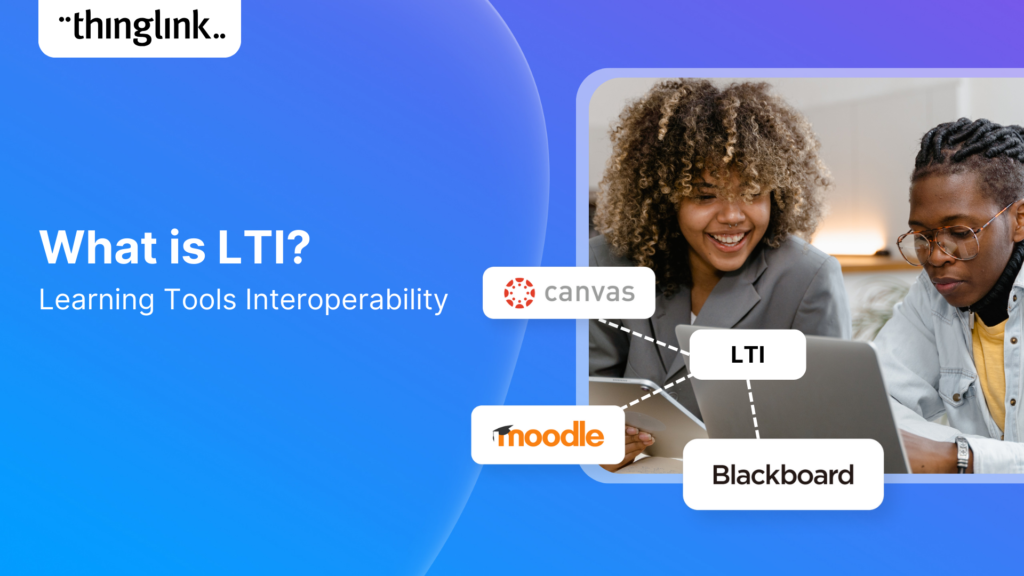
Learning Tools Interoperability (LTI) is a widely-adopted industry standard in the fields of education and corporate learning and development. It was developed ...
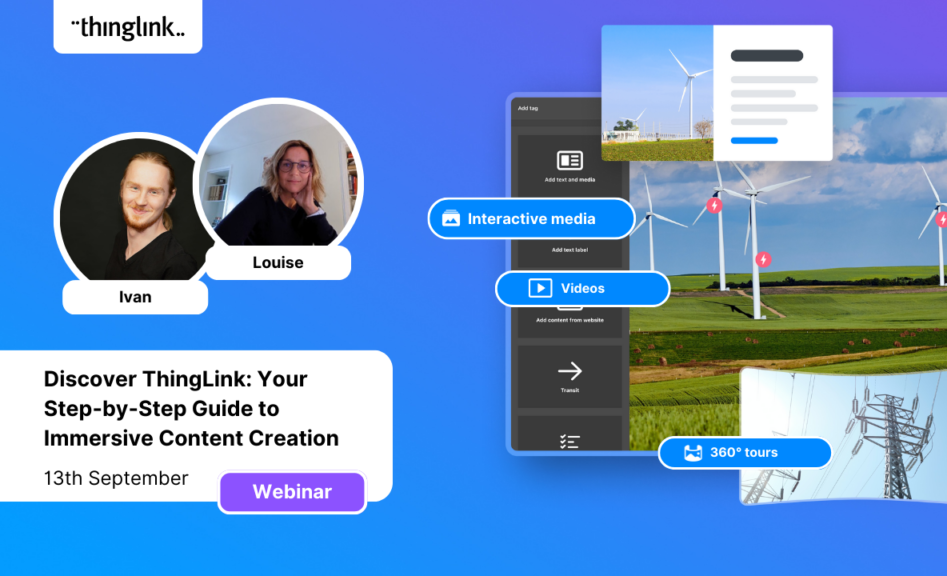
Dive into “Discover ThingLink: Your Step-by-Step Guide to Immersive Content Creation.” This webinar introduces ThingLink, a game-changing platform that...
In the early 2000s, the first digital cameras hit the market. In those days, we paid hundreds to take low resolution pictures with hardware that could only store...
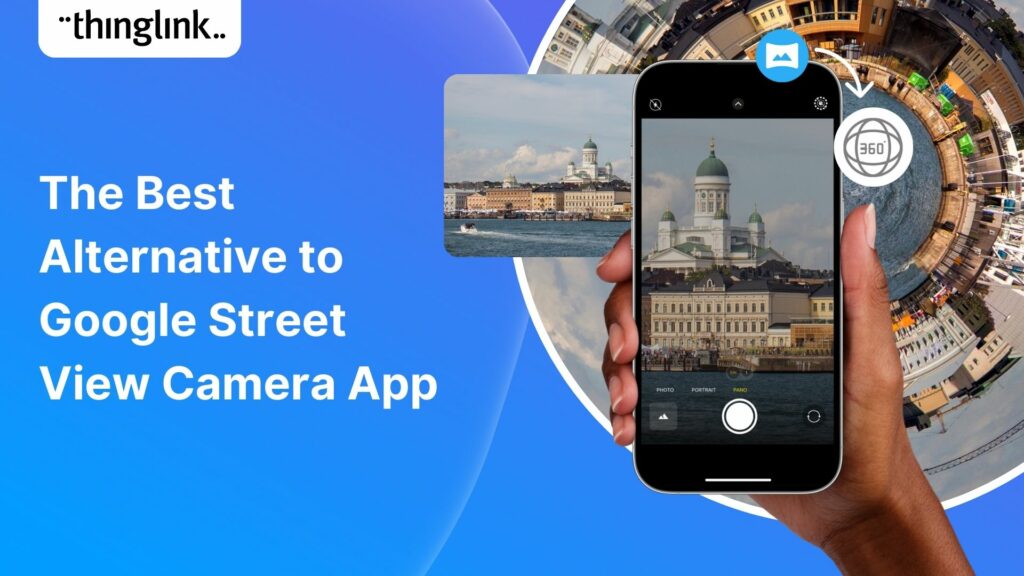
In the wake of the deprecation of Google StreetView Camera App, virtual tour creators everywhere have been looking for a user-friendly, high-quality and accessible...
At ThingLink we are constantly striving to source and share with our creators the very best and most useful AI tools. To meet our criteria they must produce high...
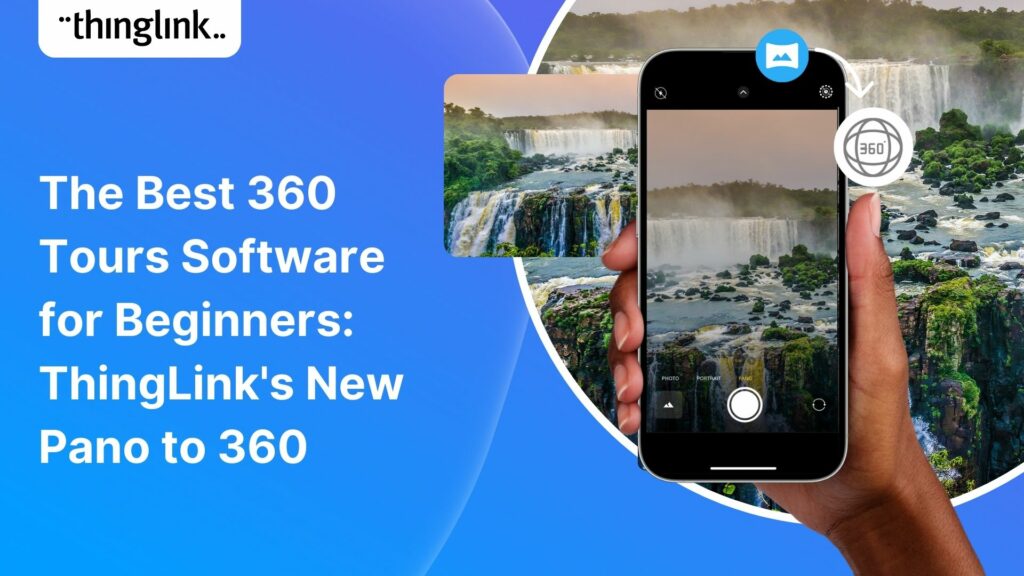
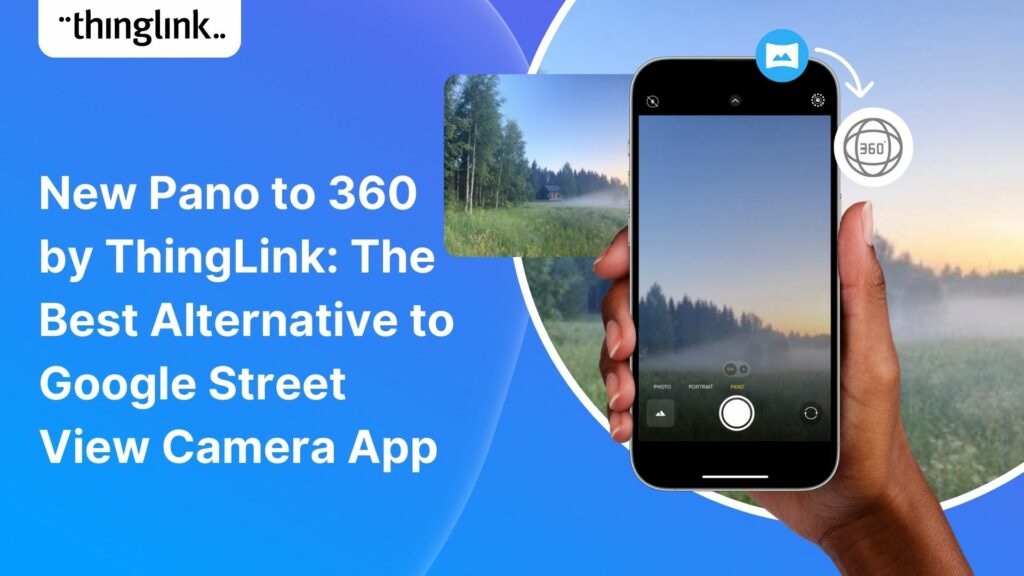
Dive into a universe of detail with Pano to 360: no more multiple shots, just easy, fully immersive 360 photospheres! Since Google decided to retire the beloved...
Ever since Google discontinued its much-loved Street View Camera App, users around the world have been searching for a worthy alternative. The good news? Your search...
Artificial intelligence (AI) has become seamlessly integrated in one way or another into almost all the business processes and support systems that we take for ...
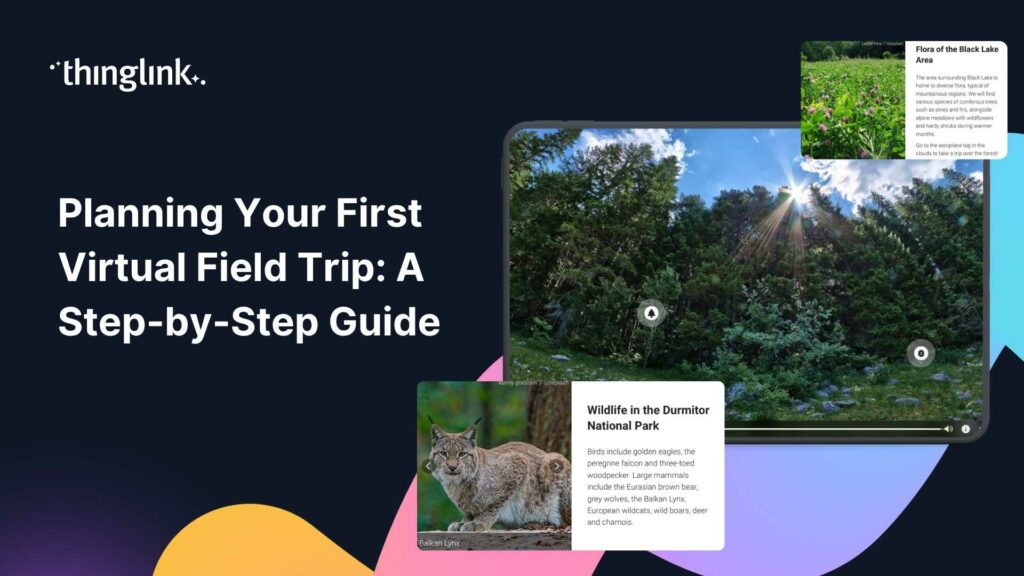
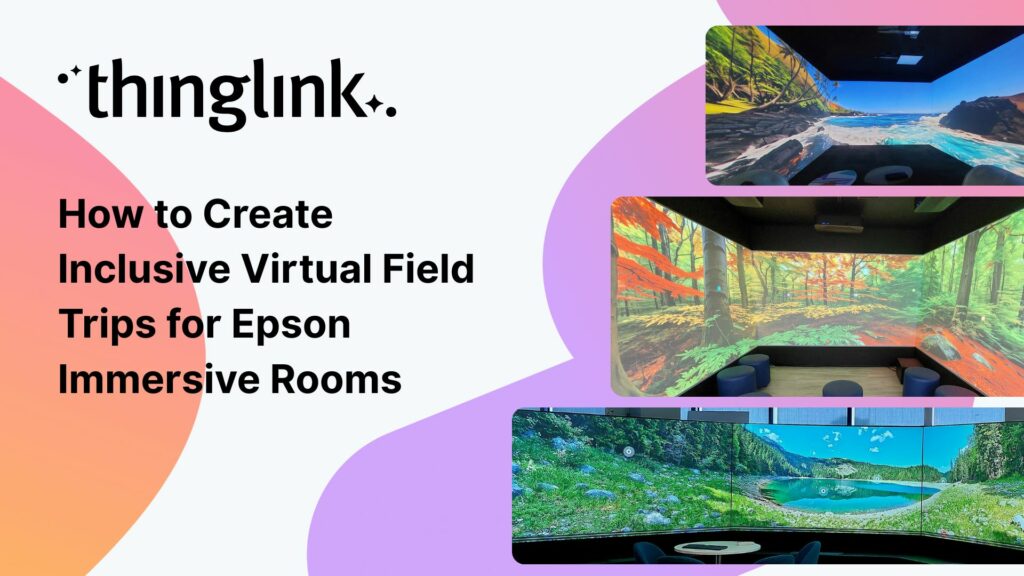
Virtual field trips are an ideal way to immerse learners in real world environments without ever leaving the classroom, lab or lecture theatre. There are a number...
ThingLink introduces Pano to 360: a revolutionary and cost-effective solution for capturing 360 images – using an iPhone or android mobile device. Join our...
Everyday Applications of AI We are living in an era where artificial intelligence (AI) is becoming a seamless part of many aspects of our daily life. Whilst we ...
Virtual tours are now one of the cornerstones of real estate marketing, giving potential buyers the opportunity to view a property at a convenient time and place...
ThingLink Launches a Revolutionary Solution for Capturing 360 Images In light of the discontinuation of the Google Street View Camera app, ThingLink has answered...
QR codes are having a renaissance – and it’s well deserved! These versatile squares offer endless opportunities for creativity and engagement. In this...
ThingLink has been a leader in learning technologies, consistently seeking innovative ways to stay ahead of the curve. Not only are we bringing you new ways to ...
In 2023 our team initiated a series of webinars, fostering a dialogue with creators on the integration of Artificial Intelligence (AI) tools into their work. ThingLink...
Virtual tours have become an integral part of the real estate industry, allowing potential buyers to explore properties from the comfort of their homes – ...
In this blog we look at what digital storytelling is, how it is being used, and provide three great examples of how ThingLink has been used for storytelling projects...
In this blog we look at how you can use interactive videos – either as a training or educational tool for your learners, or for marketing or ecommerce purposes....
Artificial Intelligence (AI) tools are rapidly evolving and one of the most fascinating and incredibly useful applications is image generation, particularly text-to-image....
Infographics are a great way to present complex information in a clear and concise way. They are used for data visualization across every sector and can package...
ThingLink is used all over the world as a tool to easily create interactive learning experiences with images, video and 360 images. But one way to create a valuable...
Virtual escape rooms are a great way to engage K-12 students in learning, and offer a unique and interactive learning experience. Just like physical escape rooms,...
ThingLink has been a leader in learning technologies, consistently seeking innovative ways to stay ahead of the curve. When it comes to AI, we wish to take a more...
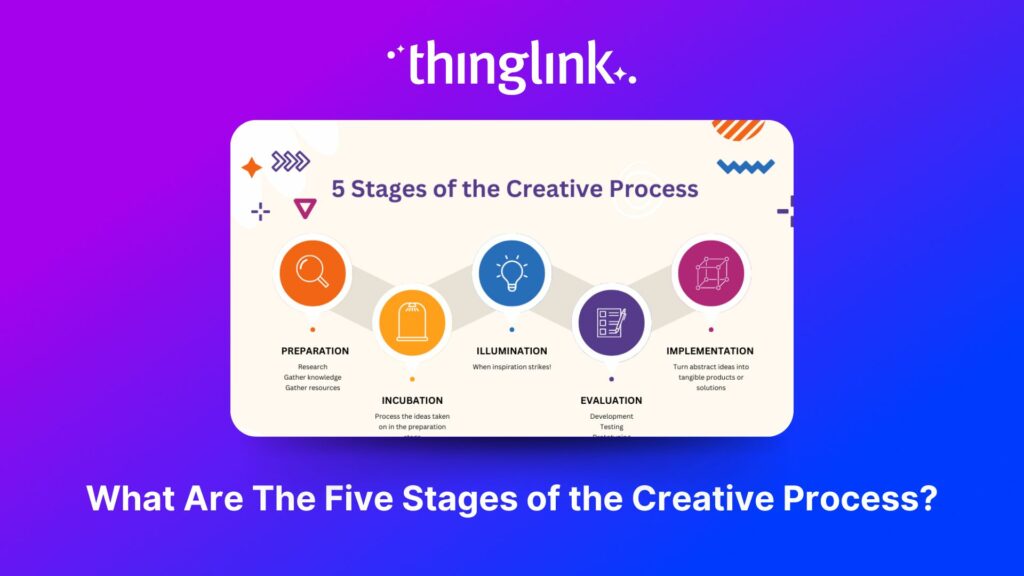
Creativity is required to a greater or lesser degree in almost all projects. Whether it is writing, designing, or strategizing, creativity is what gives birth to...
These days, a standard resume or CV may not be enough to stand out amongst other applicants in your job search. This is where interactive visual resumes come in....
In this blog post, we’ll look at why it’s important to develop successful diversity training initiatives that will help create a safe and supportive...
What is an interactive resume? An interactive resume or interactive CV (curriculum vitae) is a tool that contains rich media in a variety of formats. It goes beyond...