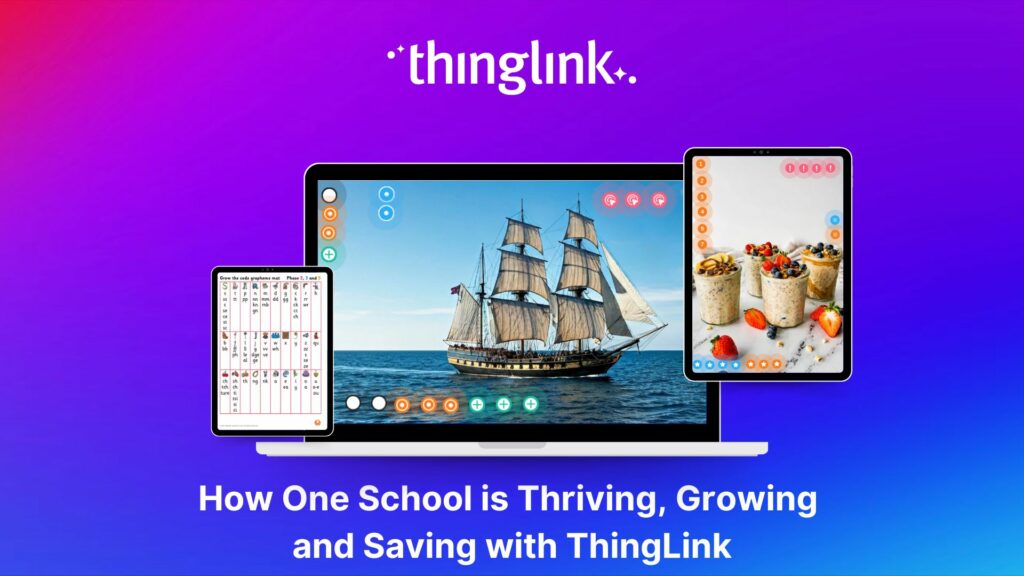
East Renfrewshire Council’s Education Department sought to improve how they delivered training, shared resources, and communicated with teachers across a diverse...
 Kyla Ball
5 min read
Kyla Ball
5 min read
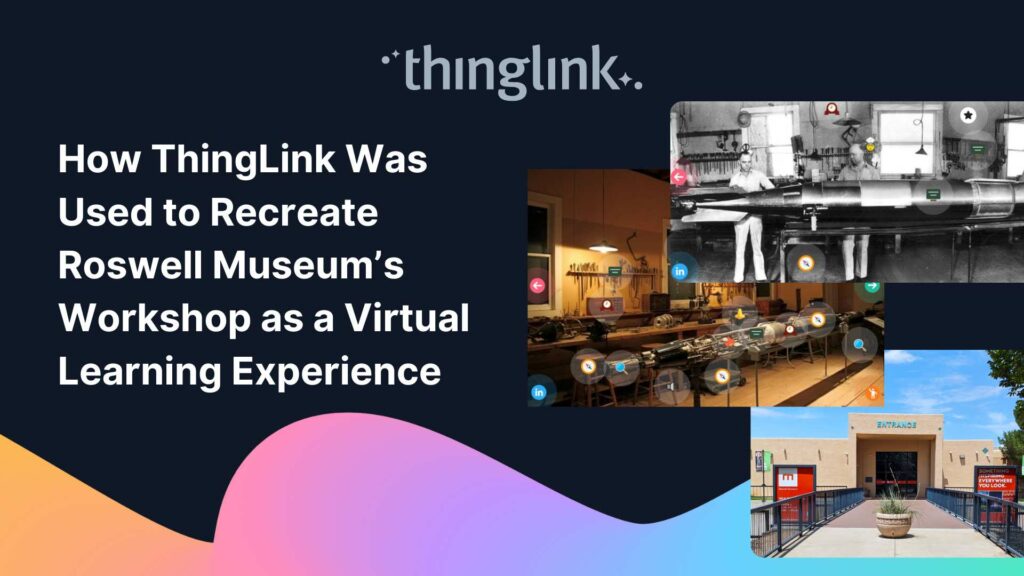
Background: A Museum Lost to Flooding When catastrophic flooding occurred at the Roswell Museum in New Mexico in October 2024, the loss went far beyond physical...
Kyla Ball
6 min read
Background Tankespirerne (translated as “Thought Sprouts”) is a Danish educational consultancy led by Martin Kongshave, elementary school teacher and practitioner...
Kyla Ball
5 min read
Transforming Education with Gamified Learning Experiences Education stands on the edge of a significant transformation, driven by innovative technologies that redefine...
Kyla Ball
5 min read
This teacher training resource for students on the PGCE course (Post Graduate Certificate in Education) demonstrates how ThingLink can be used to create interactive...
Kyla Ball
4 min read
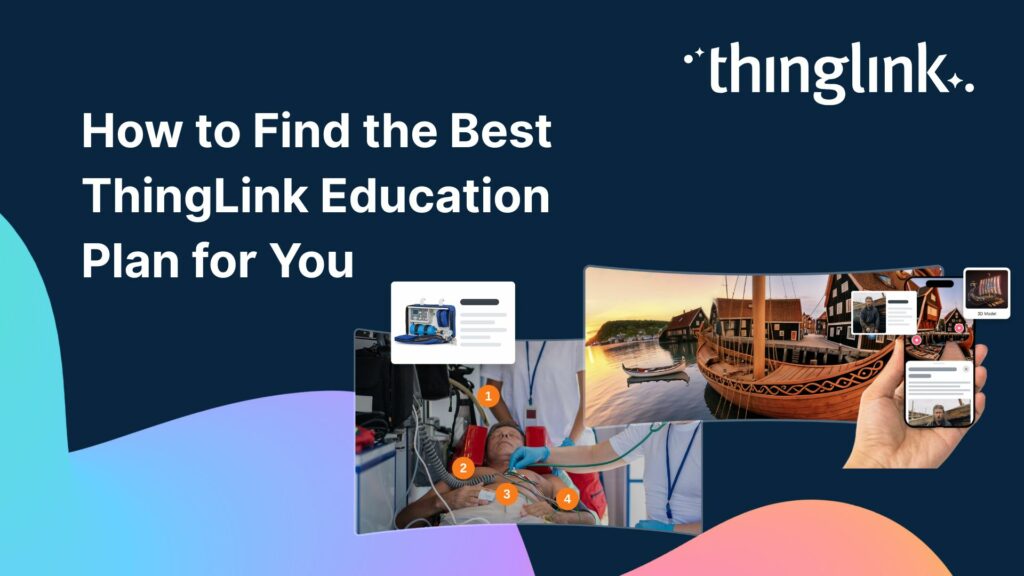
Plans for Every Educator and Every Institution We’ve listened to educators about what they need from their ThingLink plans for their students, school districts,...
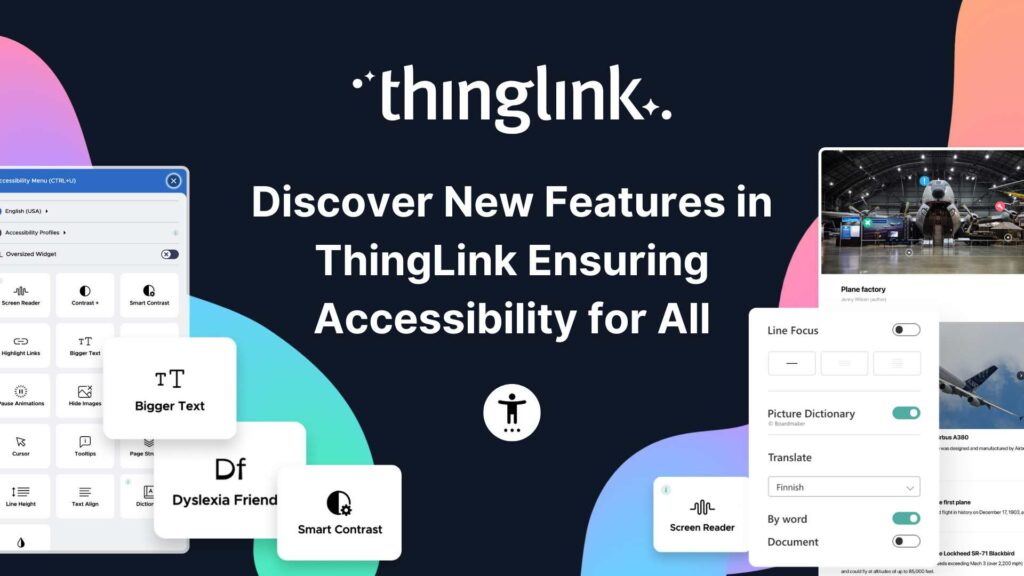
Creating accessible learning experiences is critical for educators, trainers and student creators, but it need not be daunting! ThingLink is a platform that allows...
¿Alguna vez has deseado llevar a toda tu clase a la selva amazónica, a la superficie de Marte o a los pasillos del Louvre o del Smithsonian… todo antes del ...
 Joseph Mayo
4 min read
Joseph Mayo
4 min read
Ever wished you could take your entire class to the Amazon rainforest, the surface of Mars, or the halls of the Louvre or the Smithsonian… all before lunch? ...
Joseph Mayo
4 min read
A medida que el aprendizaje inmersivo continúa transformando las aulas en todo el mundo, cada vez más escuelas y universidades están comenzando a explorar el...
Para que tu camino en la creación de contenido educativo en XR sea lo más sencillo posible, hemos seleccionado una colección de recursos gratuitos que te ayudarán...
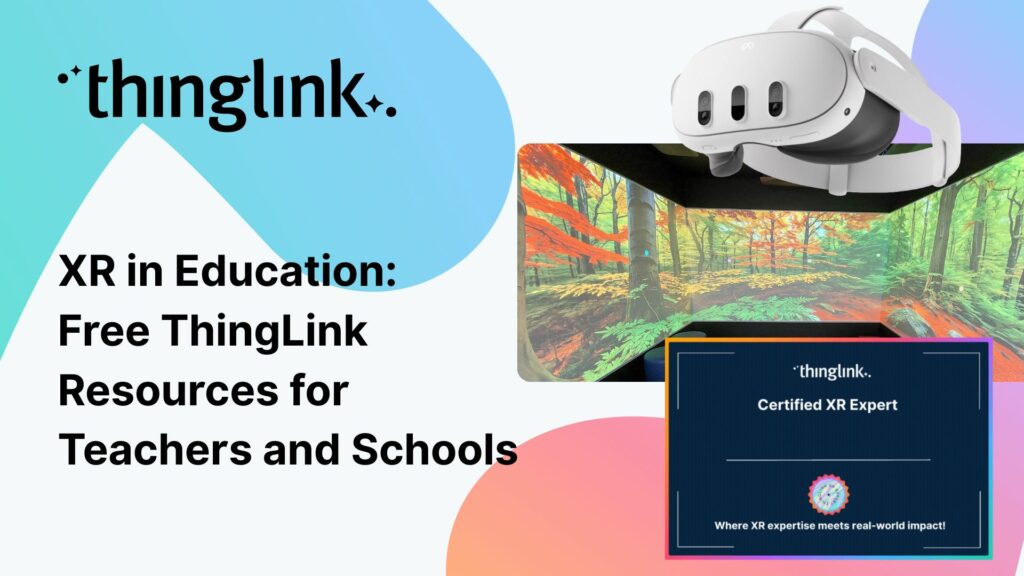
To make your journey through XR learning content creation as easy as possible, we’ve curated a collection of free resources that will help get you started. Packed...
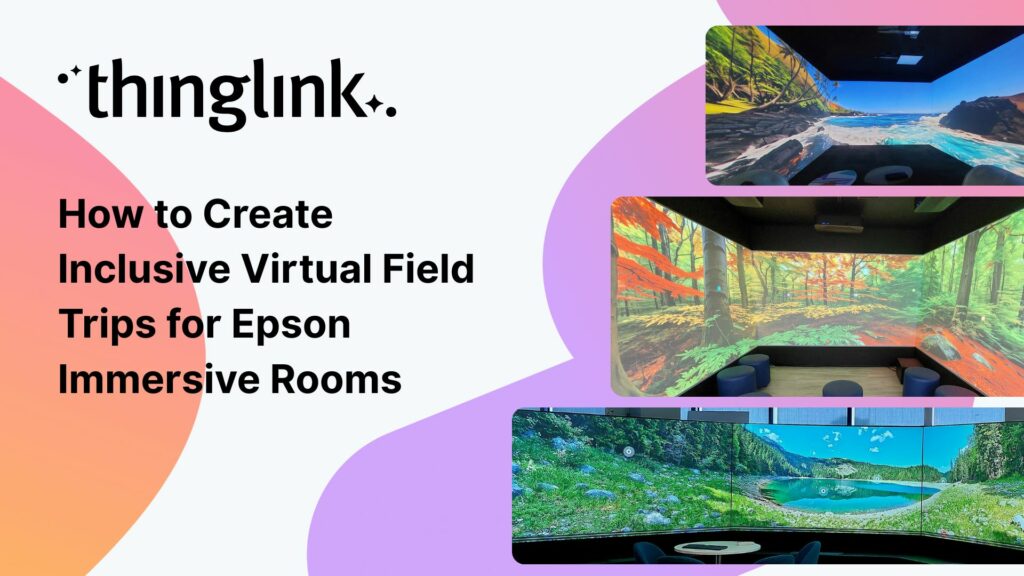
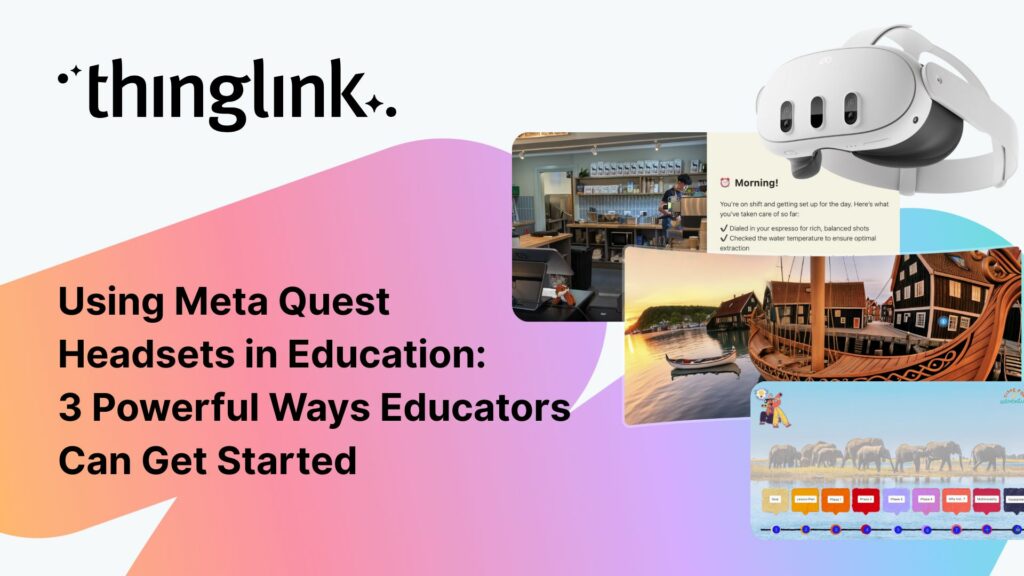
As immersive learning continues to transform classrooms around the world, more schools and colleges are beginning to explore the potential of Meta Quest headsets...
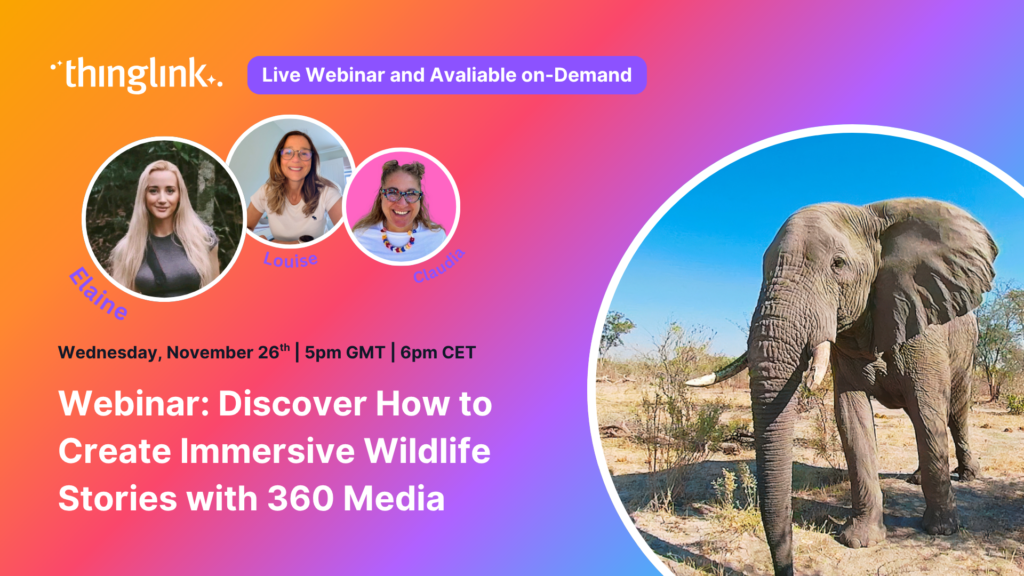
🐘 Inspire young minds to explore, protect and connect with nature using immersive storytelling, 360° content and ThingLink’s creative tools. Join us for an...
ThingLink has recently made available an inspiring set of three conservation-based 360° videos, designed for learners, educators, and anyone curious about how ...
Kyla Ball
4 min read
ThingLink is a fantastic tool for creating interactive and immersive images, videos, and virtual tours. It allows you to bring visuals to life by adding hotspots,...
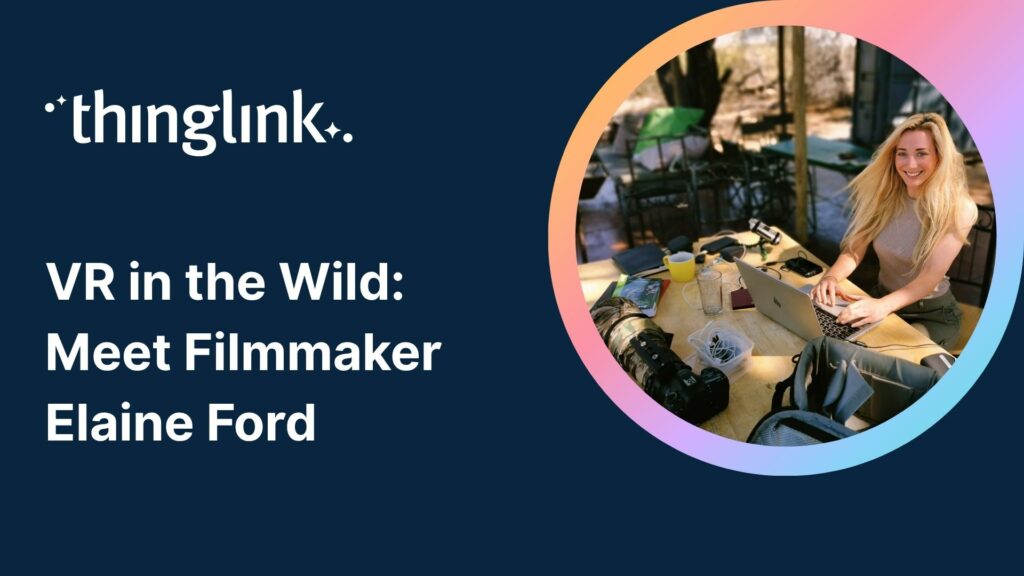
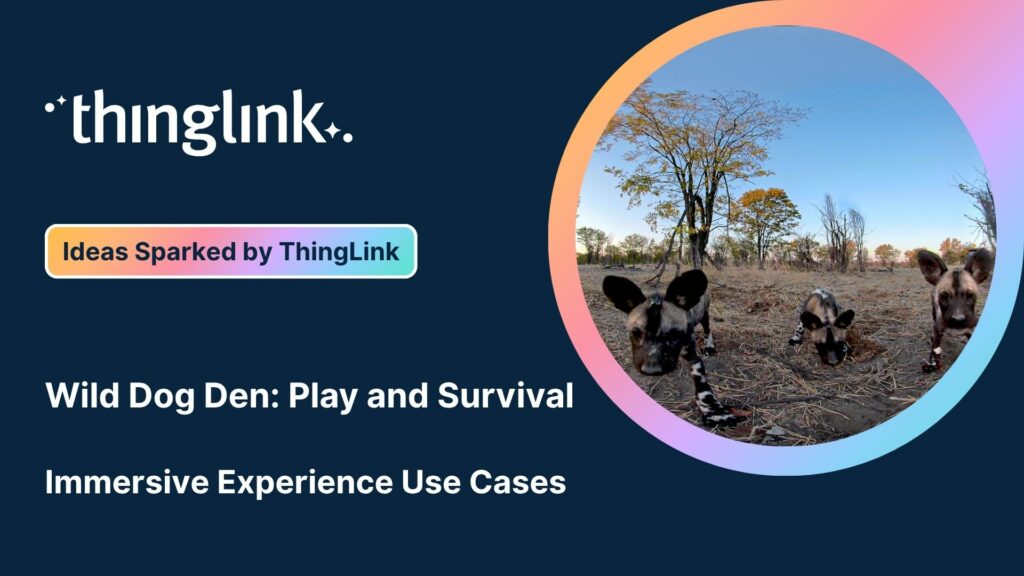
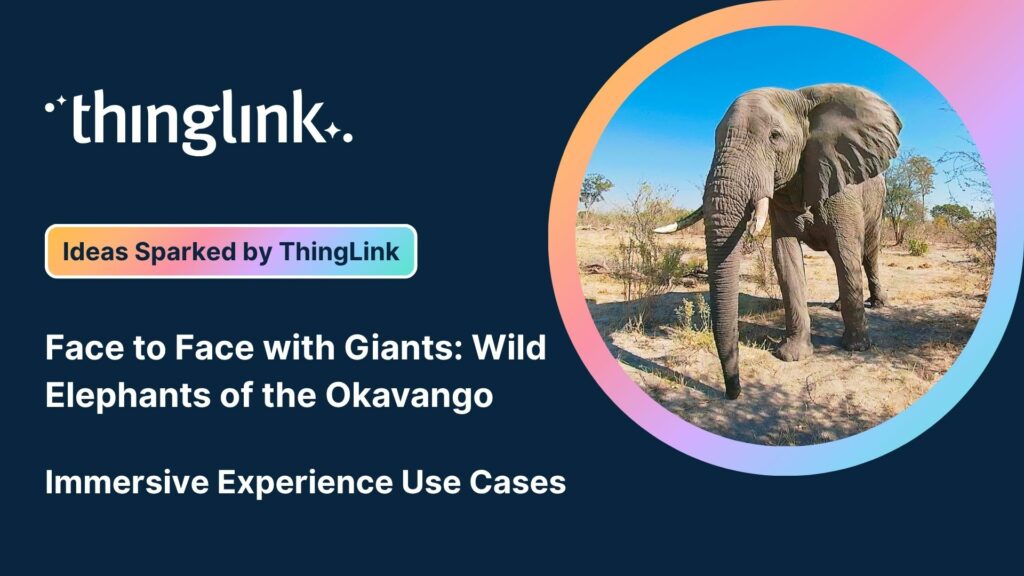
We’re delighted to collaborate with Elaine Ford to bring you a truly unique collection of 360° video footage captured in the wild. These immersive scenes offer...
We’re delighted to collaborate with Elaine Ford to bring you a truly unique collection of 360° video footage captured in the wild. These immersive scenes offer...
We’re delighted to collaborate with Elaine Ford to bring you a truly unique collection of 360° video footage captured in the wild. These immersive scenes offer...
At Hackbridge Primary, the introduction of ThingLink has transformed teaching and learning in a range of ways. In just a year, staff have seen shifts in how pupils...
Kyla Ball
5 min read
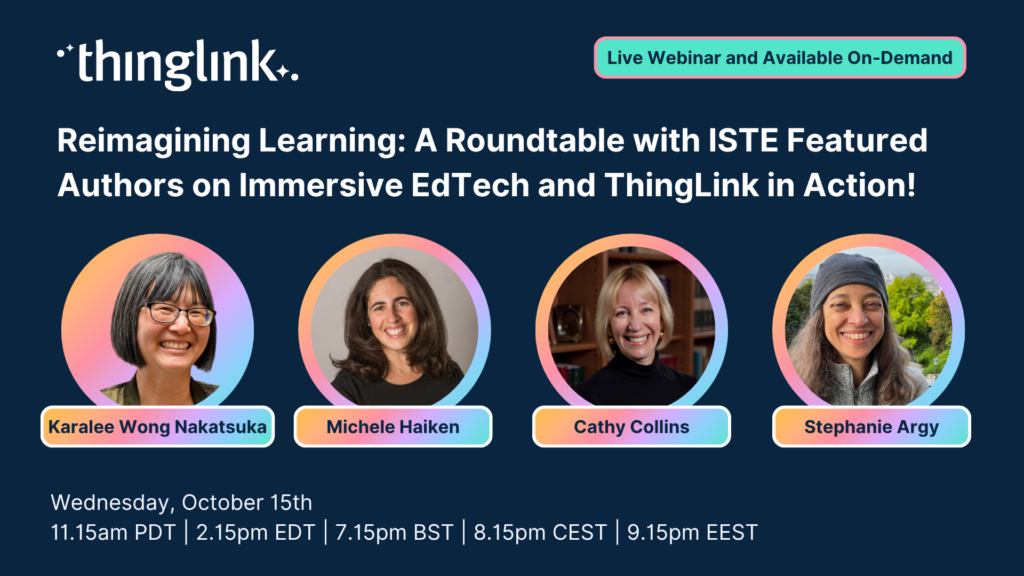
Webinar: Reimagining Learning: A Roundtable with ISTE Authors on Immersive EdTech and ThingLink in Action! ✨ Featuring ISTE Recognised Authors: Karalee ...
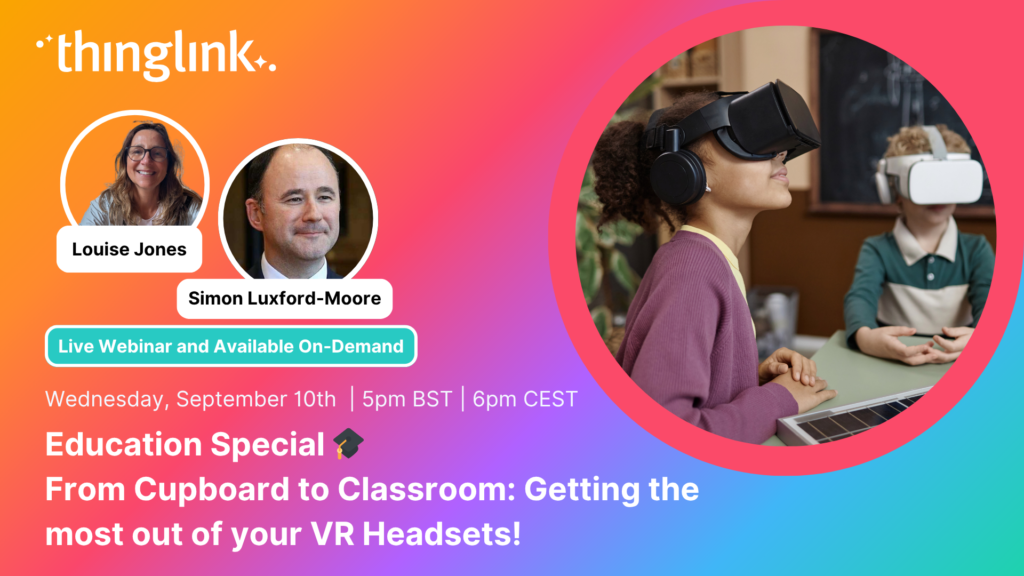
Education Special | From Cupboard to Classroom: Getting the most out of your VR Headsets! Have a set of VR headsets sitting in the cupboard, barely touched since...
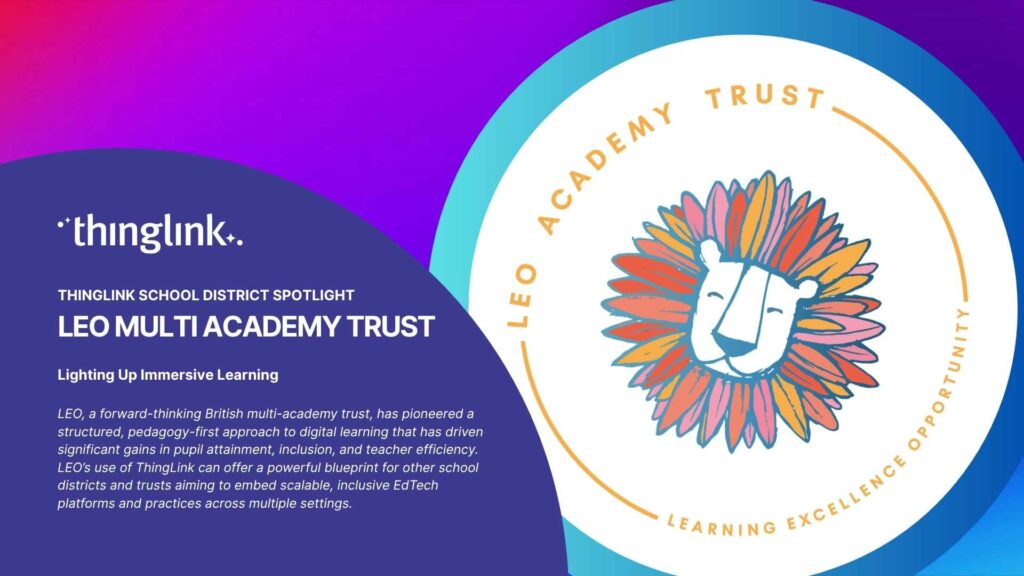
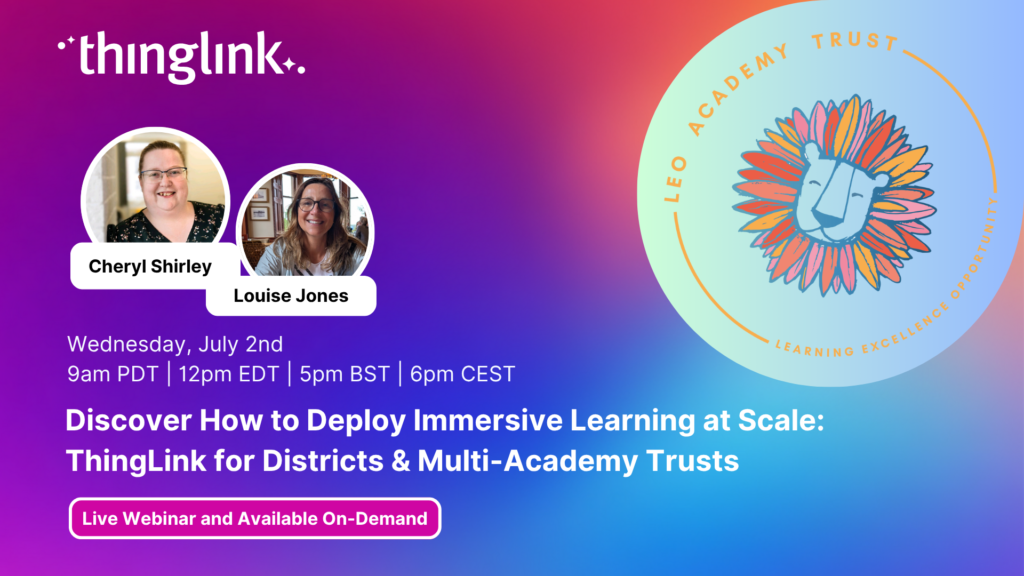
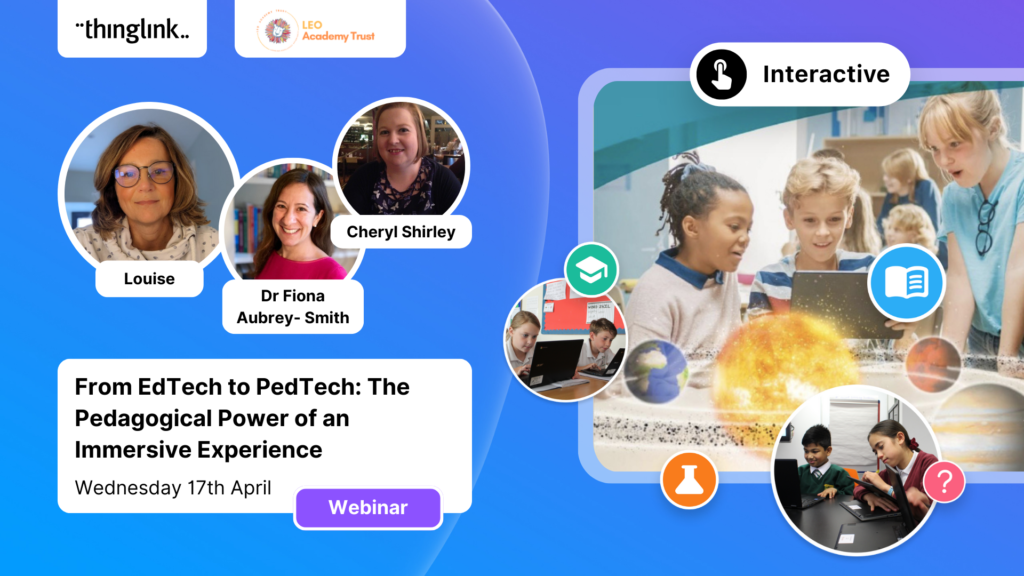
LEO, a forward-thinking British multi-academy trust, has pioneered a structured, pedagogy-first approach to digital learning that has driven significant gains in...
 Louise Jones
10 min read
Louise Jones
10 min read
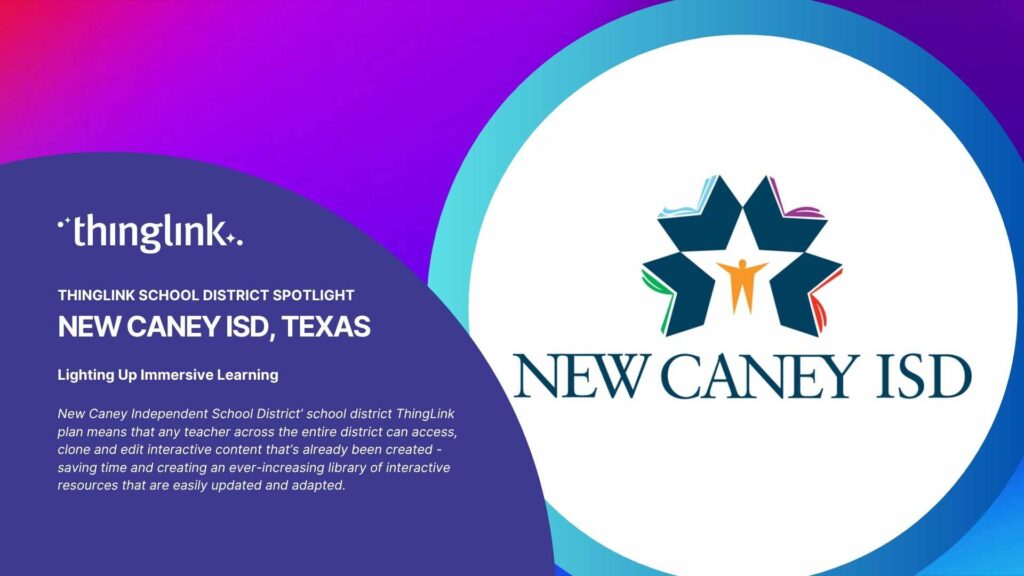
New Caney Independent School District (ISD) added ThingLink to their roster of online learning resources in 2020 and it soon became a valuable tool with many applications....
At ThingLink, our mission is to empower educators, trainers, and content creators to build truly impactful digital learning experiences. We believe that great learning...
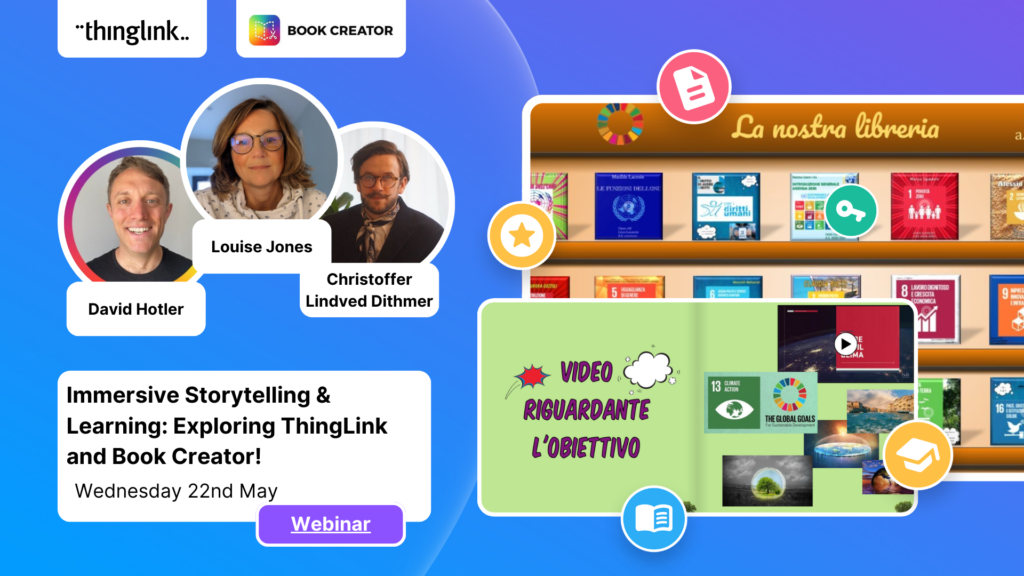
Solve System-Wide Challenges with Easy Creation, XR/VR Integration & Interactive Content Join Louise, ThingLink and Cheryl Shirley, Director of Digital Learning...
The other day I was watching my close friend’s seven-year-old son do something that completely stopped me in my tracks (if you’ll excuse the pun). Nico...
The foundations of ThingLink are rooted in the socio-cultural theory of learning developed by Lev Vygotsky. My own journey began in 2003 at the Center for Activity...
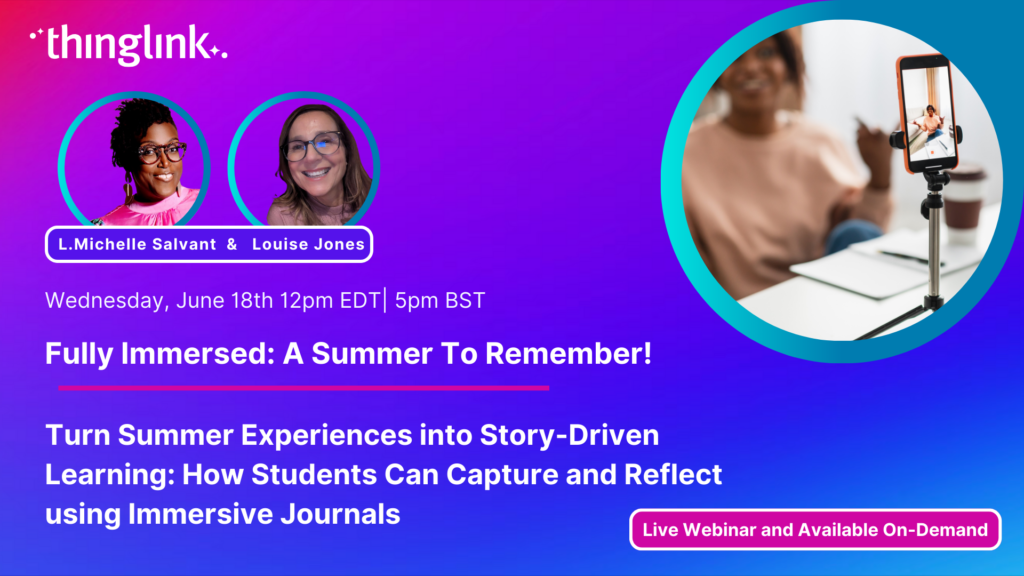
Turn Summer Experiences into Story-Driven Learning: How Students Can Capture and Reflect using Immersive Journals Make it a Summer to Remember Join Louise Jones...
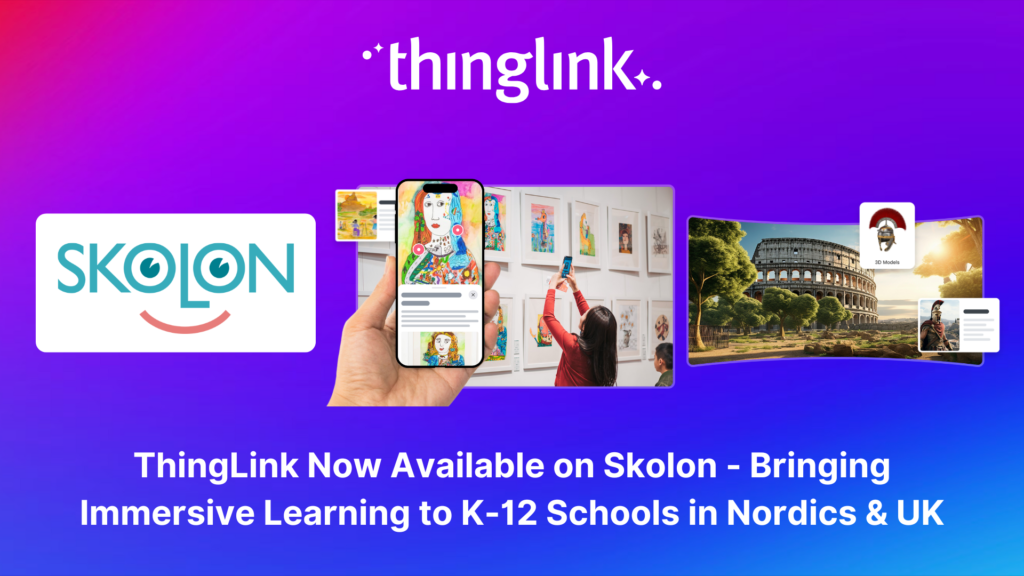
Stockholm, April 8th, 2025 – ThingLink, the leading platform for creating and sharing immersive learning experiences across platforms and devices, is now available...
Immersive learning technologies like ThingLink are transforming education! Research shows they improve engagement, comprehension, and knowledge retention—making...
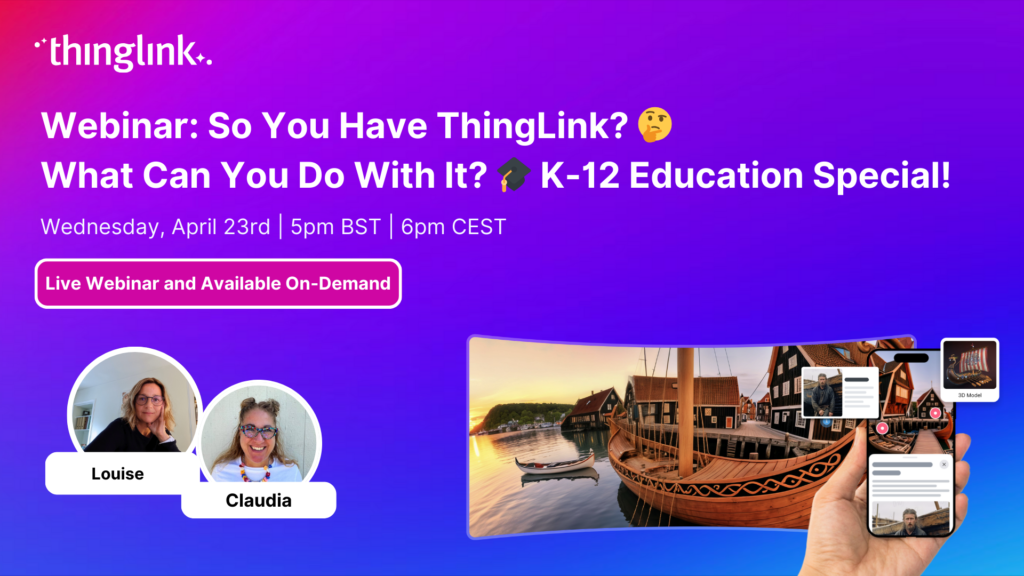
Spring into Immersive Learning! 🌱 Join your hosts Louise and Claudia for a playful and engaging session on the rise of immersive learning! We’ll explore new...
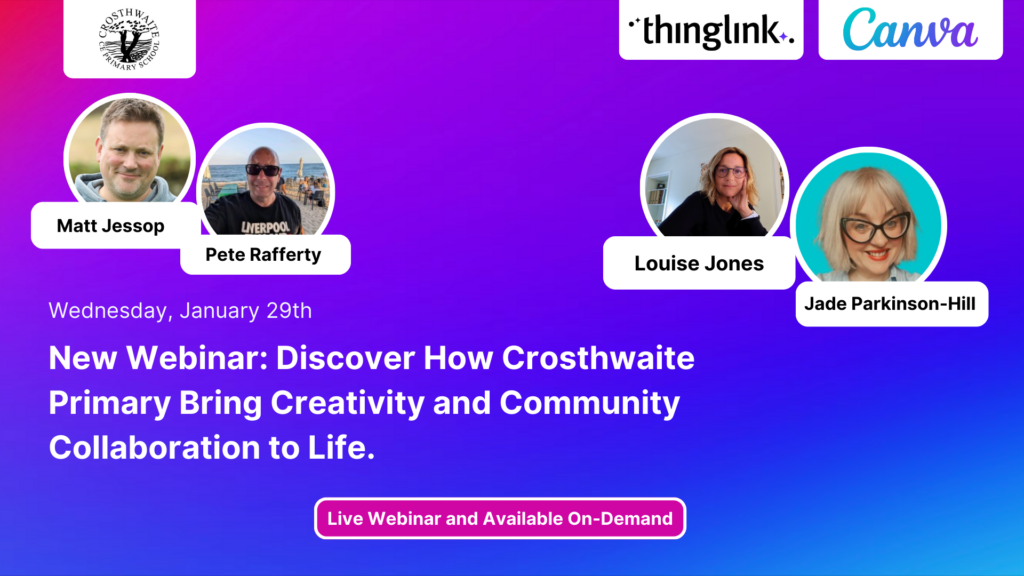
Join us for an inspiring and practical webinar where Crosthwaite Primary School share how they’ve designed their curriculum to foster creativity, community collaboration,...
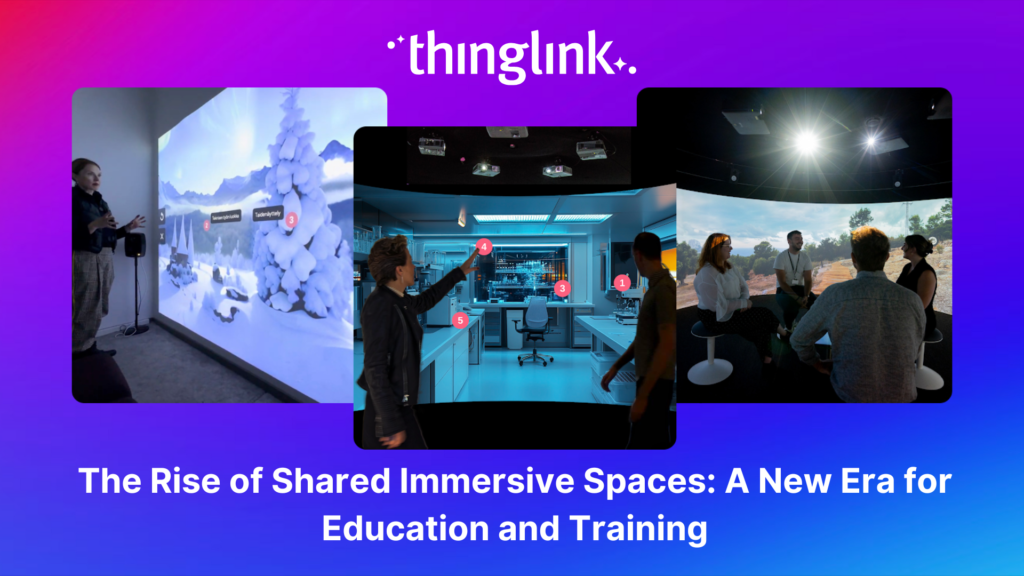
The increasing interest and adoption of shared immersive spaces in recent years reflects a shift in the way we see the future of learning, future of education, ...
Join us for an unmissable webinar celebrating a year of innovations with ThingLink! 🌟 We are excited to invite you to discover all the incredible updates we’ve...
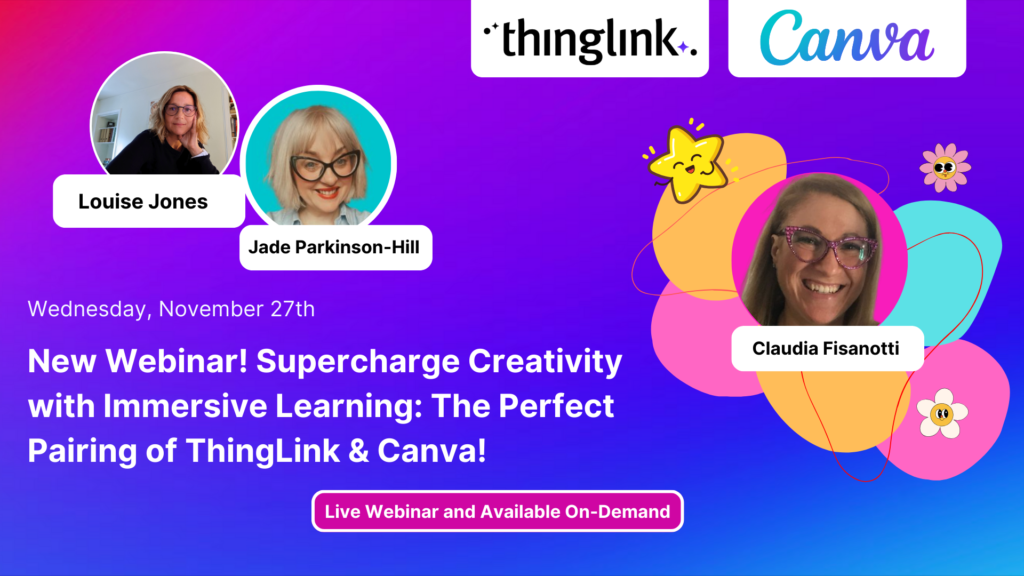
Join us for an exclusive look into how Canva and ThingLink complement each other to create a powerful toolkit for immersive learning experiences! Are you ready ...
Introduction With the development of new technologies, the boundaries between physical and digital learning spaces are being redefined. Yet, these environments ...
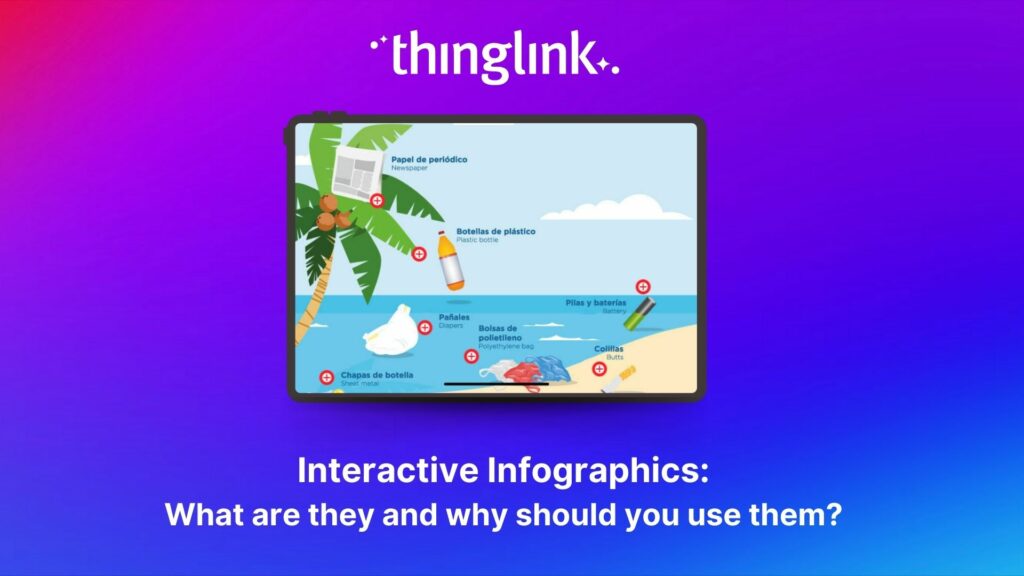
Infographics are the fastest and easiest way to present any complex information. In this blog we’ll show you how to create interactive infographic designs even...
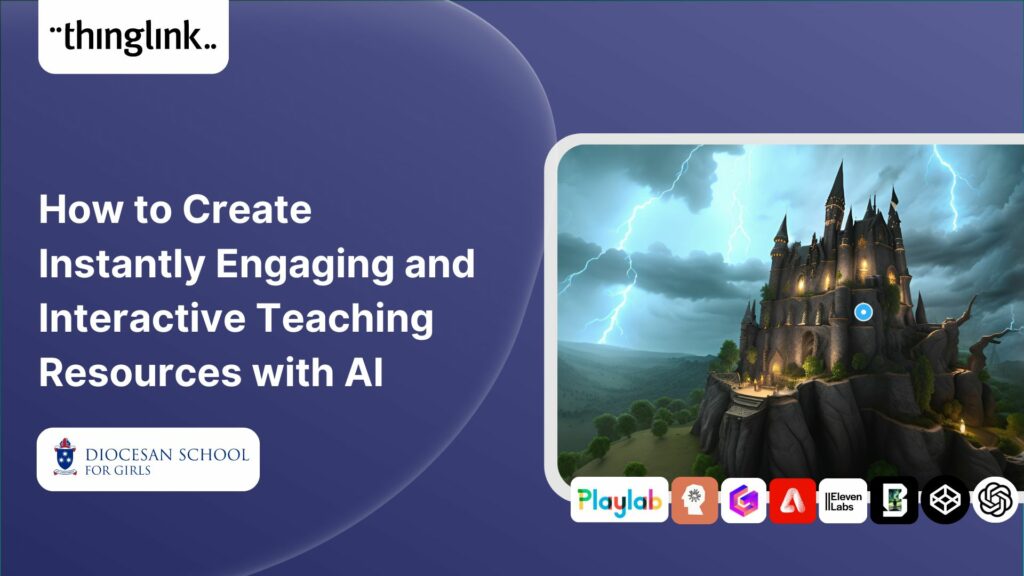
Rob McCrae is the AI Lead and ICT Director at Diocesan School for Girls in Auckland, New Zealand, an independent school of 1600 students aged 5-18. Earlier this...
Kyla Ball
5 min read
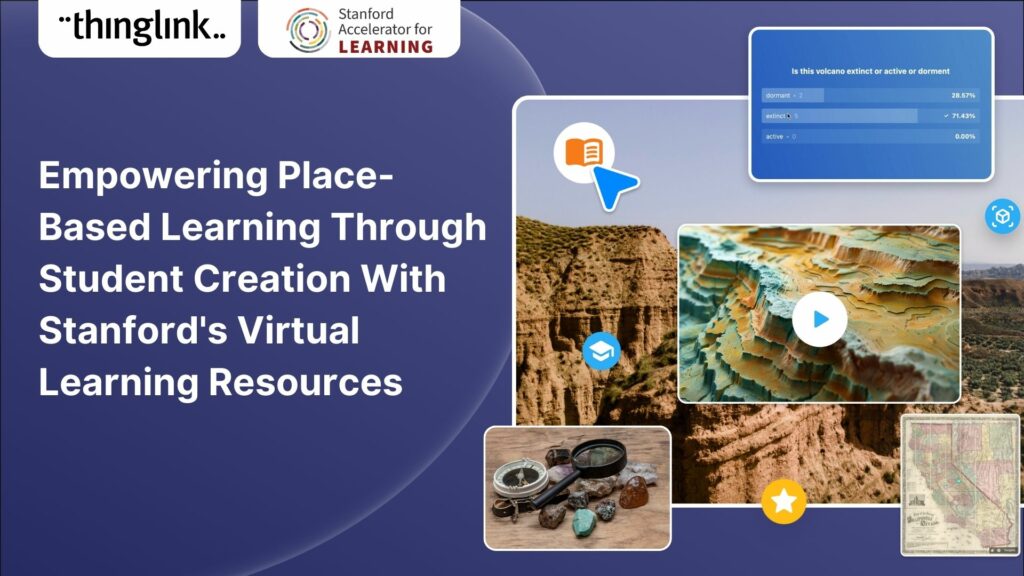
For educators looking to encourage student creation, Stanford University’s essential guide will show you how to use content from real-life Field Trips in ...
Kyla Ball
7 min read
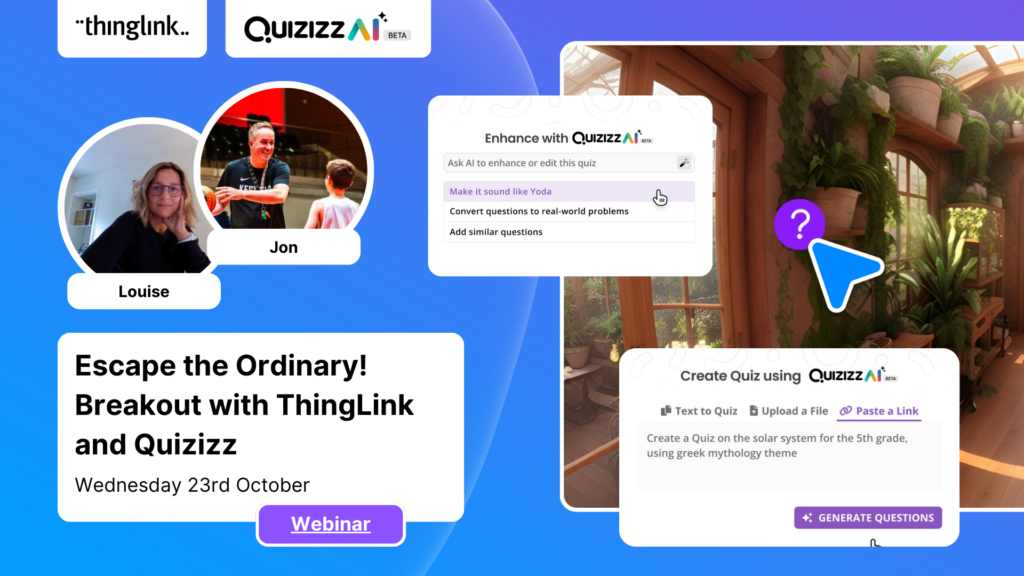
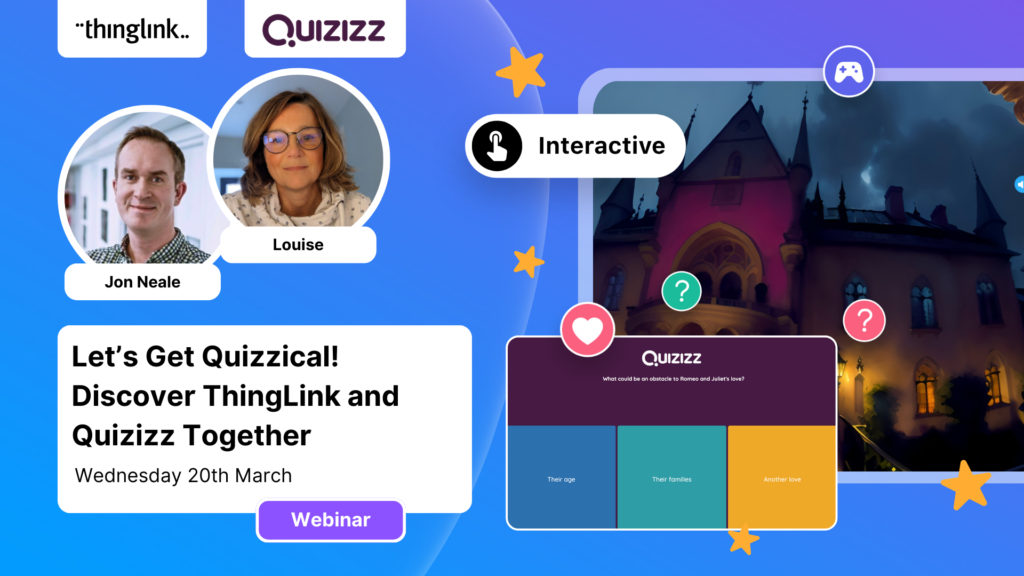
Escape the Ordinary! Breakout with ThingLink and Quizizz Immersive Escape Rooms and Breakouts can be very effective and engaging for all learners. Our past webinars...
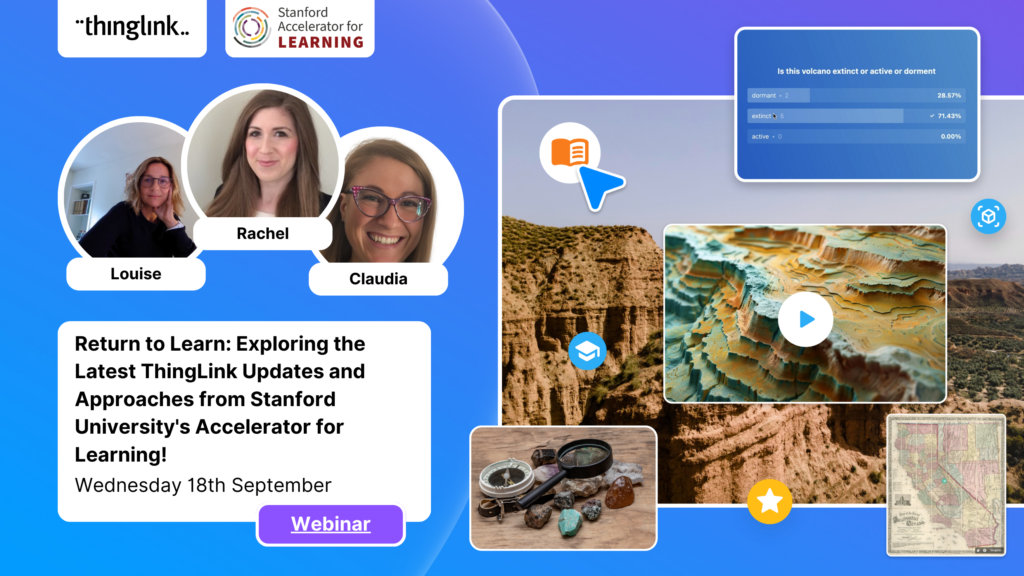
It’s that time of year for the FREE annual ‘Return to Learn’ webinar! Join us for an exciting and informative webinar as we present the latest ThingLink updates,...
This case study features Rachel Silverman, a talented secondary English language arts teacher from Phormes Education in Germany. Rachel is a passionate advocate...
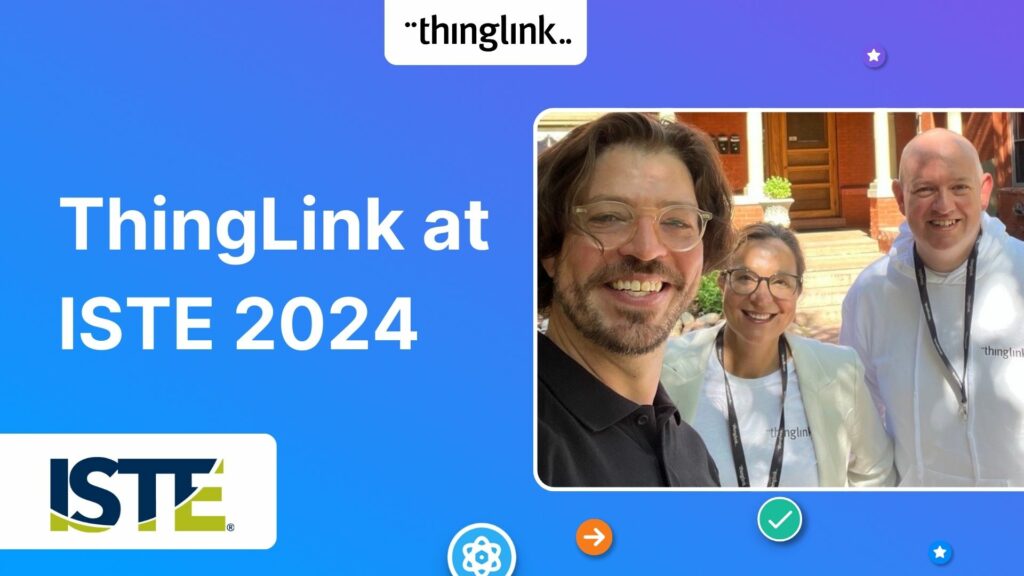
Our team is excited to be back at ISTE, and we look forward to reconnecting with old friends and meeting new ones in Denver, Colorado! Here are some topics and ...
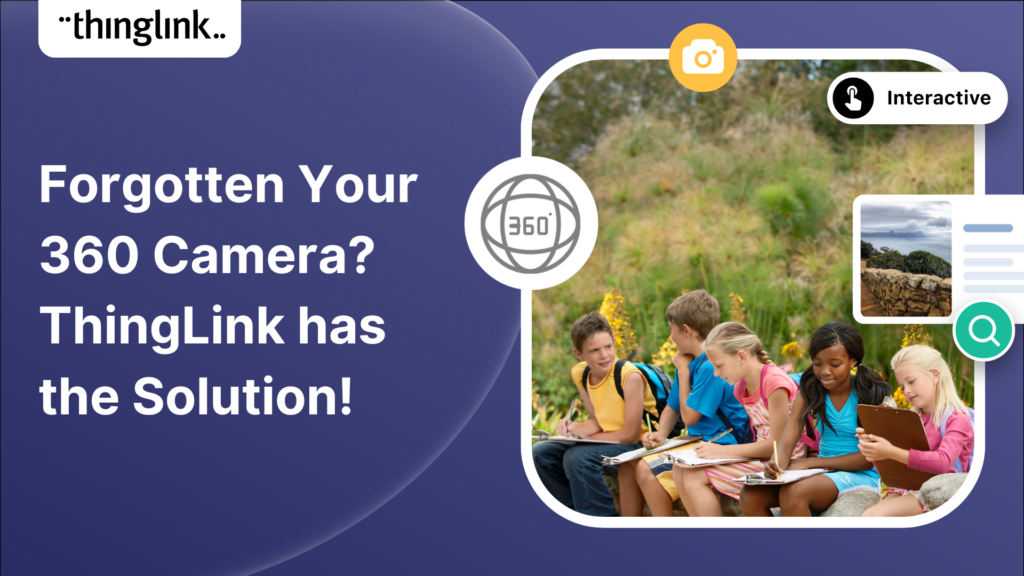
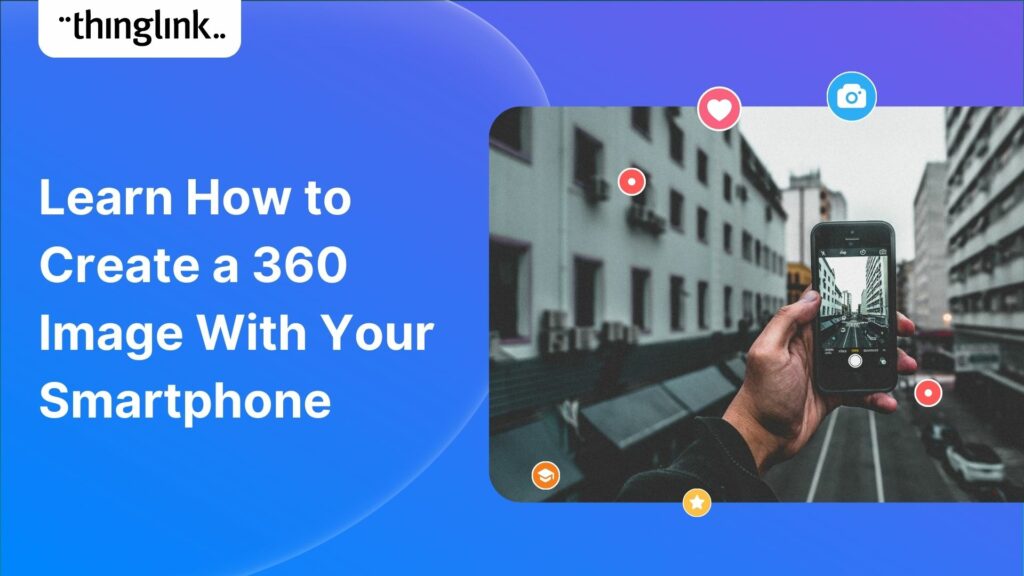
If you’re heading out on an educational trip this end of term, don’t forget your 360 camera to ensure you can re-create the trip as a virtual tour. ...
Kyla Ball
3 min read
In this case study we are showcasing the inspiring work of Toronto teacher and ThingLink creator Joseph D’Aquila. Joseph’s creative use of AI tools and ThingLink...
Kyla Ball
4 min read
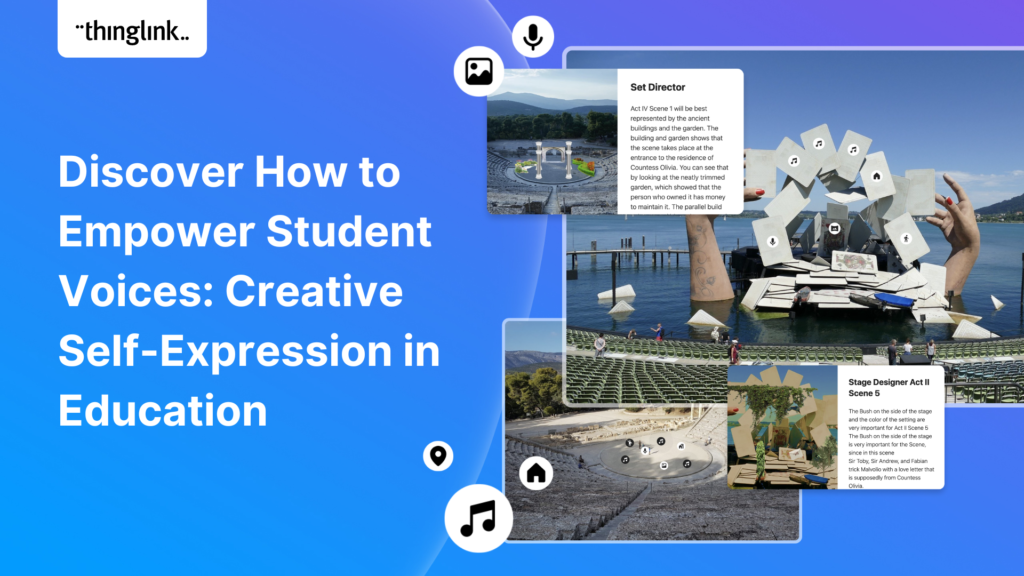
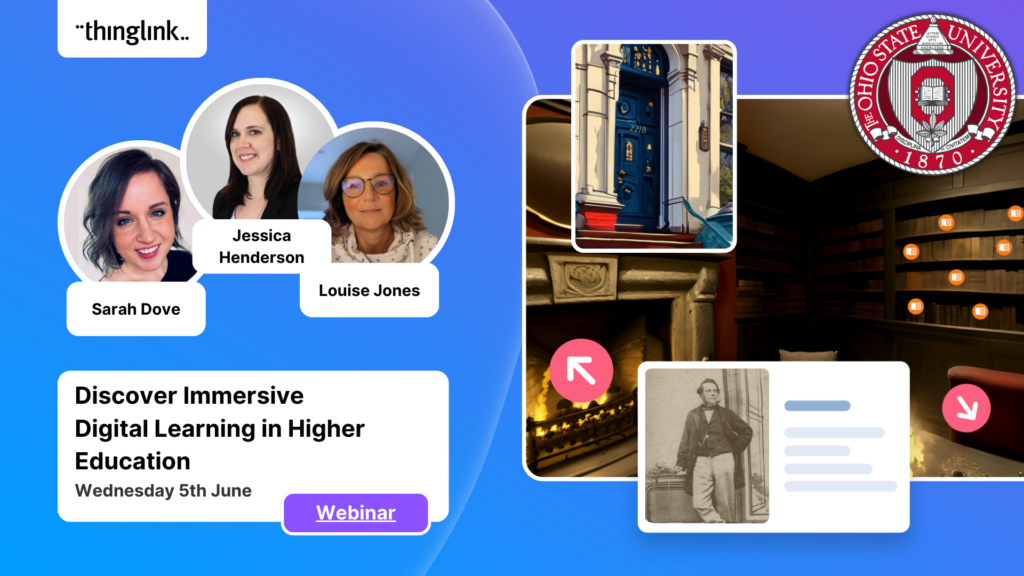
Are you an educator, instructional designer, or higher education professional seeking innovative ways to engage your students? Our upcoming webinar, “Discover...
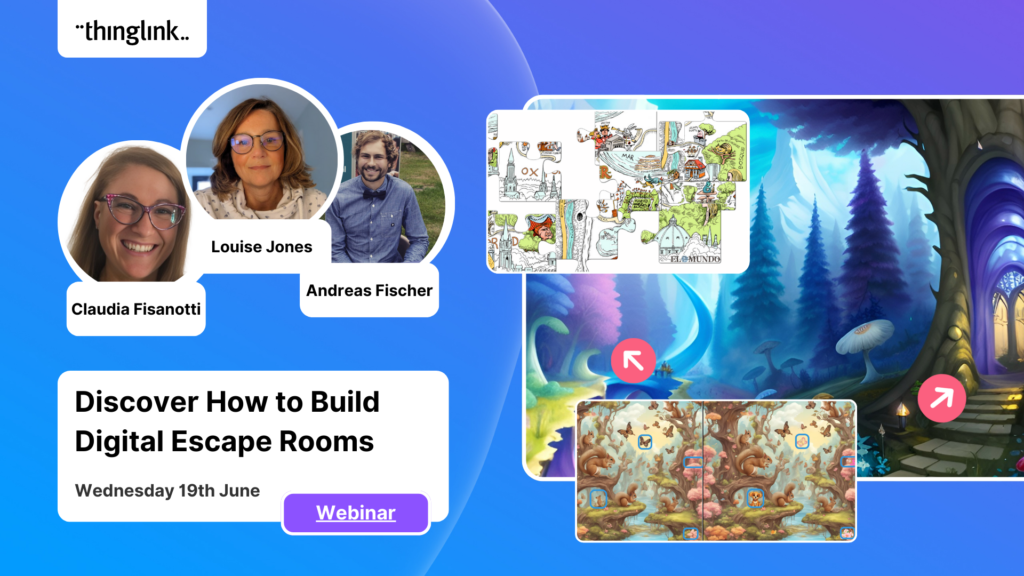
Are you an educator, corporate trainer, or just someone passionate about innovative immersive learning experiences? Our upcoming webinar, “How to Build Digital...
Sabine Römer and Sarah Görlich are part of the e-learning department at the Ruhr University in Bochum, Germany. Together, they form a dynamic partnership that...
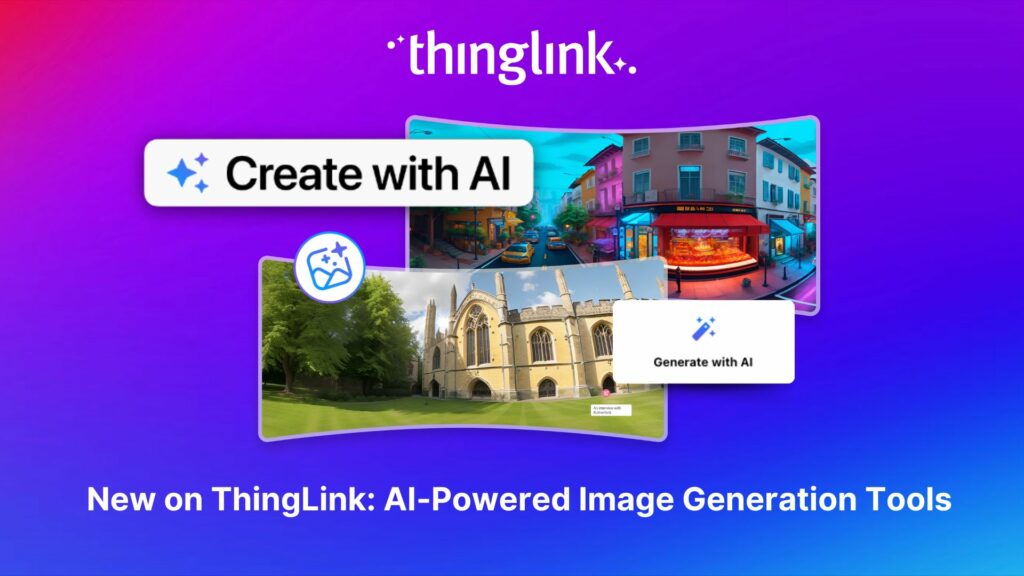
All ThingLink accounts will now include AI-powered tools (with controls) to enable educators and learners to generate images to use with the ThingLink editor. Effective...
Update! This webinar is truly unmissable! Sign up to receive the recording to see how Christoffer inspired everyone with his amazing presentation and live demonstrations....
The world faces numerous sustainability-related challenges, threatening the future of our planet. Those issues are often hard to grasp without direct exposure to...
Now On-Demand! ThingLink is absolutely thrilled to present an exclusive webinar titled “From EdTech to PedTech: The Pedagogical Power of an Immersive Experience.”...
We are delighted to invite you to our webinar! ThingLink Host Louise Jones welcomed special guest star Jon Neale from Quizizz for a fun discussion and live demonstration...
What a webinar! “Discover Immersive Learning with ThingLink and Adobe Express,” draws upon insights from the recent BETT Education Technology Show. ...
Regardless of subject, presenting your data and findings in an engaging and understandable way can be a challenge! Fortunately, ThingLink provides you with the ...
Kyla Ball
4 min read
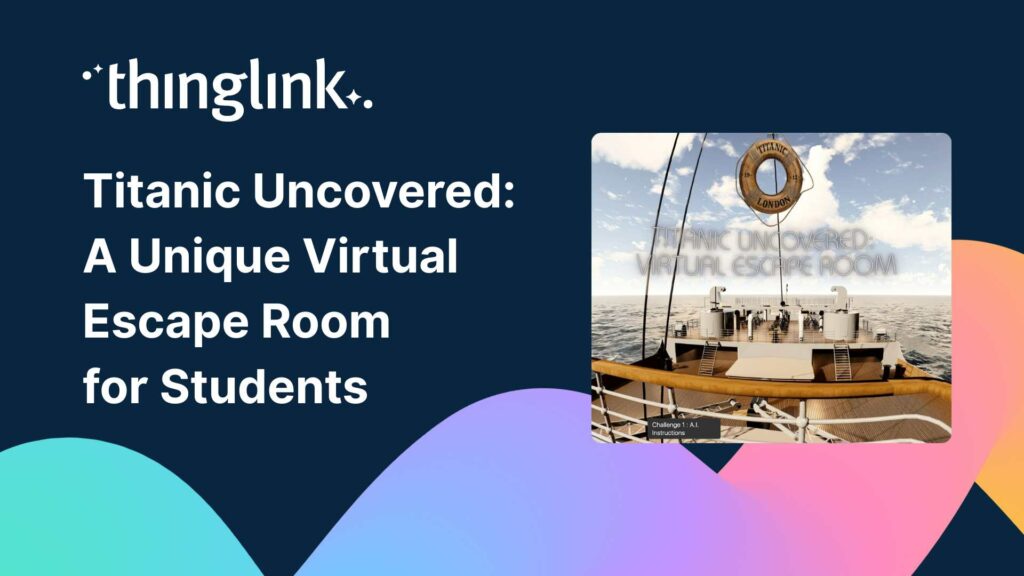
Educator Dwitney Bethel has created an incredible digital escape room using ThingLink’s Scenario Builder, set during the tragic maiden voyage of the Titanic...
Kyla Ball
8 min read
Unlock the Secrets to Crafting Mesmerizing 360° Visuals for a Game-Changing Learning Experience! The future of immersive learning is not just about consuming content—it’s...
In addition to using interactive media and virtual reality to create your teaching materials, why not also give your students the tools and technology to become...
Kyla Ball
5 min read
Over the last few years, teachers and other educators have successfully transitioned their classrooms, lecture halls and labs to the cloud, set up digital learning...
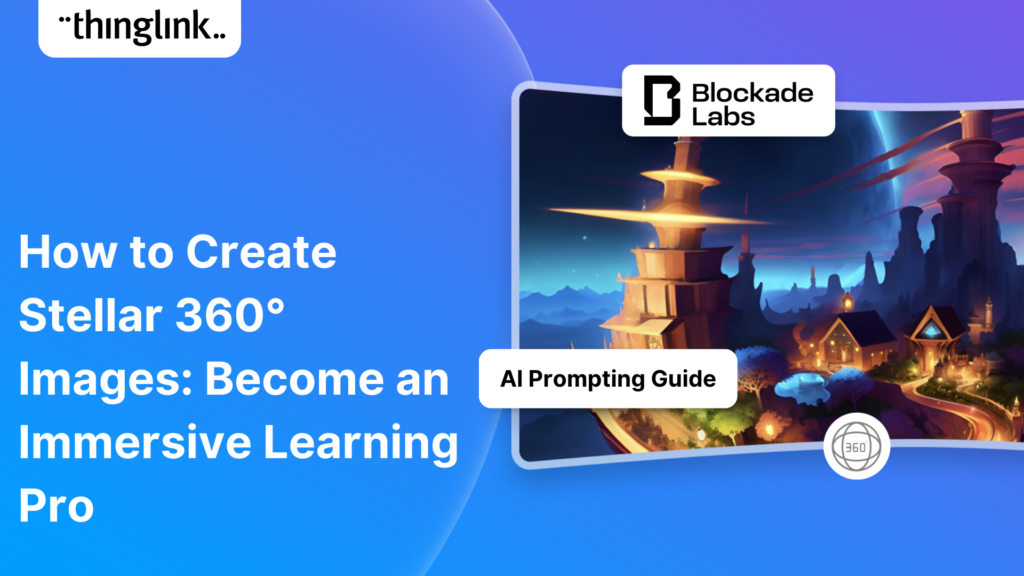
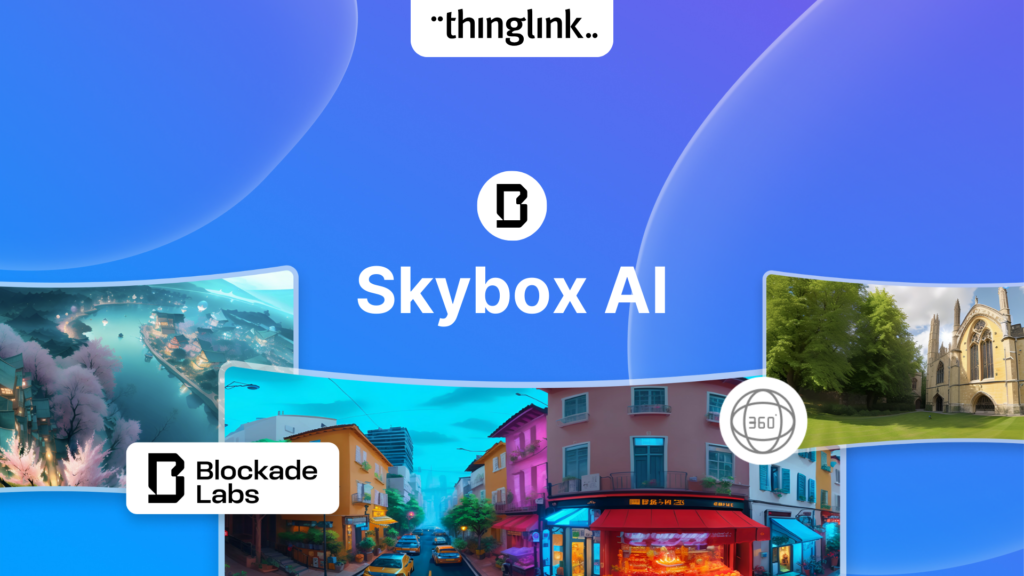
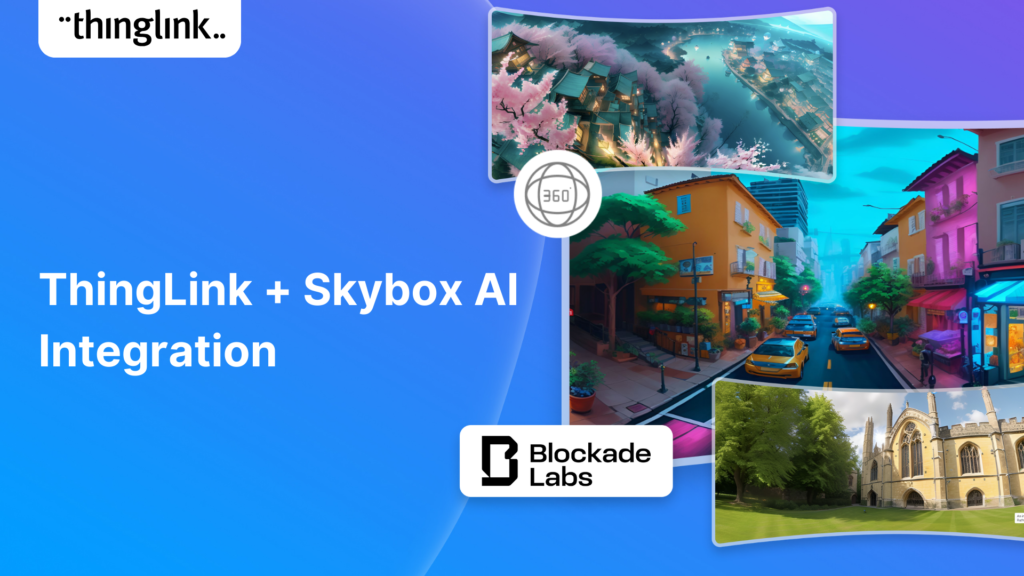
Unleash imagination to design unique environments inspired by literature, mythology, historical periods, and more. With Skybox AI and ThingLink, you’re not...
ThingLink, an award-winning immersive learning technology platform is announcing a strategic partnership with Blockade Labs, creators of Skybox AI, an innovative...
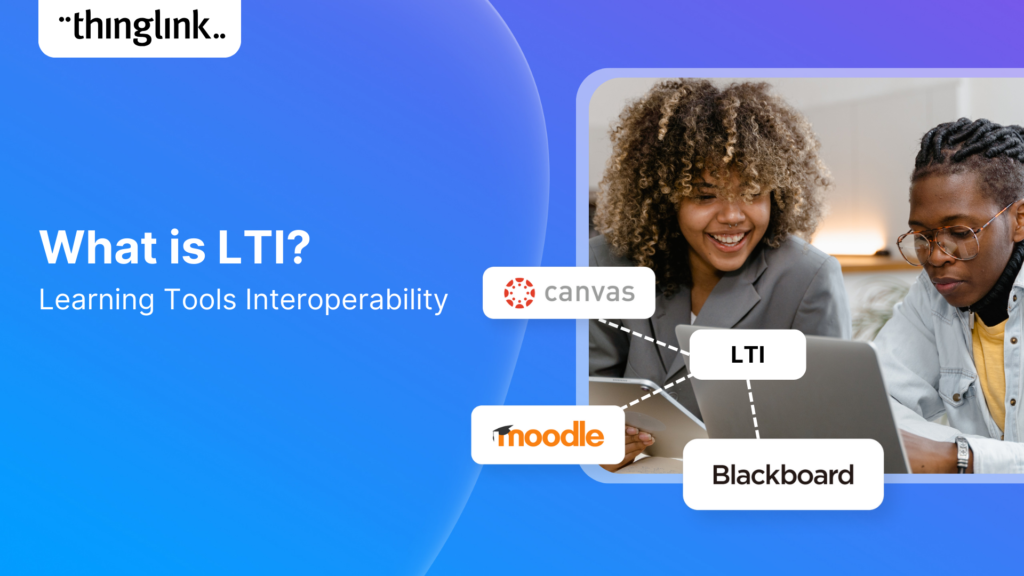
Learning Tools Interoperability (LTI) is a widely-adopted industry standard in the fields of education and corporate learning and development. It was developed ...
Our webinar for US Educators with Special Guest Host Tom Mullaney. It was absolutely fabulous! Dive Deep into the World of Immersive and Interactive Learning with...
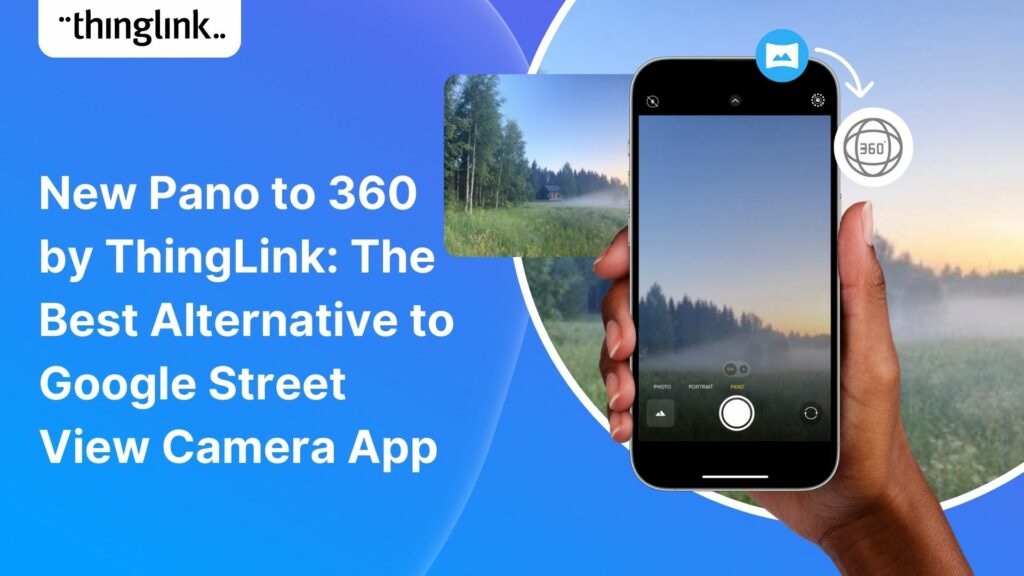
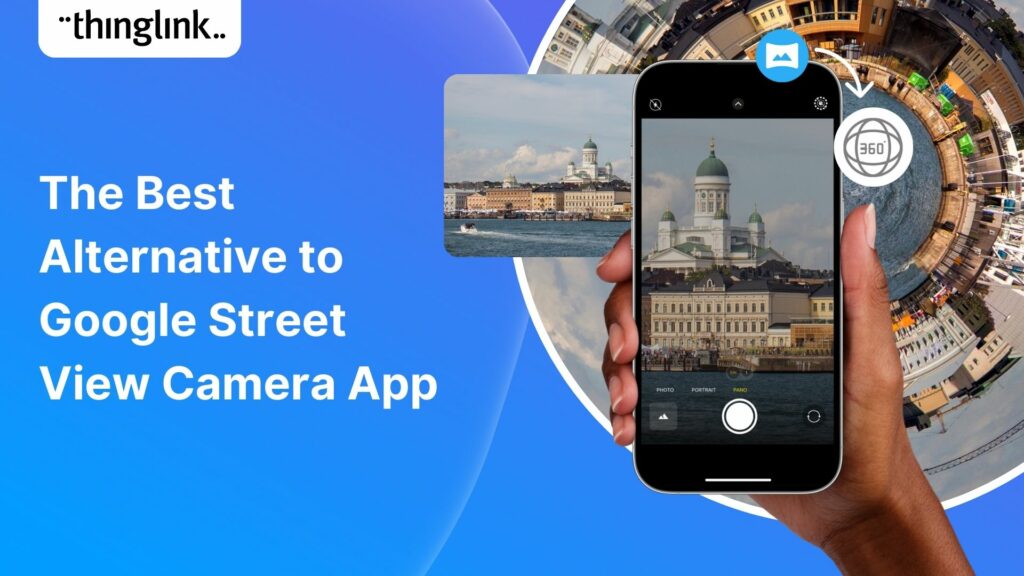
Dive into a universe of detail with Pano to 360: no more multiple shots, just easy, fully immersive 360 photospheres! Since Google decided to retire the beloved...
Ever since Google discontinued its much-loved Street View Camera App, users around the world have been searching for a worthy alternative. The good news? Your search...
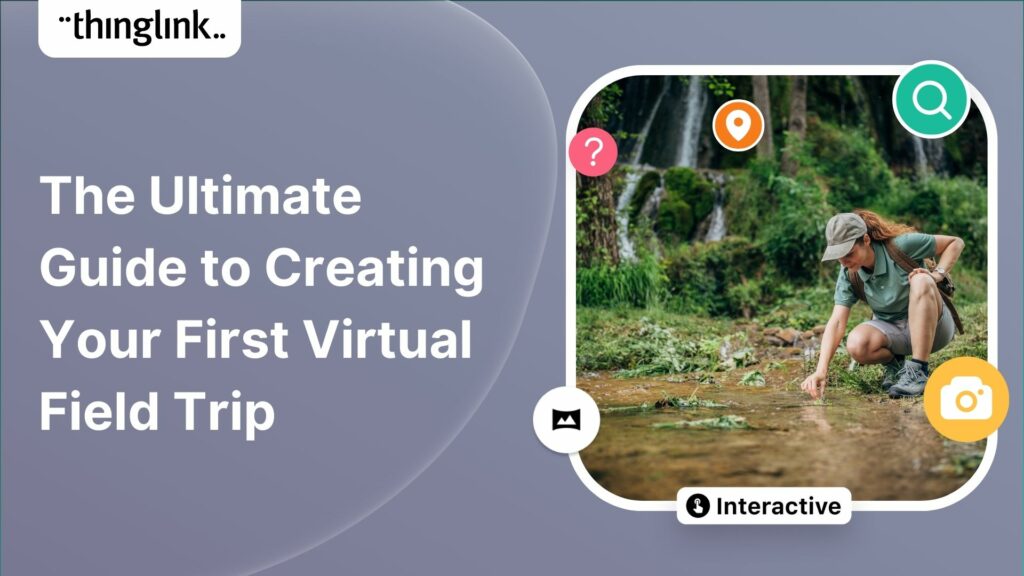
Virtual field trips are an ideal way to immerse learners in real world environments without ever leaving the classroom, lab or lecture theatre. There are a number...
Kyla Ball
6 min read
ThingLink Launches a Revolutionary Solution for Capturing 360 Images In light of the discontinuation of the Google Street View Camera app, ThingLink has answered...
Kyla Ball
2 min read
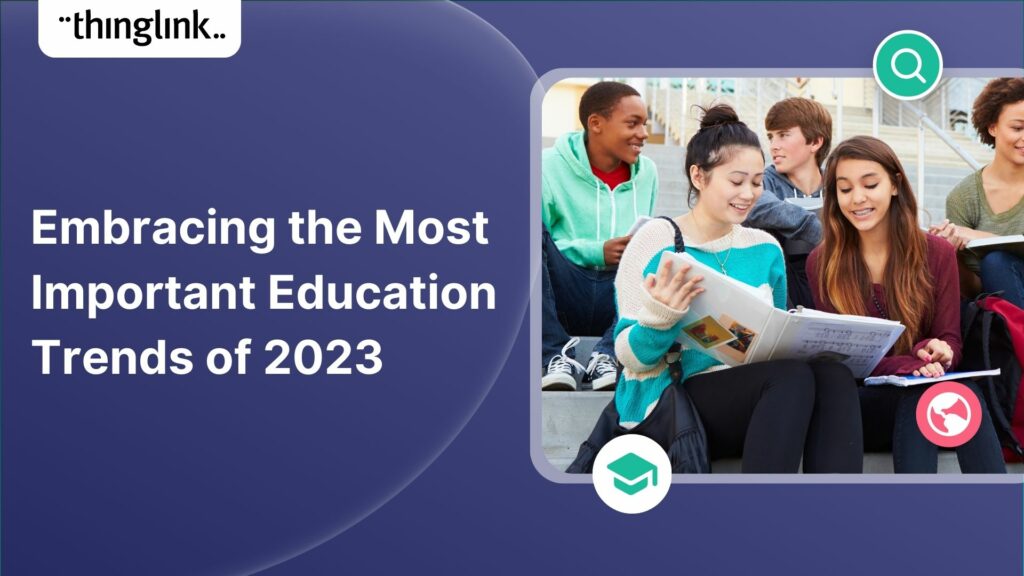
In 2023, we have already seen significant developments that will continue to transform teaching, learning, education technology and the education industry as we...
Kyla Ball
4 min read
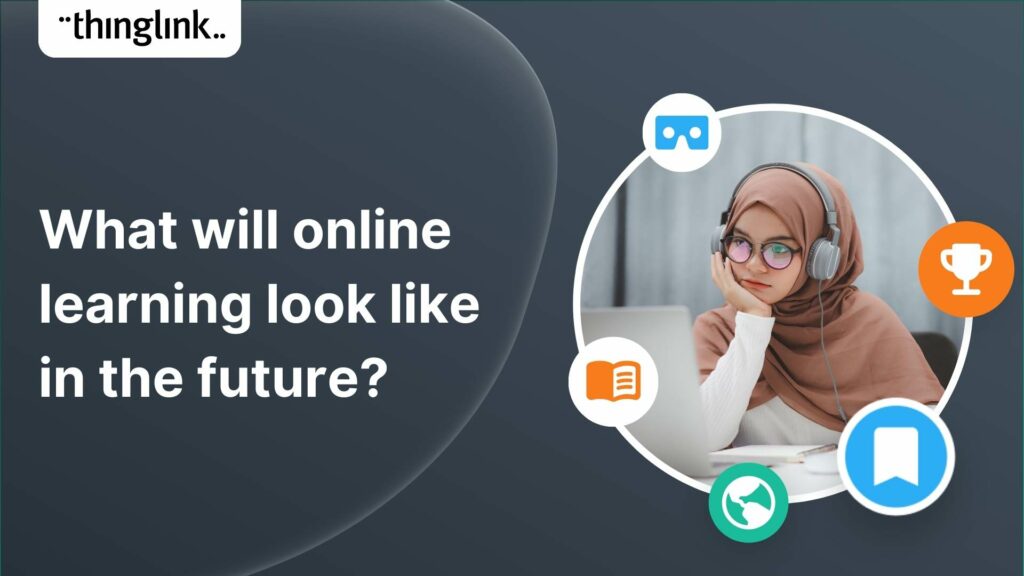
In all areas of education, learning and training, online learning is expected to continue evolving and growing, following its fast expansion over the early part...
Kyla Ball
4 min read
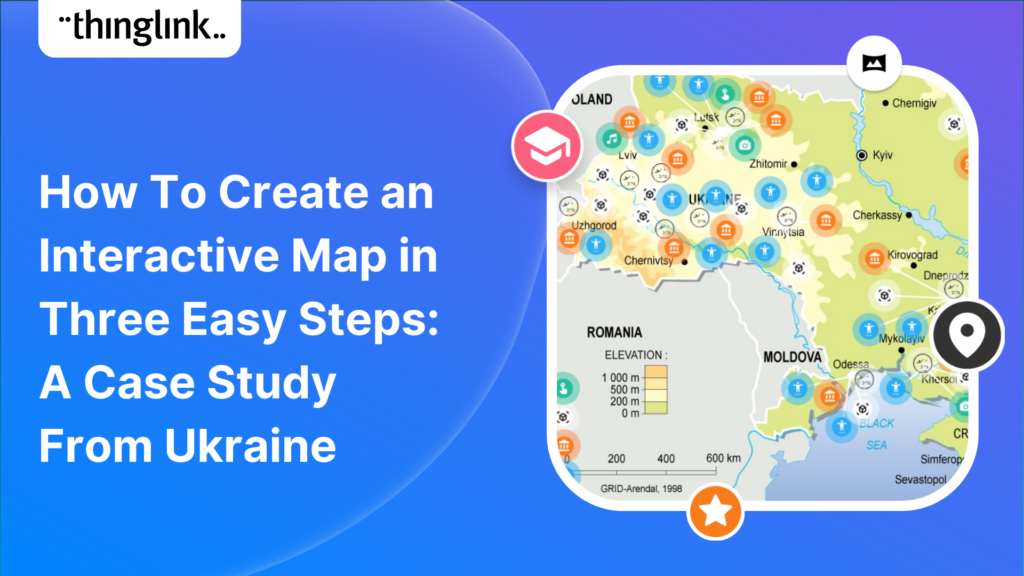
Educator Stephanie Woessner helped 17 schools in Ukraine to create an interactive ThingLink map together online. ThingLink spoke to her to hear how it was created,...
Kyla Ball
5 min read
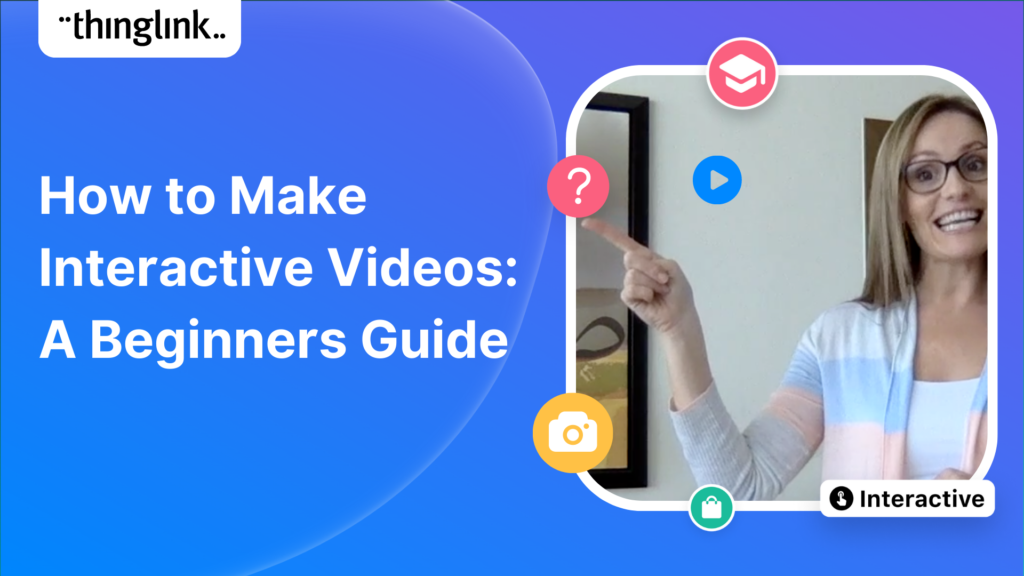
In this blog we look at how you can use interactive videos – either as a training or educational tool for your learners, or for marketing or ecommerce purposes....
Kyla Ball
4 min read
In this blog we have put together a little toolbox of 7 creative thinking skills to help you boost creativity in your everyday life and work. It’s a common misconception...
Kyla Ball
4 min read
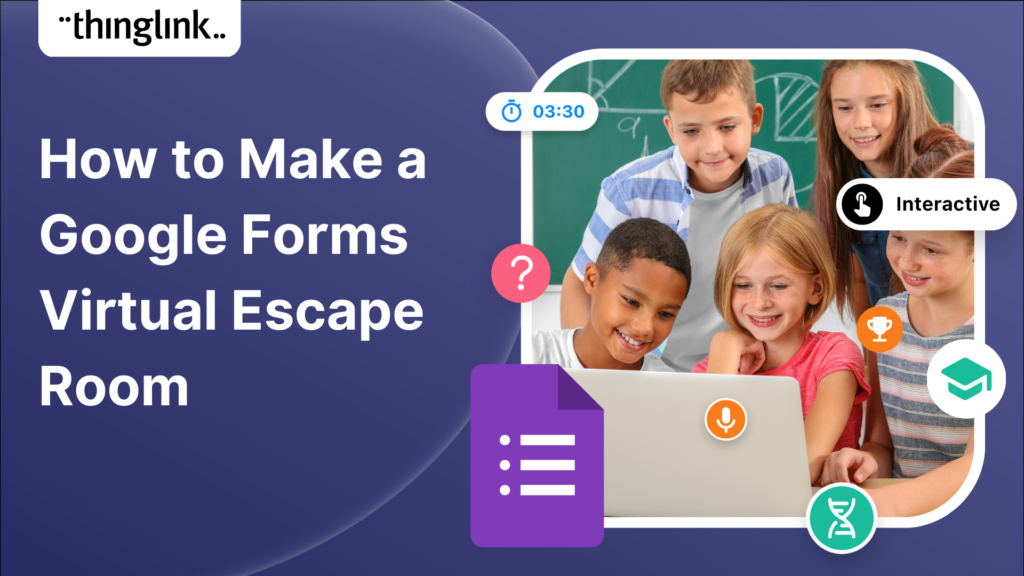
Virtual escape rooms are a great way to engage K-12 students in learning, and offer a unique and interactive learning experience. Just like physical escape rooms,...
Kyla Ball
6 min read
Of all the changes that the arrival of the Covid-19 pandemic brought about or accelerated, one that is here to stay is the growth and development of online learning....
Kyla Ball
4 min read
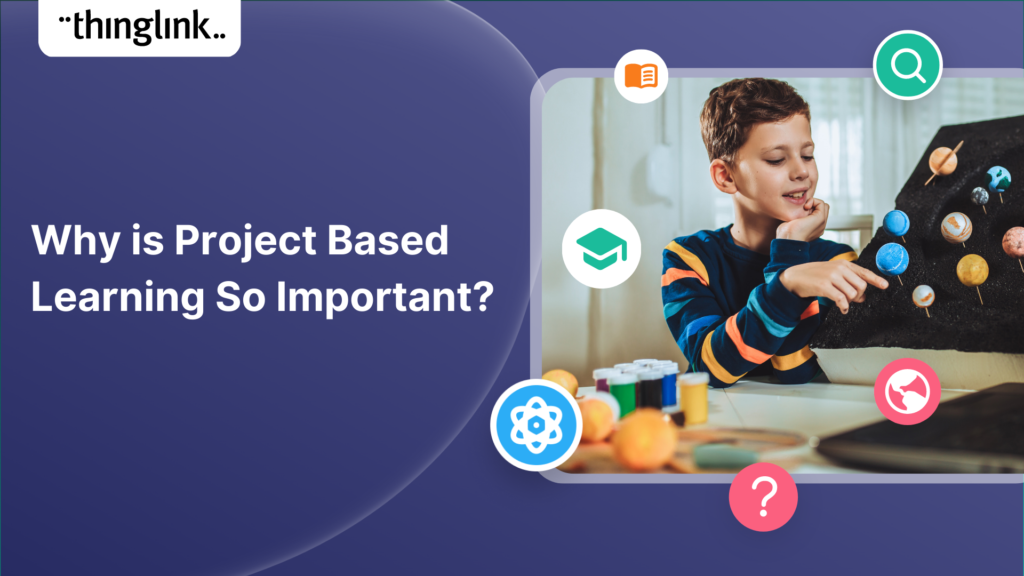
What is Project Based Learning? Project-based learning (PBL) is an educational approach that has been gaining popularity in recent years. This approach involves...
Kyla Ball
4 min read
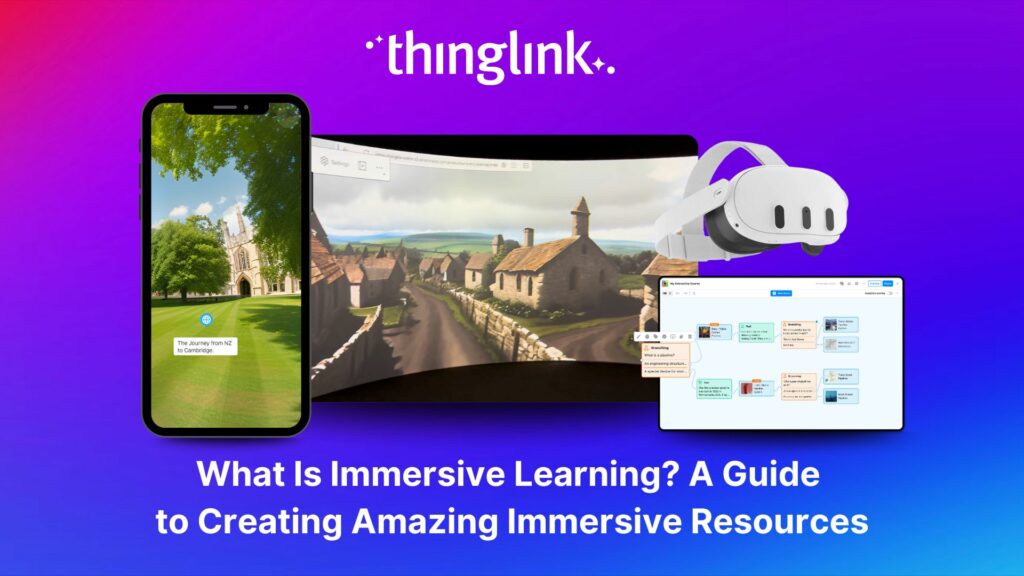
What is Immersive Learning? Immersive learning is a modern approach to education and training that aims to create a fully-engaging and experiential environment ...
Kyla Ball
5 min read
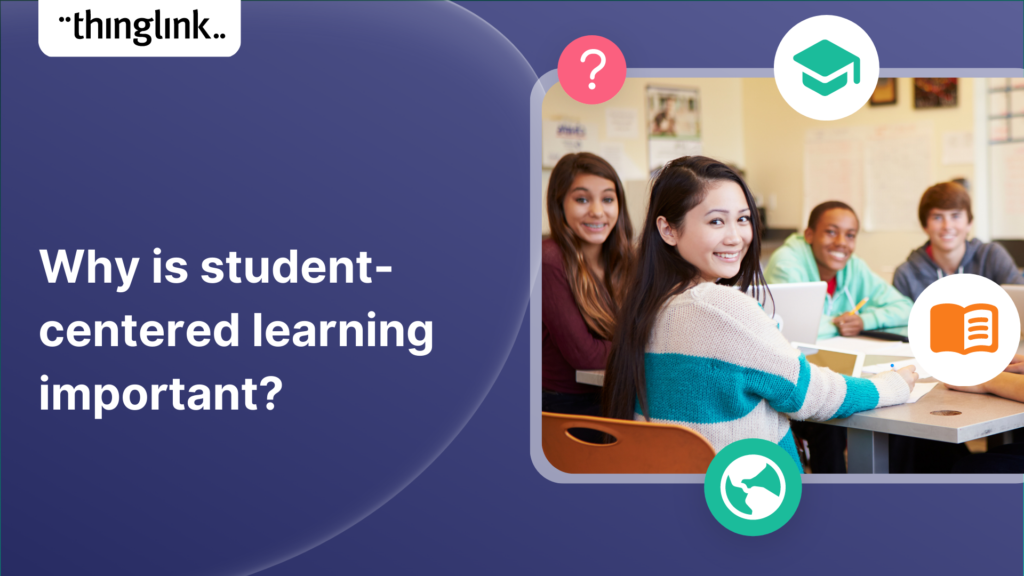
What is student-centered learning? Student-centered learning is an approach to pedagogy that puts the focus on the student rather than on the teacher. It aims to...
Kyla Ball
4 min read
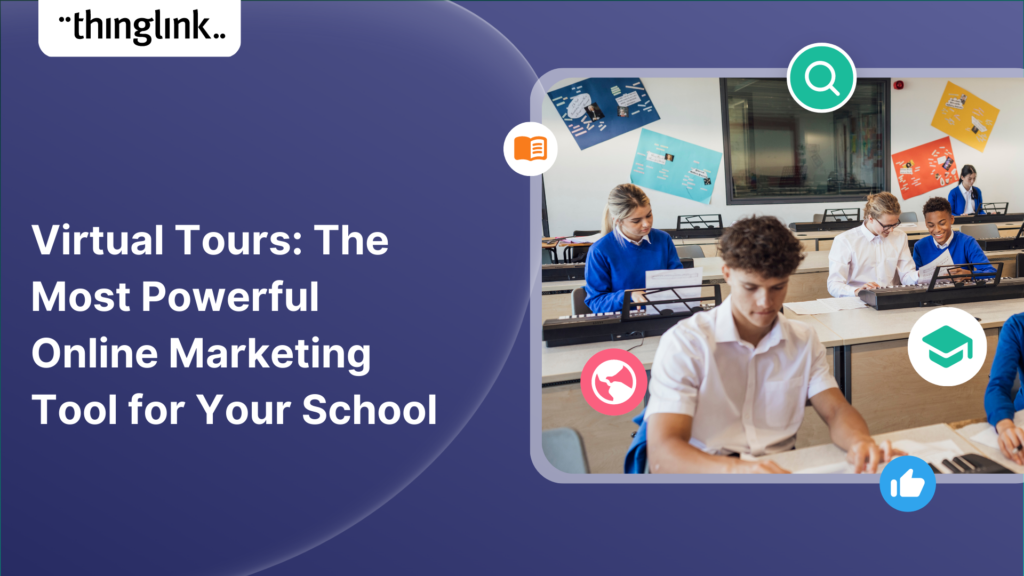
Introducing Virtual Tours – What is a Virtual Tour and Why it Matters for Your School A virtual tour showcases different areas of any location through linked...
Kyla Ball
5 min read
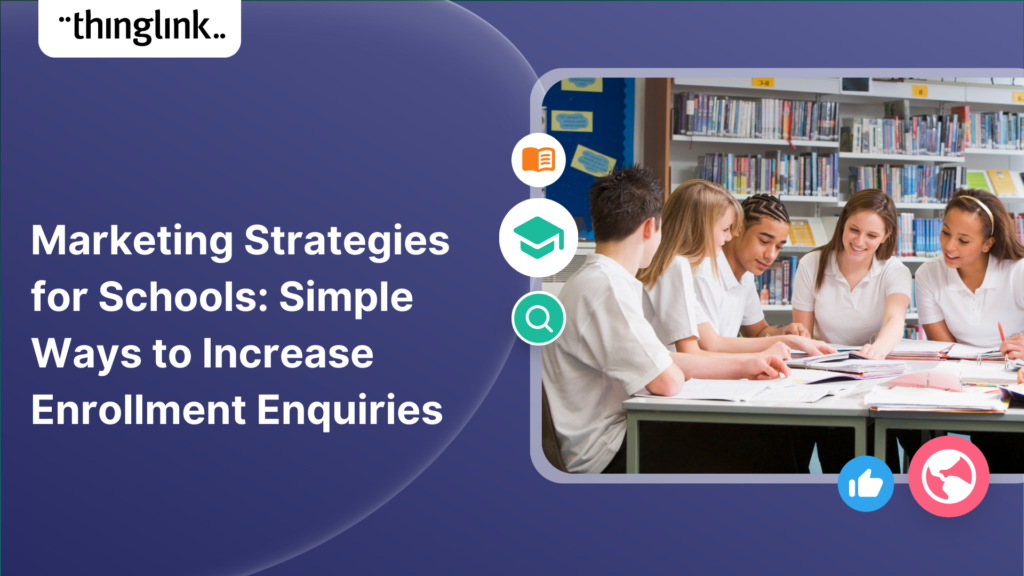
Is your school looking for ways to increase enrollment enquiries? Are you finding it difficult to stay ahead of changing school marketing trends and make sure your...
Kyla Ball
4 min read
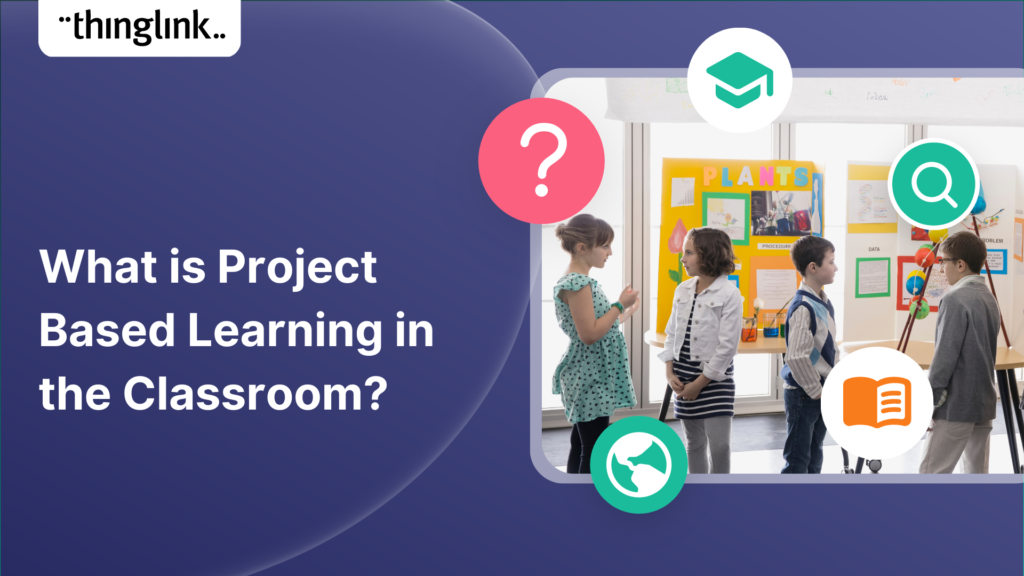
In this short blog we look at what makes up project-based learning or PBL, what makes it so effective in the classroom, and then at some recent project-based learning...
Kyla Ball
4 min read
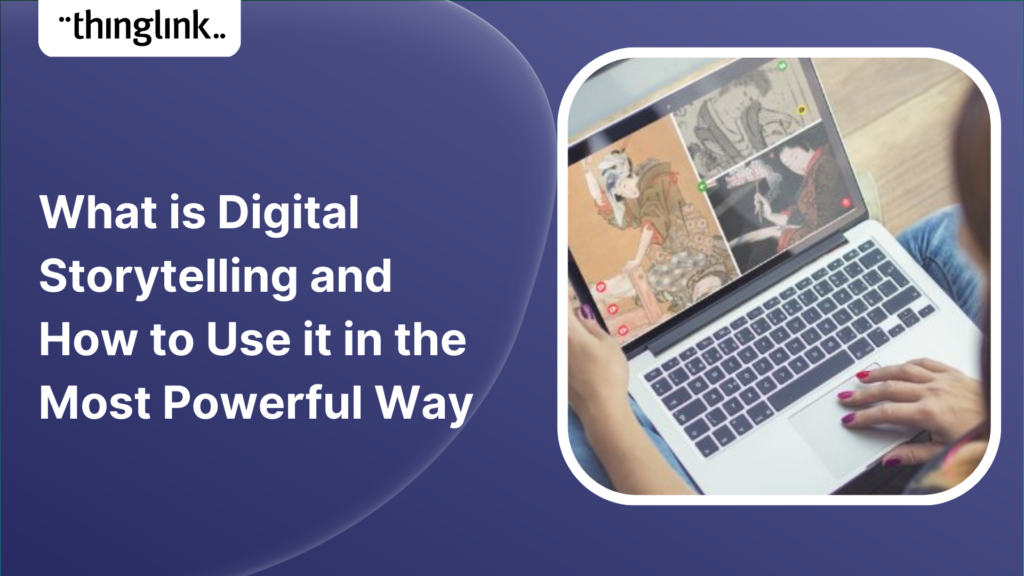
Throughout the history of mankind we have been telling stories – both our own stories and those passed down from others. But the way that we do this now in...
Kyla Ball
5 min read
The Benefits of Interactive Learning Online Online learning or e-learning has become an integral part of education systems worldwide, from elementary school all...
Kyla Ball
3 min read
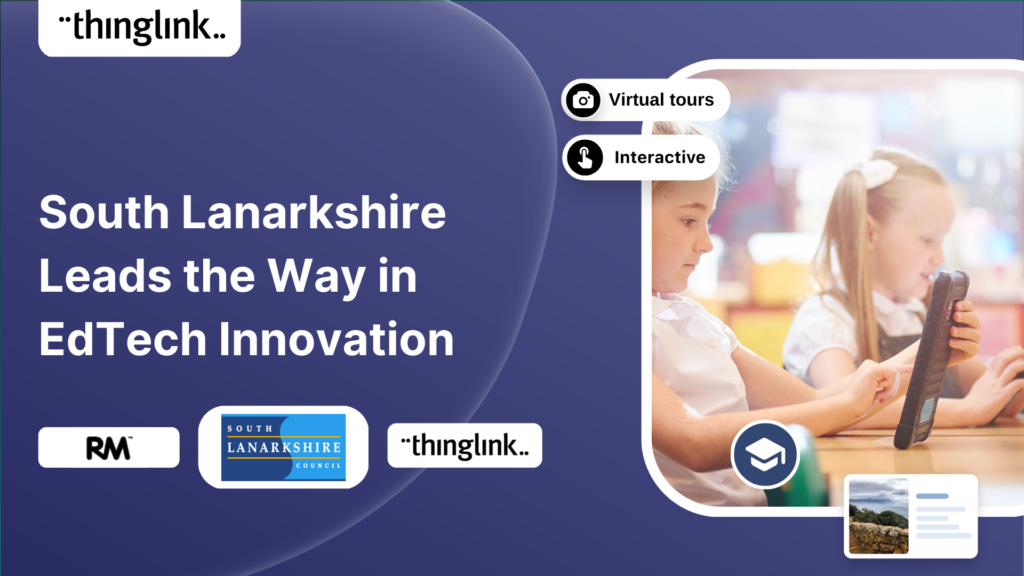
We are delighted to share this inspirational case study from RM, true education technology pioneers who work with thousands of schools and educational institutions...
Kyla Ball
2 min read
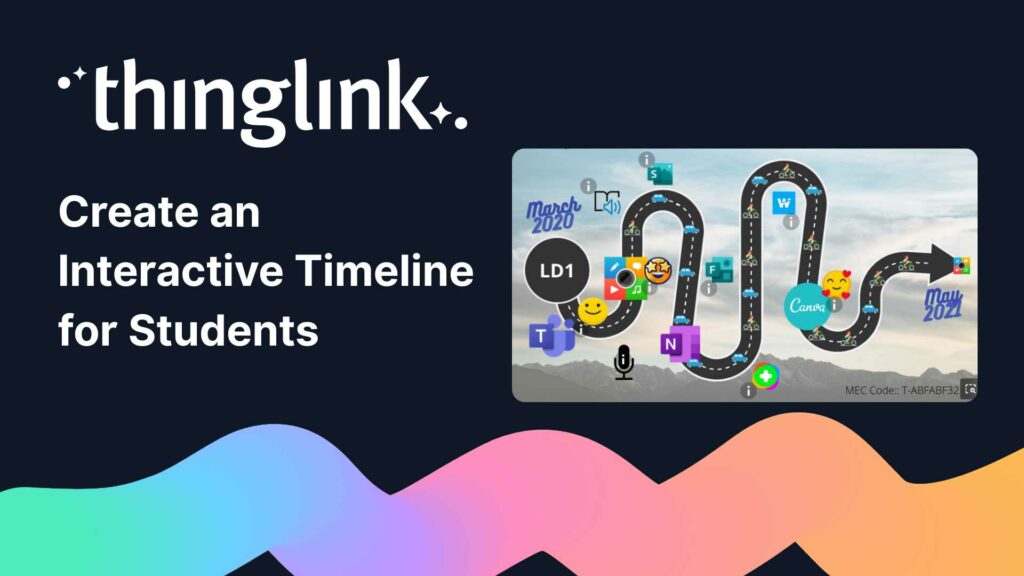
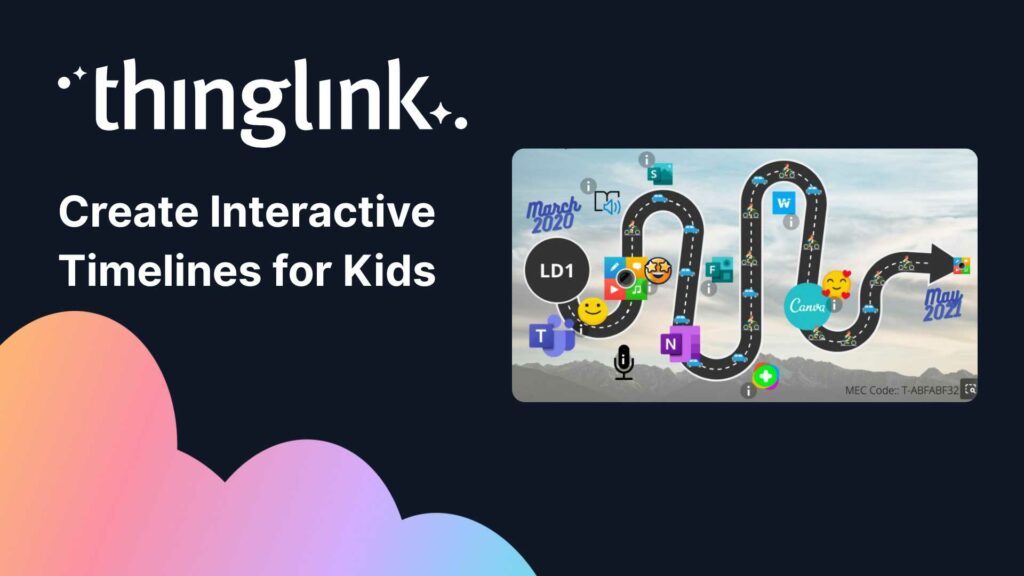
Creating an interactive timeline can be a great way to engage your learners and add another level of interest to your story. In this blog we show you how to easily...
Creating an interactive timeline can be a great way to engage your learners and add another level of interest to your story. In this blog we show you how to easily...
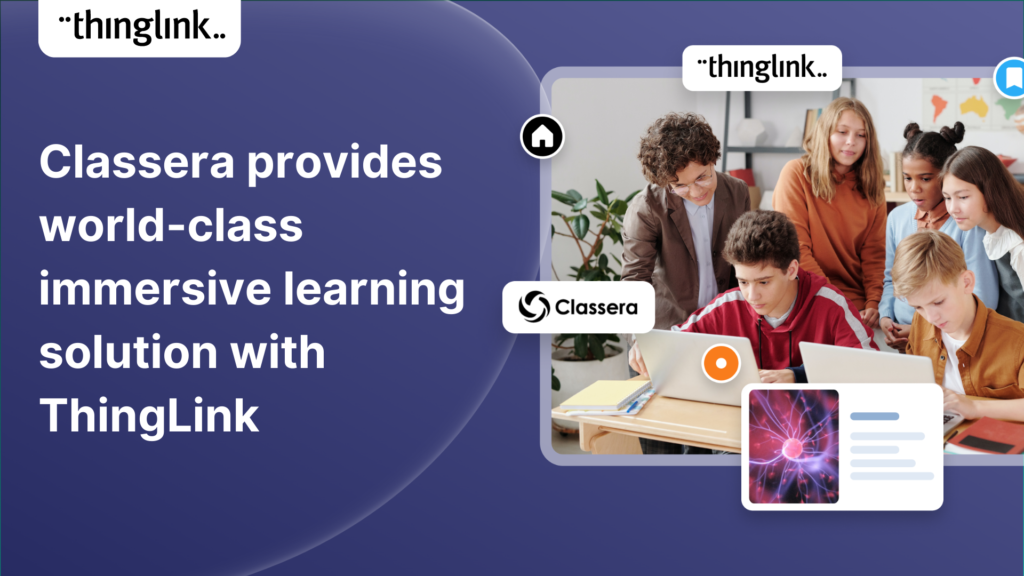
ThingLink and global learning super platform Classera are today announcing they have developed a technical integration to offer educators a simple solution for ...
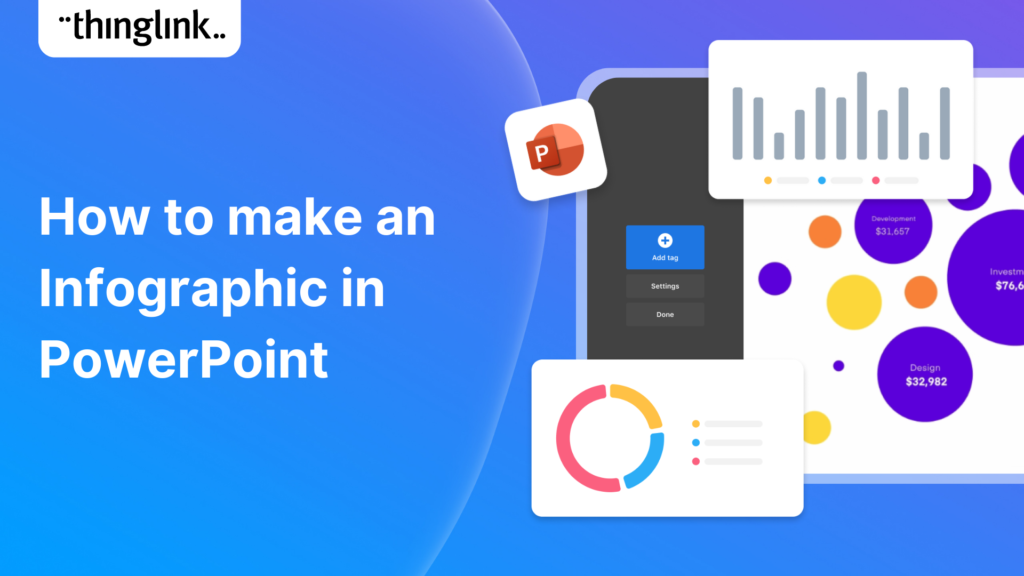
In this blog post, we’ll show you how to make an infographic in Microsoft PowerPoint. Working with shapes, images, icons, and text you can easily create a...
If you create or provide eLearning courses or workplace training, or you create any type of content marketing, you need to know how to use infographics. Infographics...
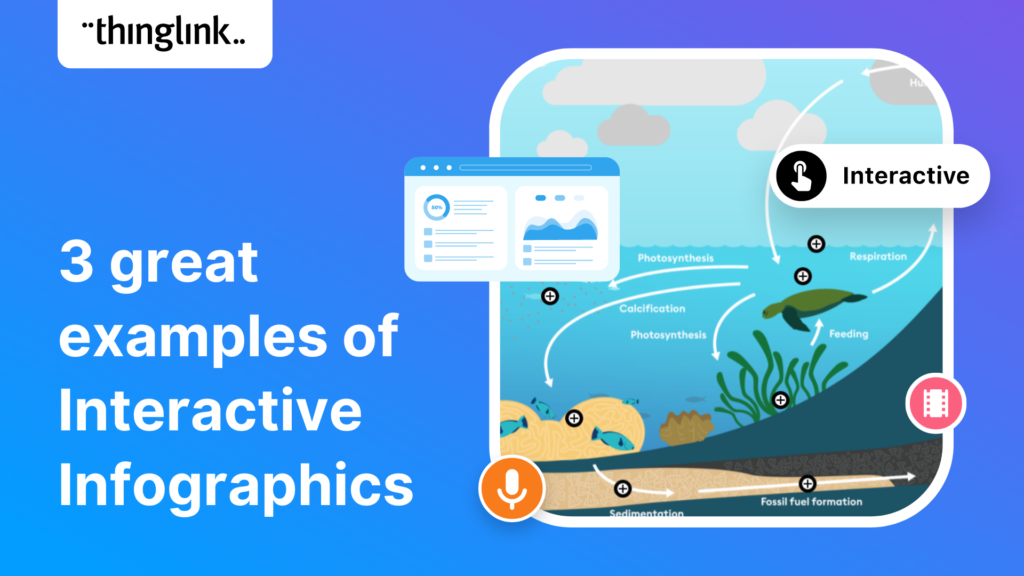
How can you make engaging interactive infographics if you’re not a professional graphic designer? In fact, creating this type of visual content can be really ...
Increase the effectiveness of your online training with multimedia interactive simulations and virtual tours. eLearning course content creation is easy with ThingLink!...
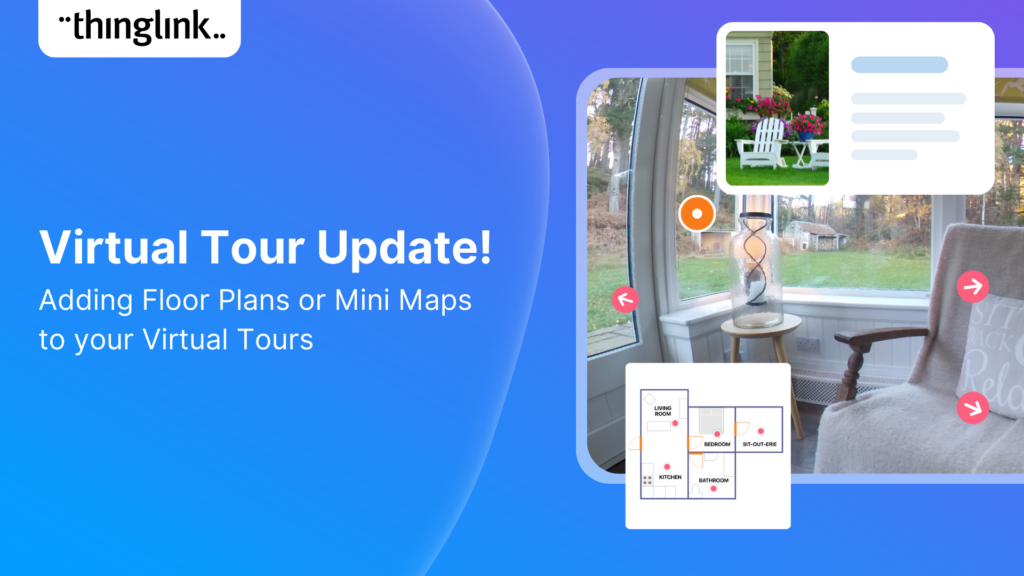
Your viewers won’t get lost with this brilliant new virtual tour feature from ThingLink! Our latest ThingLink update enables you to add a floor plan or ‘mini...
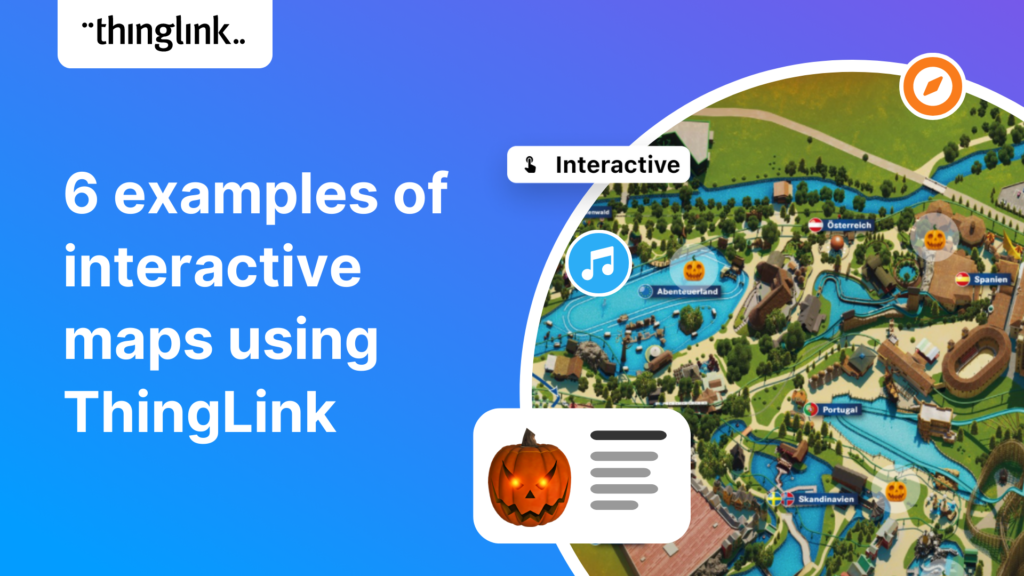
Some inspiring examples of interactive maps created by ThingLink users. Thanks to mobile apps like Google maps, we are now all used to using maps every day that...
Kyla Ball
4 min read
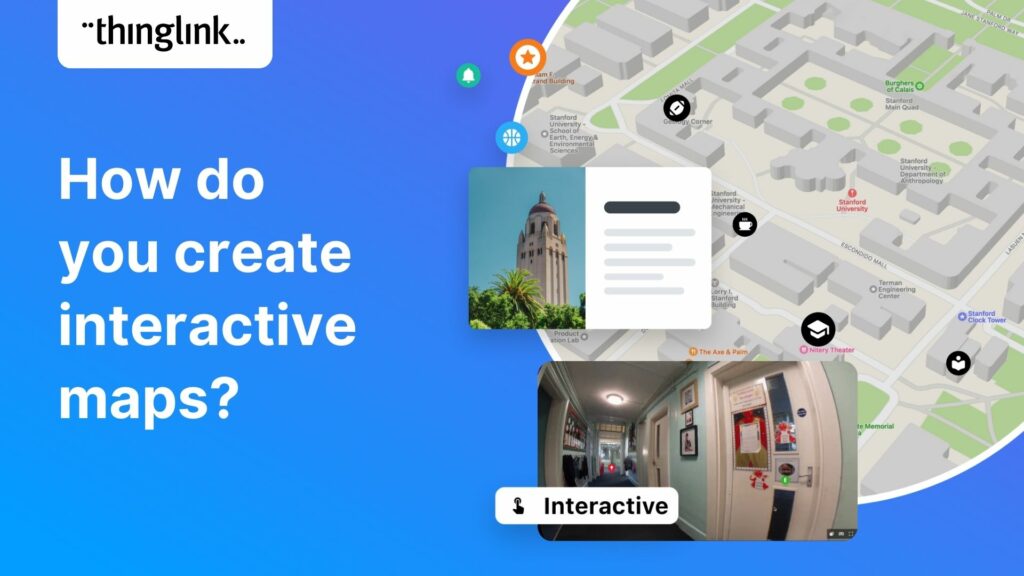
“There are those who follow maps, and those who make them.” Alberto Villoldo How to create interactive maps You don’t need to invest in an expensive...
Kyla Ball
3 min read
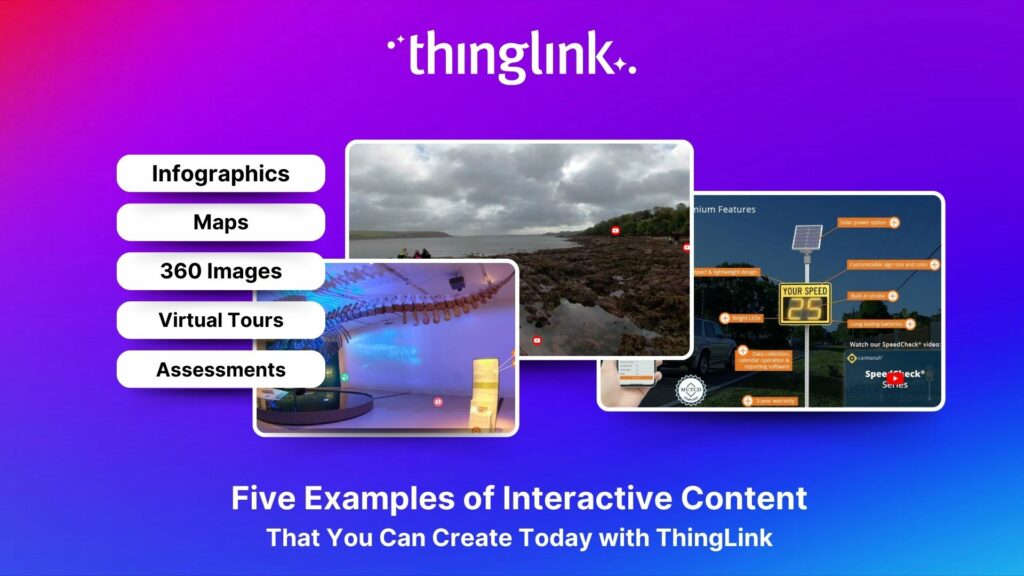
5 types of interactive content you can easily create today with ThingLink September 14, 2022 / 4 minutes of reading / By Louise Jones Stuck ...
Kyla Ball
5 min read
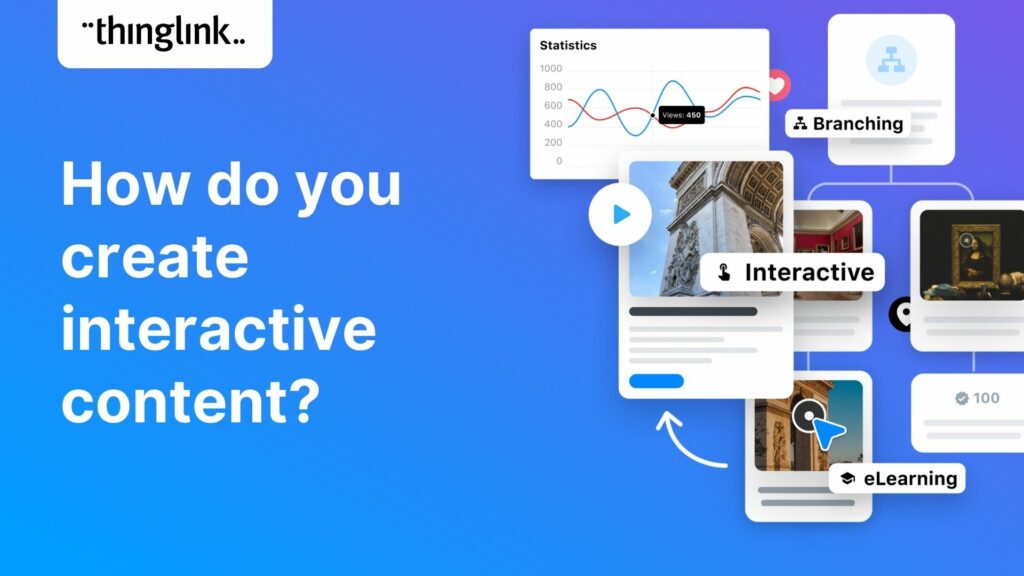
What is interactive content? The opposite of static or passive content, interactive content is one which users actively participate in or engage with. This...
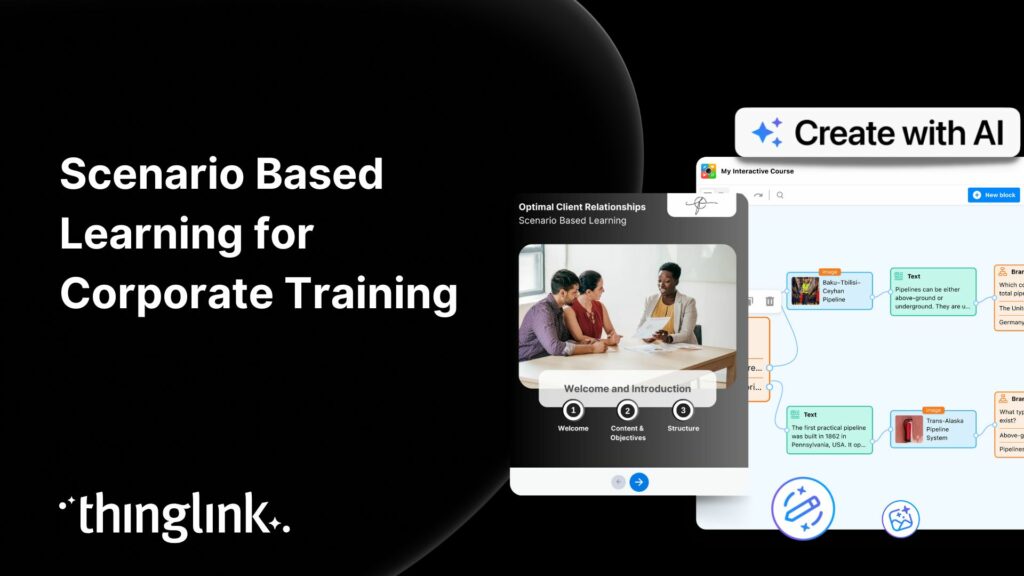
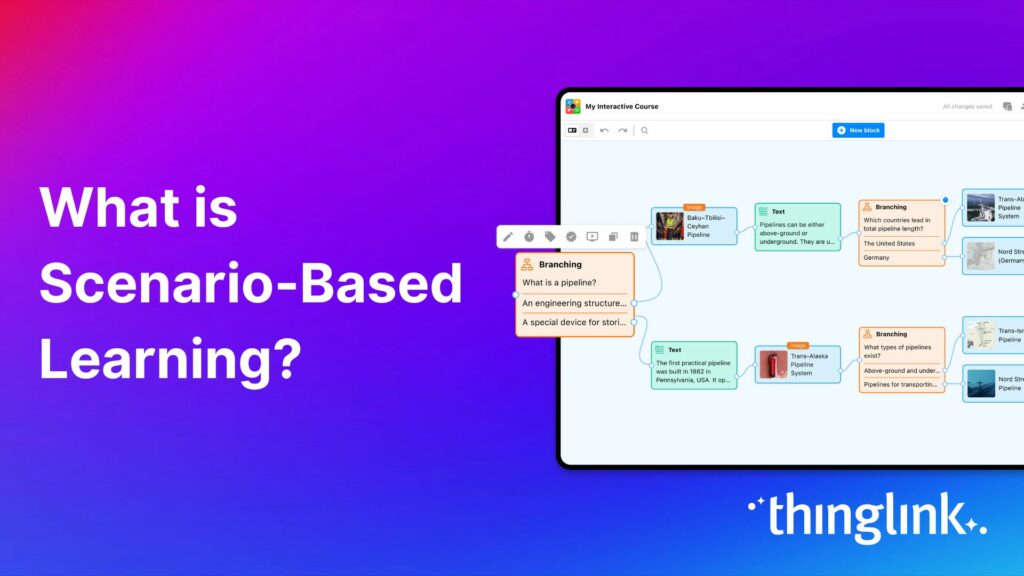
What is the future for corporate training? Scenario-based learning (SBL) is quickly becoming the industry standard for corporate training programs and workplace...
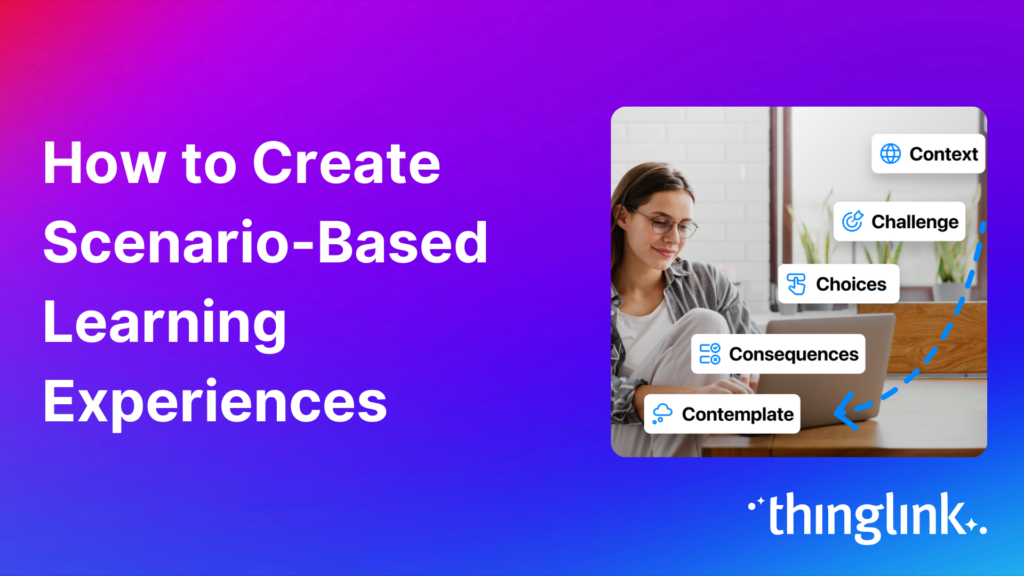
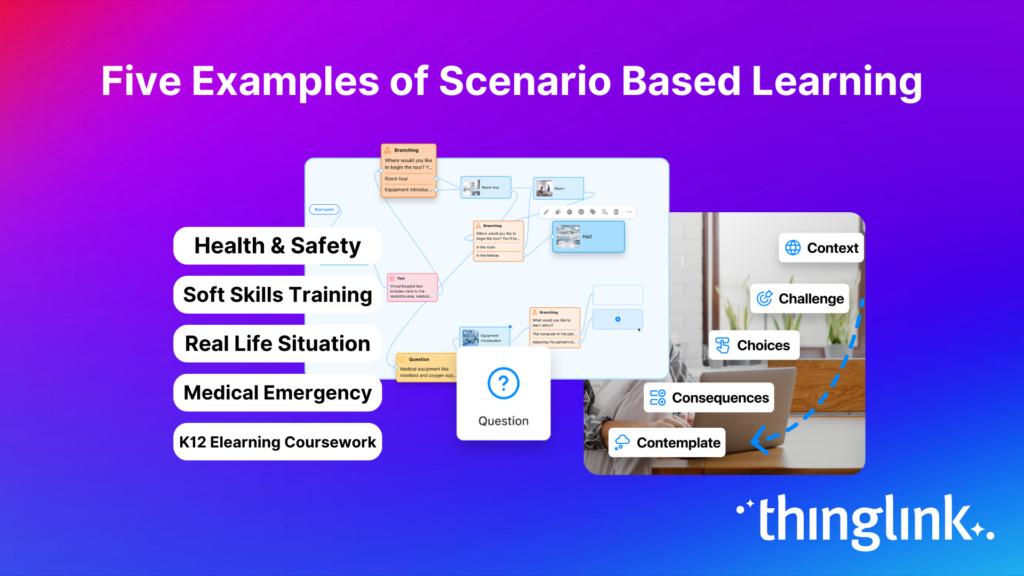
How do you create a real-life learning scenario? Step 1: What makes up a scenario-based learning experience? The 5 Simple Cs at the center of this learning theory...
Impactful uses of Scenario Based Learning experiences for your learners Here are five great examples of where SBL would work really well – use this to give...
Scenario-based learning (SBL) is an instructional strategy where learners pick their own path based on the choices they make. Learners are placed in interactive...