What if your employees could practise a hazardous procedure, make a wrong decision, and experience the consequences without anyone getting hurt? That is the promise...
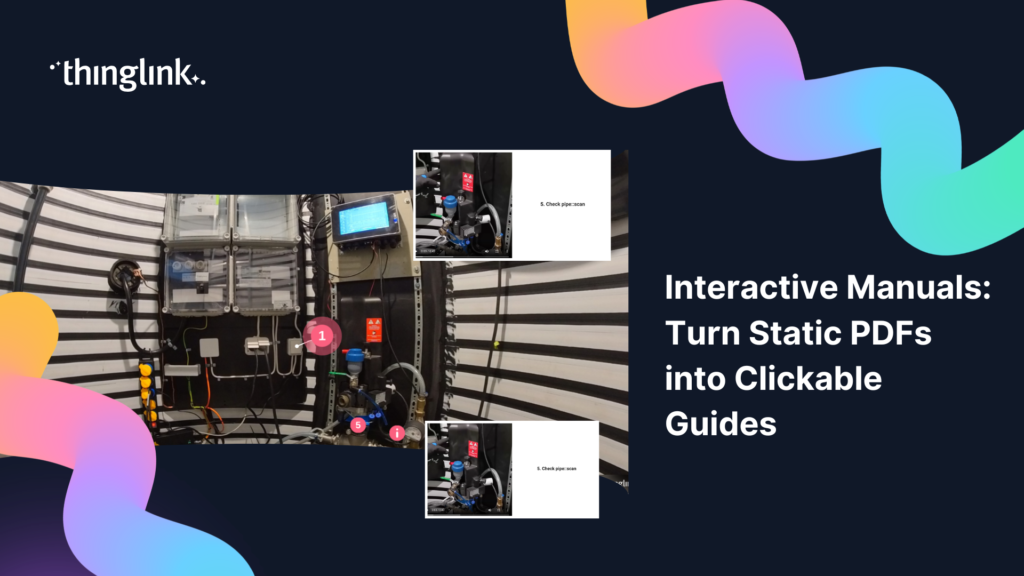
Your technicians are standing on the factory floor, tablet in hand, trying to find page 47 of a 200-page PDF. They scroll. They pinch and zoom. They give up and...
What if you could go from blank canvas to a fully immersive online employee training program in less than a working week? For most learning and development teams,...
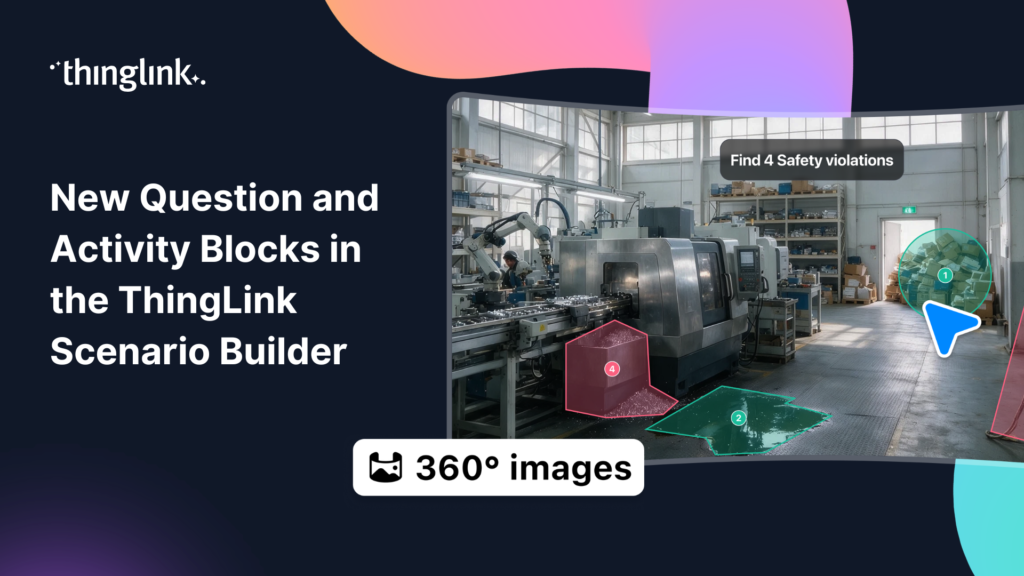
ThingLink Scenario Builder now includes an expanded range of Question and Activity blocks, giving creators more ways to collect learner responses and build interactive...
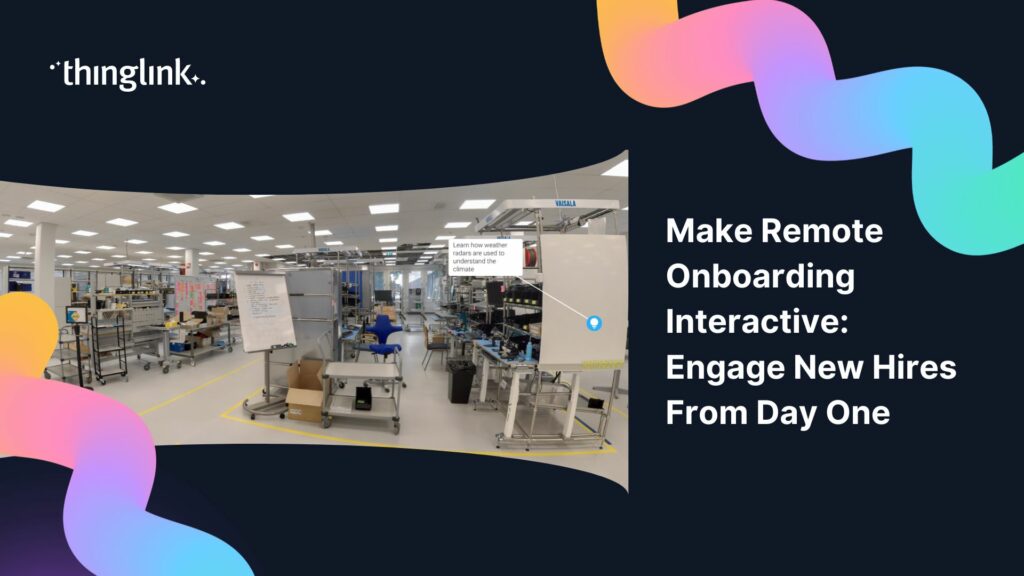
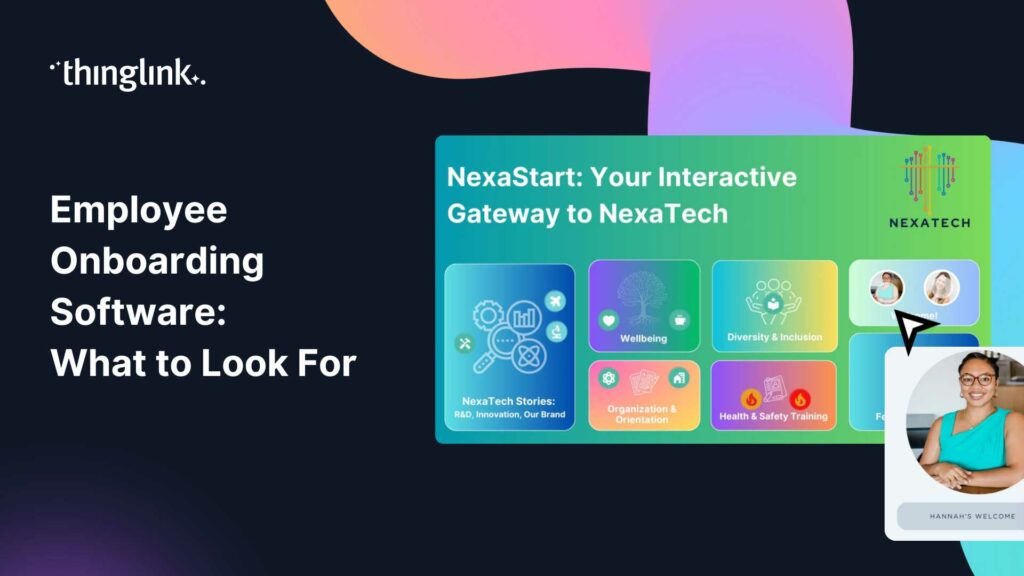
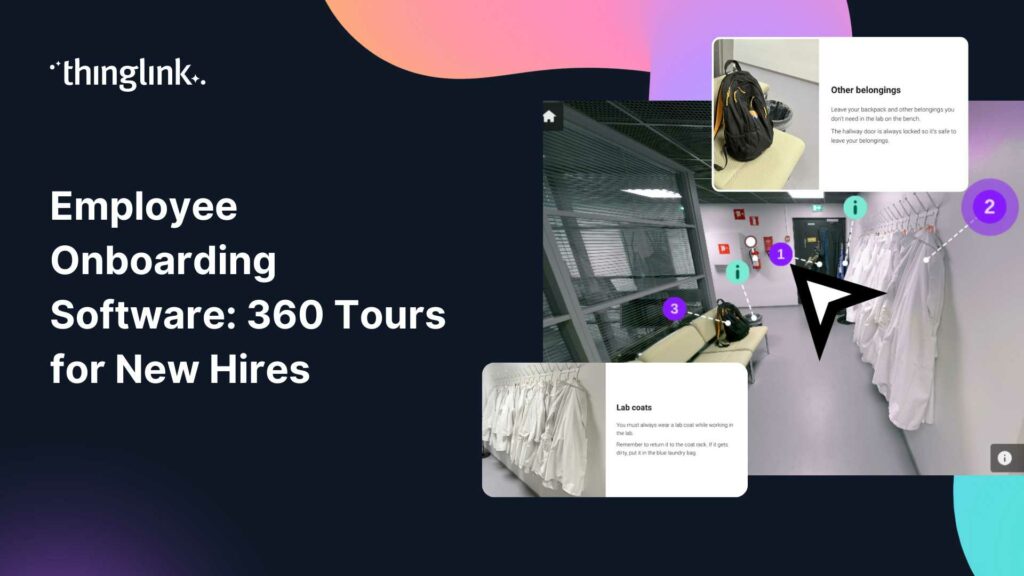
Your new hire logs in on their first day. They receive a PDF handbook, a slide deck, and a calendar full of video calls. By lunchtime, they are overwhelmed. By ...
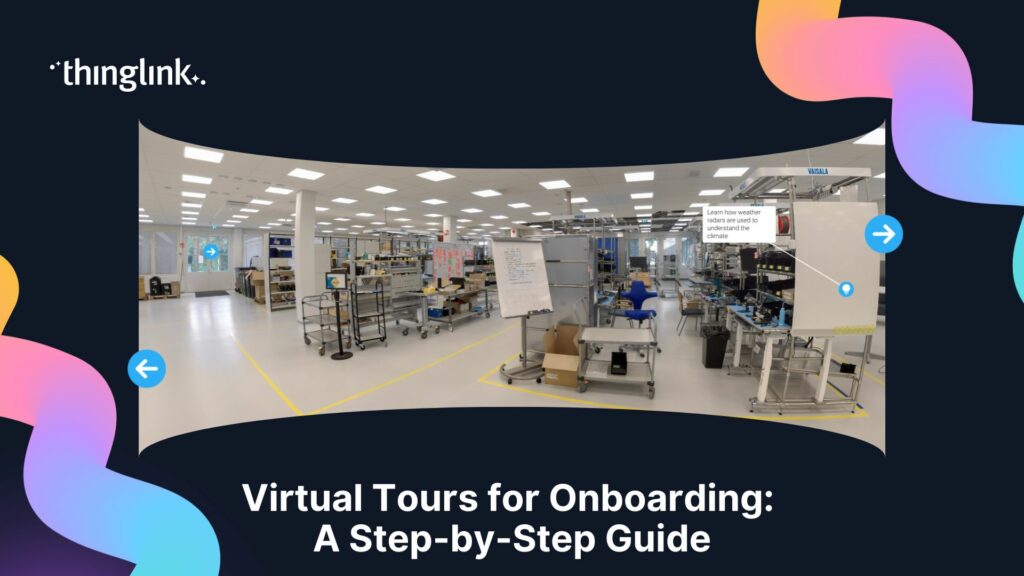
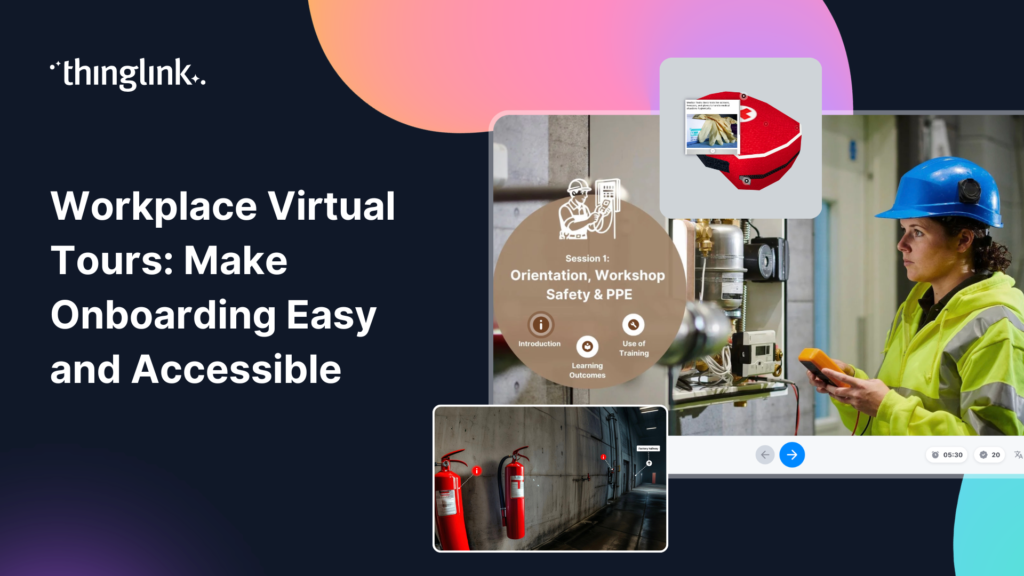
Your new hire’s first day shouldn’t be the first time they see your workplace. By the time someone walks through the door, they’re already managing...
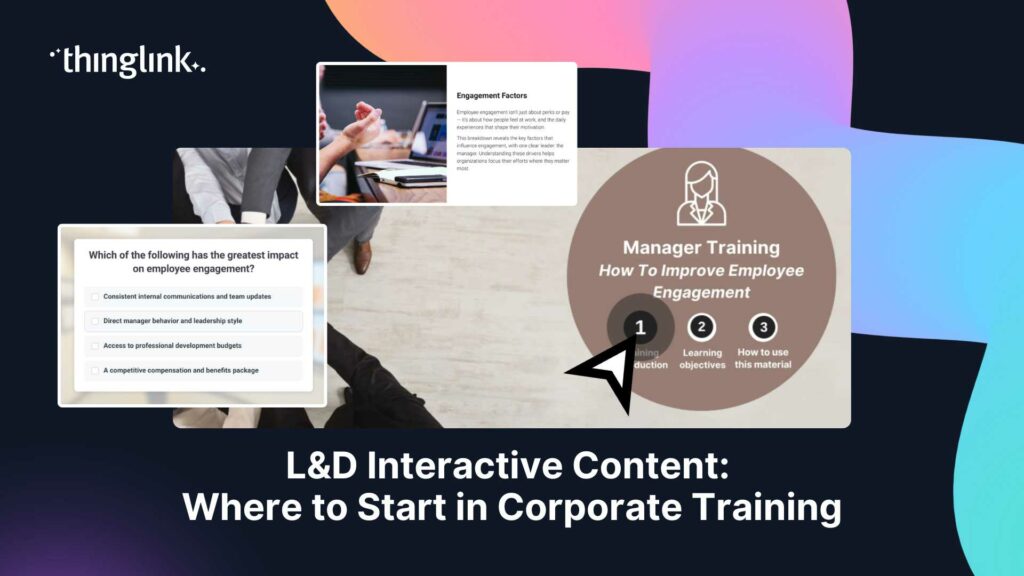
Your learners are busy. They are balancing targets, deadlines, and back-to-back meetings. And somewhere in between all of that, they are supposed to complete their...
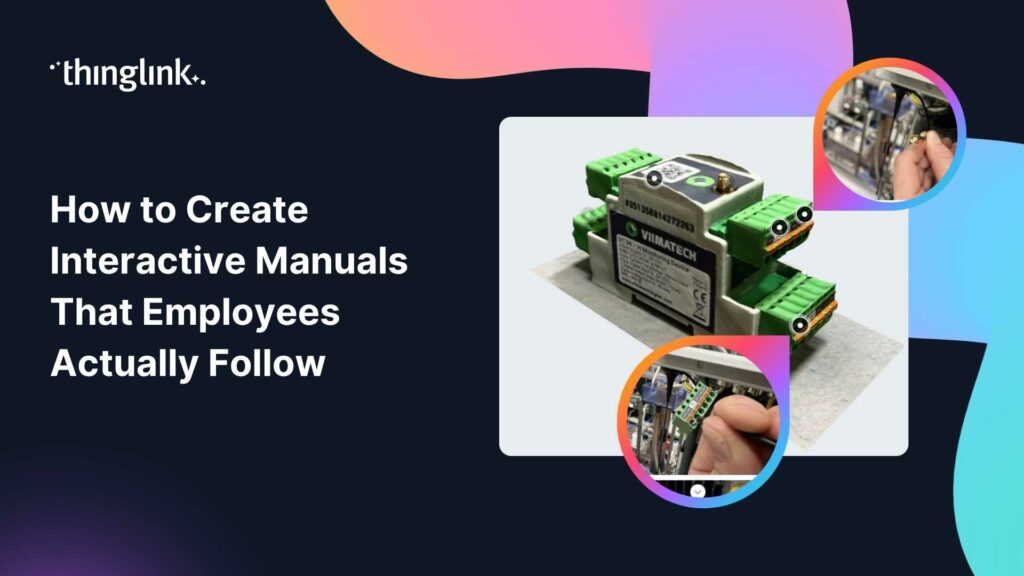
You have printed the procedures. You have uploaded the PDFs. You have added the laminated cards near the equipment. And yet, workers still do the task their own...
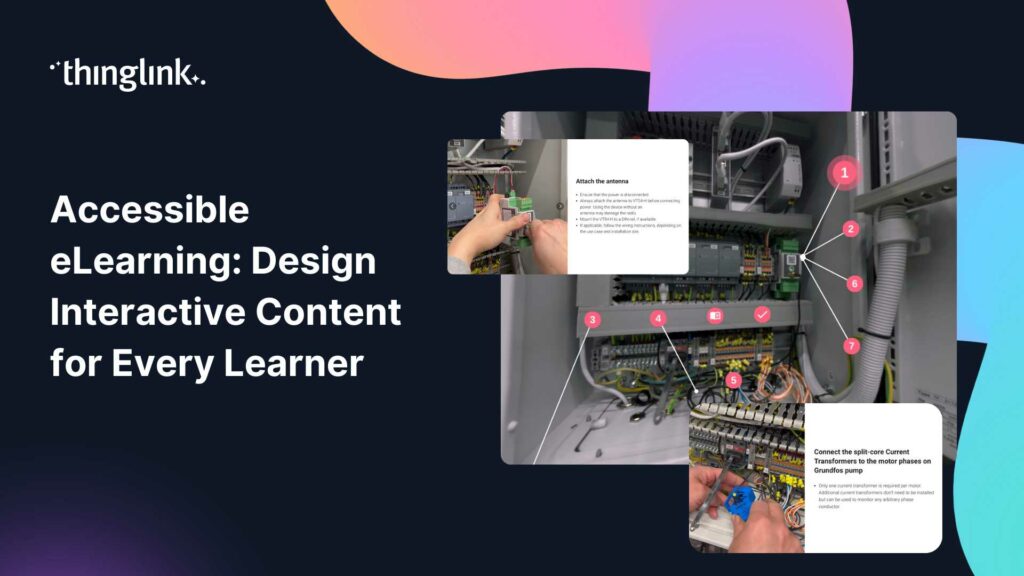
What if your most important compliance training module was completely invisible to 20% of your workforce? Not because they skipped it, but because the format itself...
Your new hire has signed the contract. Now comes the part that shapes everything: onboarding. Research consistently shows that the first weeks in a role have an...
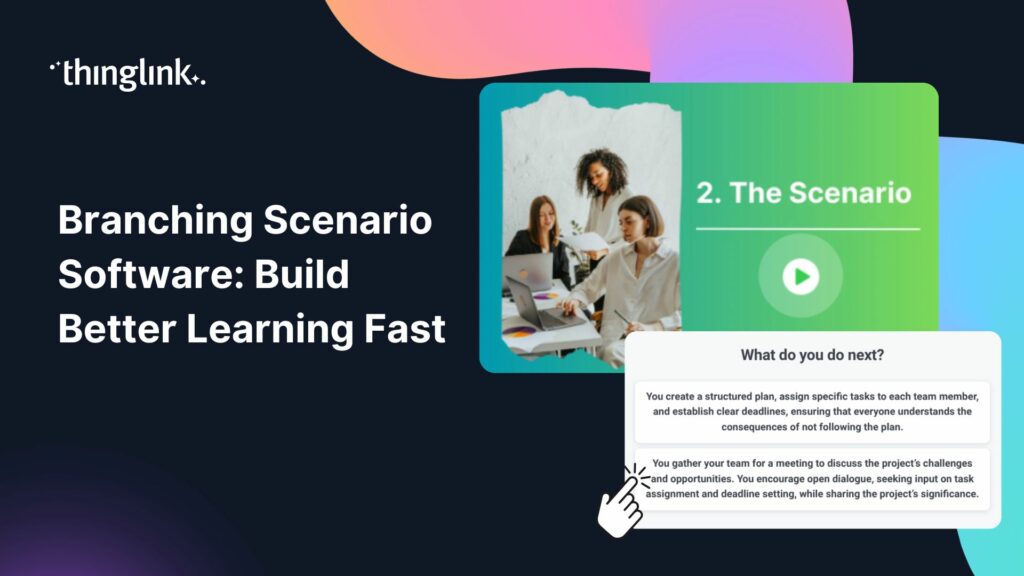
Your team completed the compliance module. They passed the quiz. Three weeks later, they freeze on the job. Sound familiar? If you lead learning and development,...
Your learners are sitting through another slide deck. They click through, they score 80% on the quiz, and two weeks later they cannot recall a single decision they...
Your new hire starts on Monday. Their laptop is ready, their desk is booked, and someone has ordered the obligatory welcome pack. But here is the honest question:...
Why Traditional Training Is No Longer Enough Your learners are switching off. Slide decks, compliance click-throughs, and passive video modules have been the backbone...
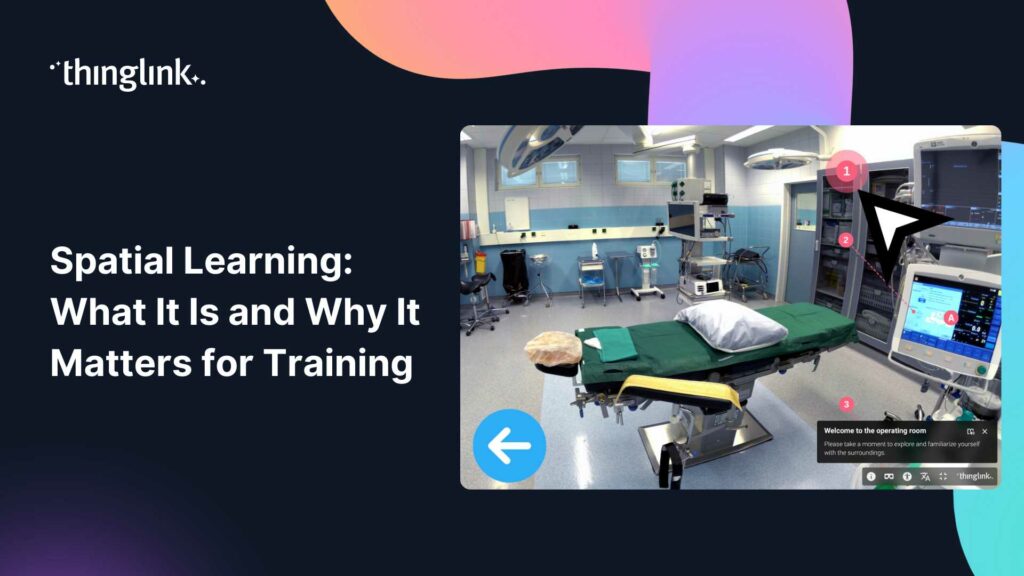
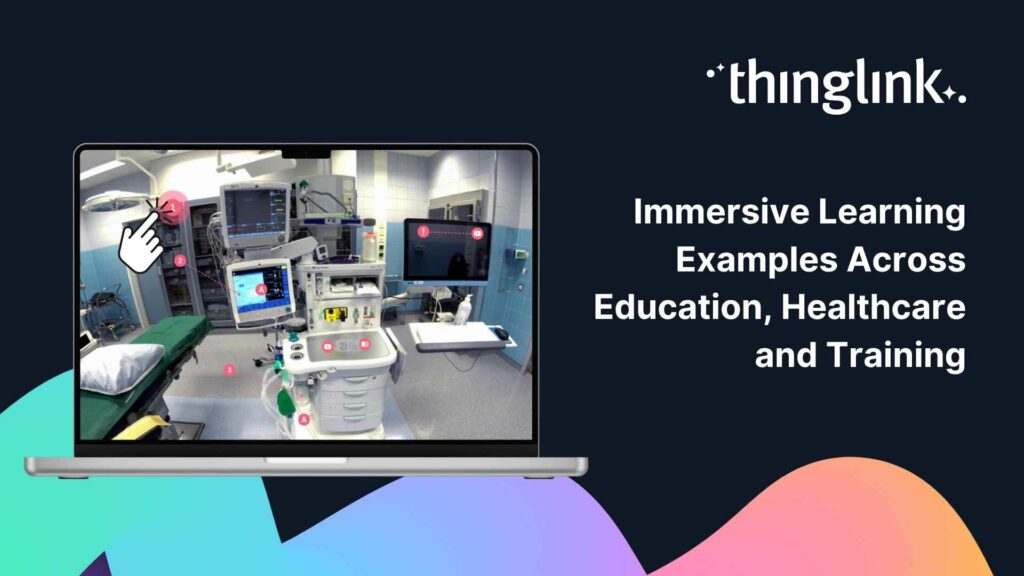
What Does Immersive Learning Actually Look Like in Practice? You have probably heard the term immersive learning used a lot lately. But when you work in healthcare...
Your learners are sitting through another click-through compliance module. They’re reading, clicking next, reading, clicking next. And by the time they close...
Your learners are spread across three sites. Your budget does not stretch to a fleet of VR headsets. And your compliance deadline is in six weeks. Sound familiar?...
What if your new hire’s first week included solving a mystery, navigating a virtual office, and unlocking company knowledge one clue at a time? Virtual escape...
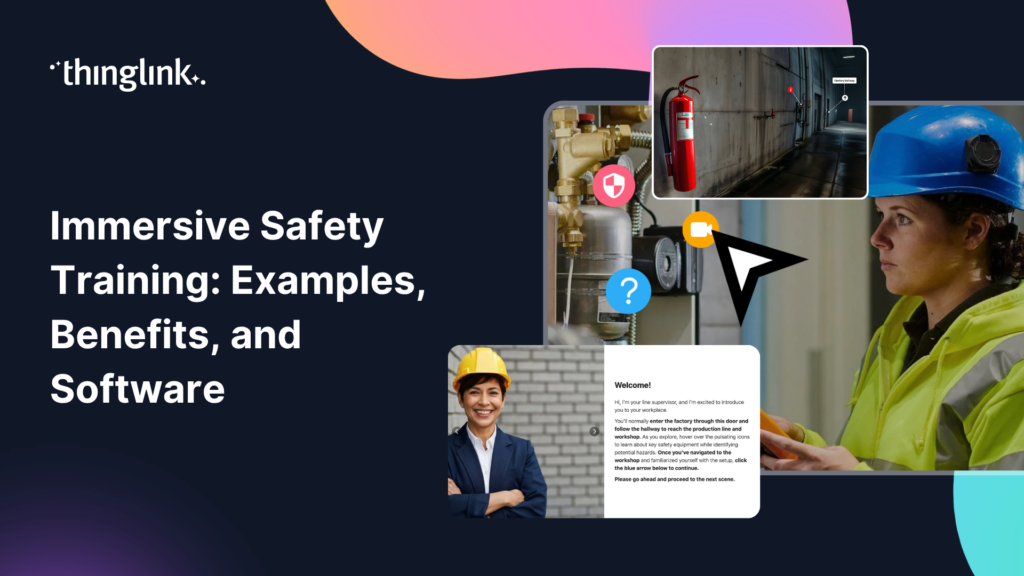
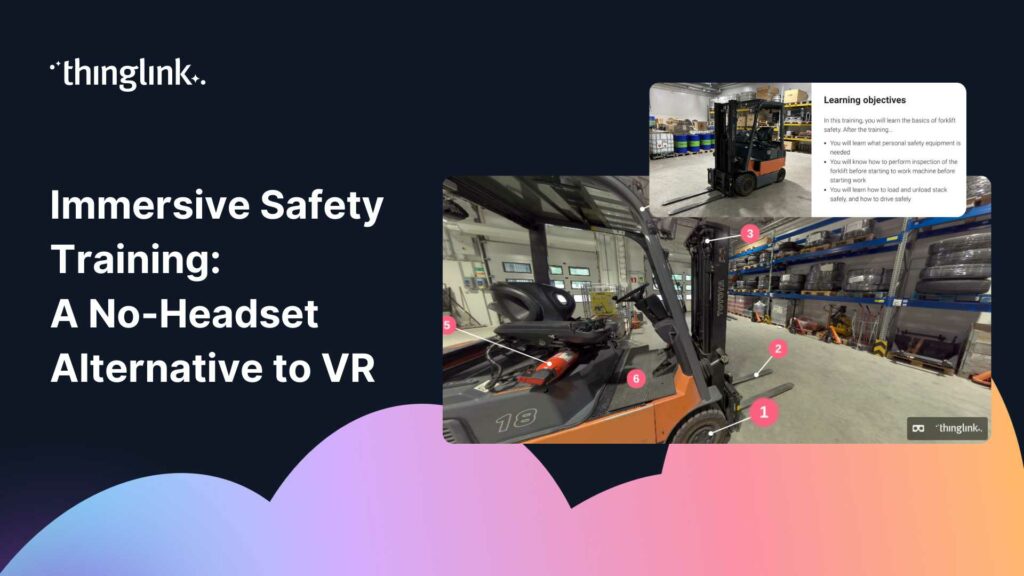
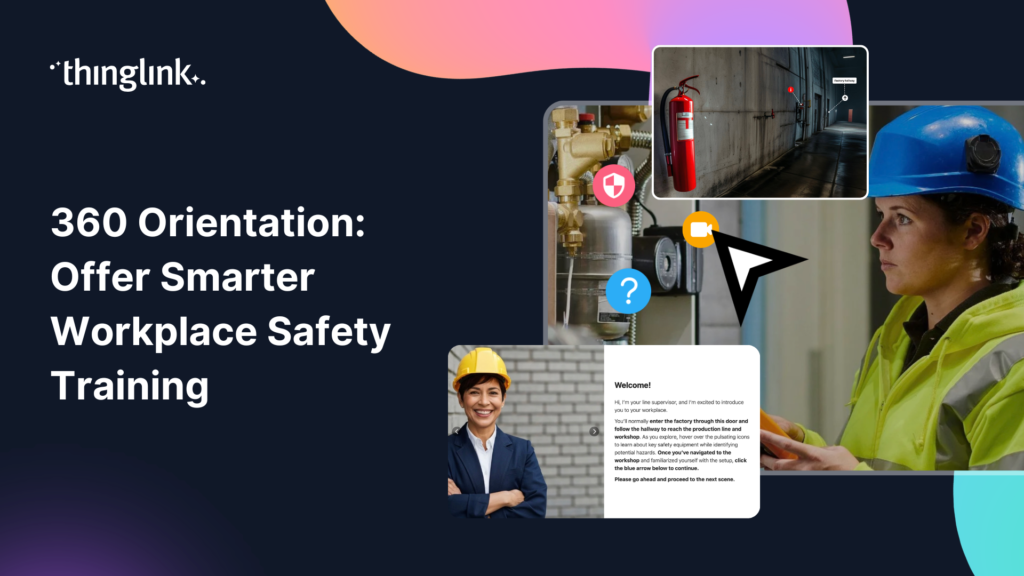
What if your new hires could walk the factory floor, identify hazards, and practise emergency procedures before they ever set foot on site? That is exactly what...
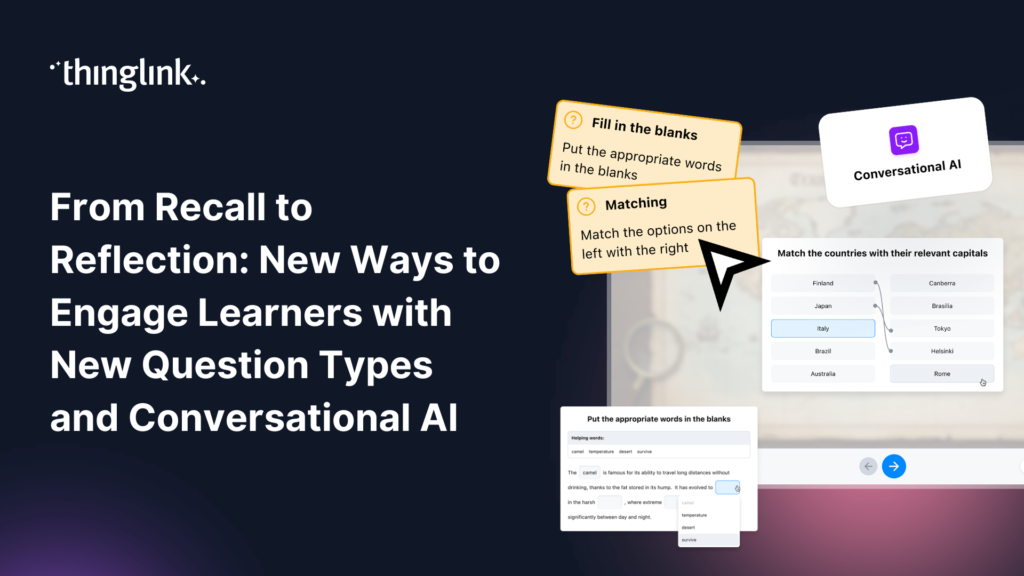
Great learning experiences don’t rely on a single type of interaction. Sometimes learners need to recall key facts. Sometimes they need to recognize patterns,...
What if your next training module felt less like a slideshow and more like a mission? Virtual escape rooms are one of the most engaging formats in digital learning...
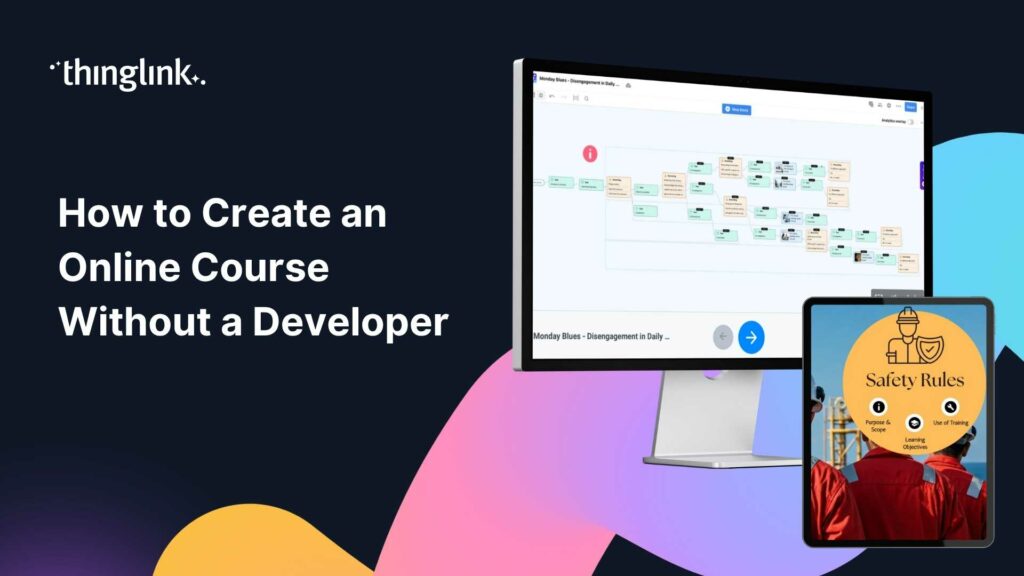
You have the expertise. You know what your team needs to learn. But every time you picture building an online course, you hit the same wall: you need a developer,...
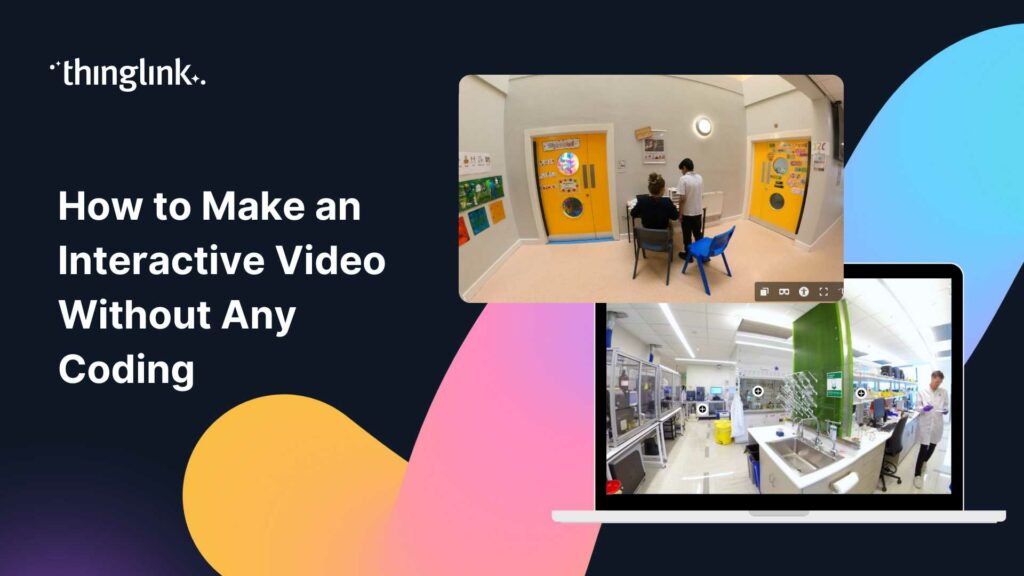
You have great training content. You also have a team of busy learners who click away from passive video within the first two minutes. Sound familiar? Interactive...
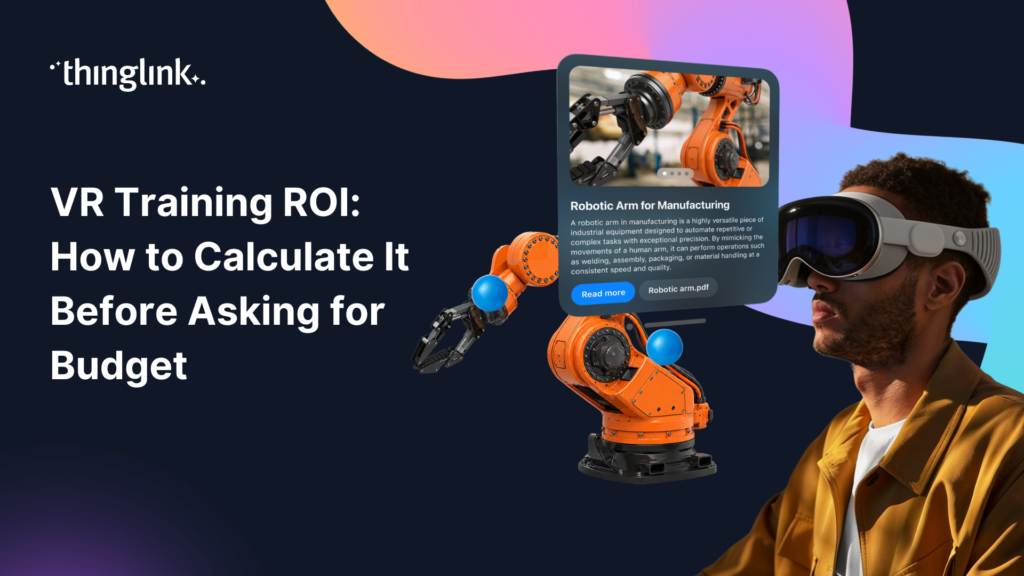
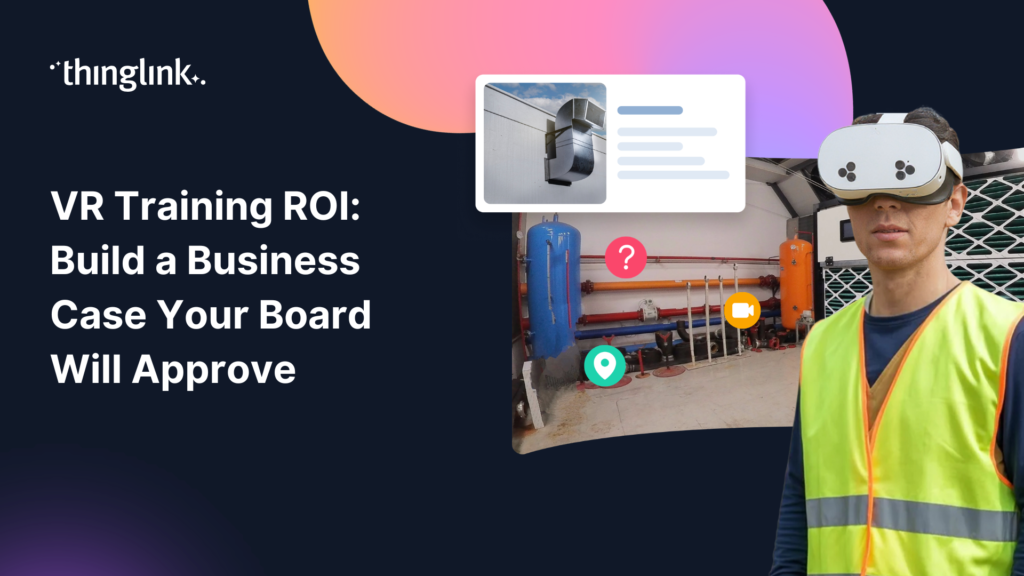
You already believe in immersive learning. Your challenge is convincing the person holding the budget. Before you walk into that meeting, you need more than enthusiasm....
You've planned the session. Booked the room. Printed the handouts. Gathered the group. And two weeks later, most of what was covered has quietly vanished from...
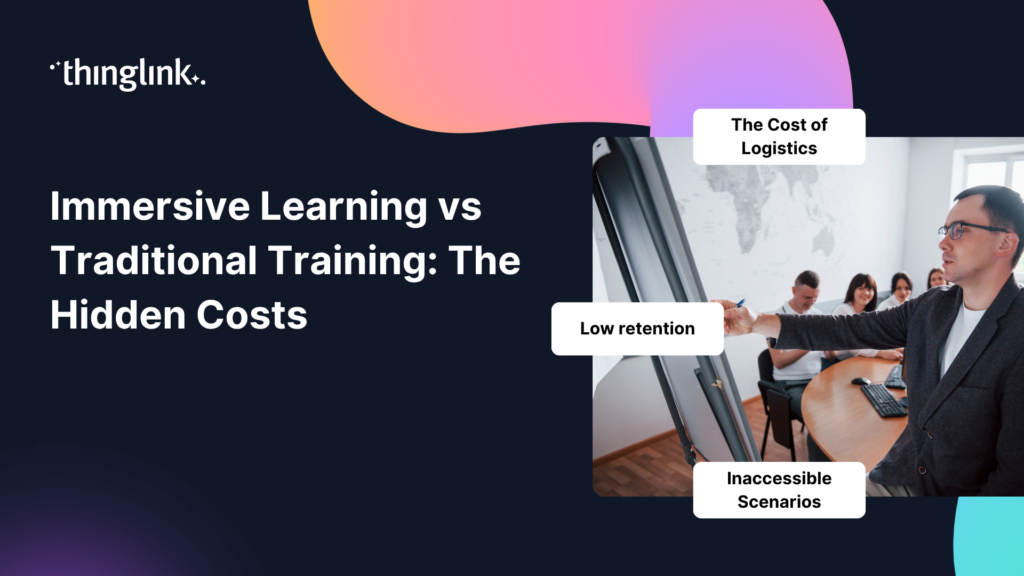
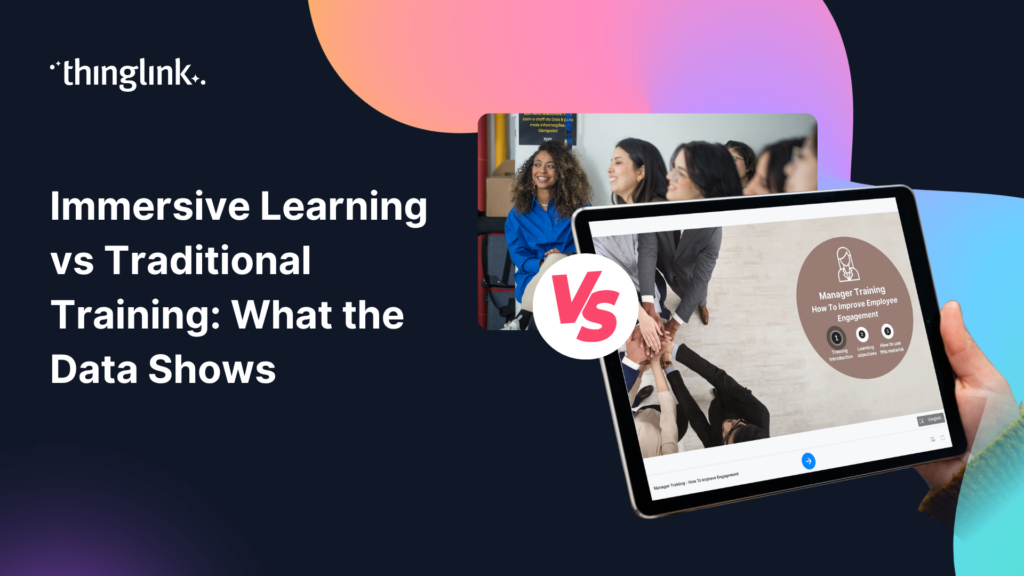
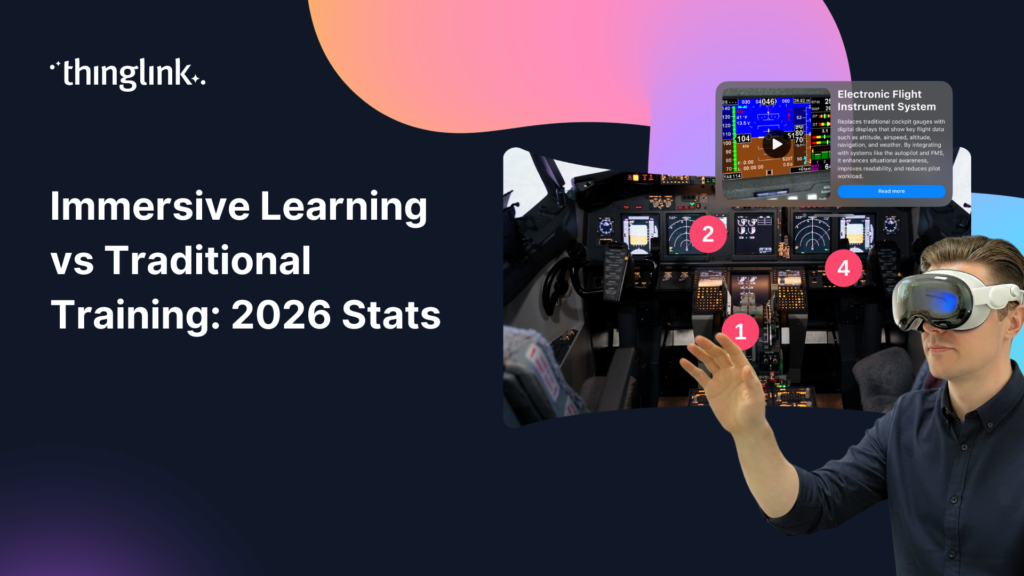
Immersive Learning vs Traditional Training: What the Data Actually Shows You've sat through the slide decks. You've administered the compliance click-throughs....
You've sat through the end-of-year review. Completion rates are acceptable. Quiz scores look fine on paper. But six months later, your employees can't recall...
You already know immersive learning works. You've seen the engagement numbers, heard the feedback from pilot participants, and watched colleagues at other organisations...
You're under pressure to prove that every training pound or dollar is well spent. So when someone suggests replacing classroom sessions or e-learning modules...
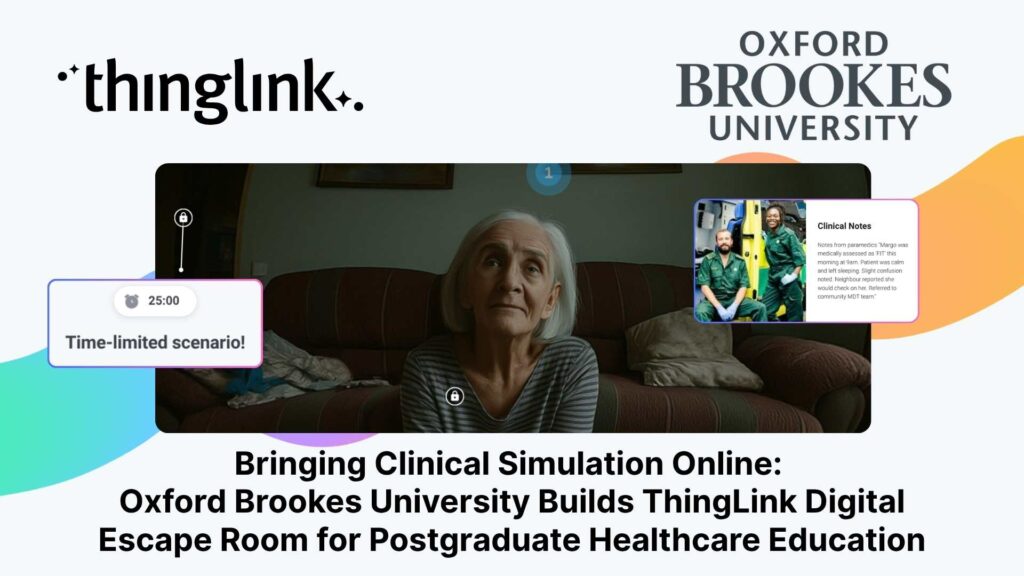
Institution: Oxford Brookes University, Faculty of Health Science and Technology Lead: Emma Mellors, Senior Lecturer Advanced and Specialist Practice / CPD Programmes...
What if your new hire could walk the floor, meet their team, and understand the layout of their workplace before they even arrive? For many organisations, the first...
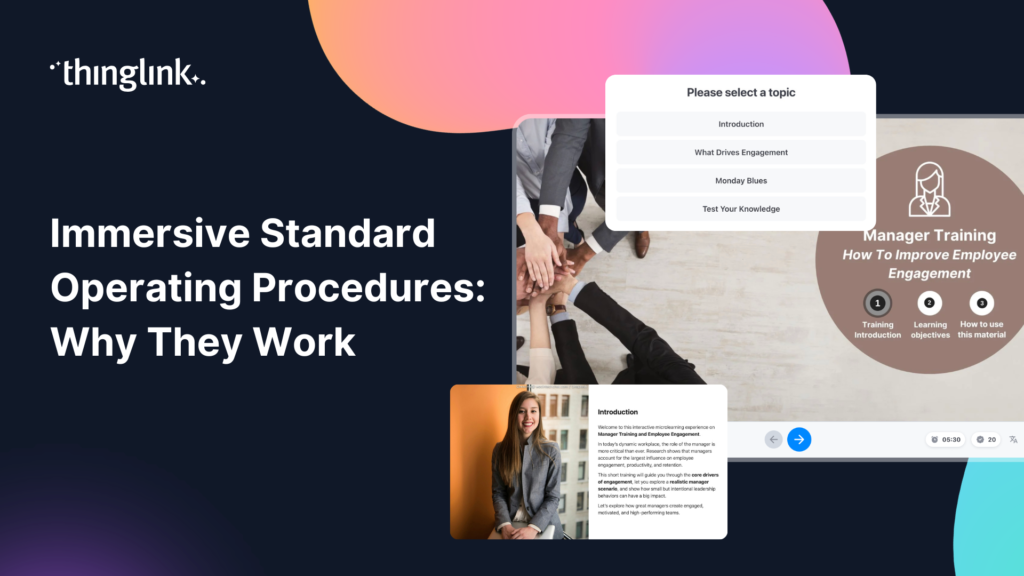
Your standard operating procedures are only as good as the training behind them. If your team is skimming PDFs, clicking through generic slide decks, or sitting...
What if your team could practise responding to a chemical spill, a fire evacuation, or a machinery fault — before anything went wrong in real life? That is the...
Haaste ISS Palveluiden CMS-yksikkö vastaa siivouksesta, kiinteistöhuollosta ja teknisistä palveluista Joensuun alueella. Business Joensuu hallinnoi Joensuun ...
Challenge The CMS unit of ISS Palvelut is responsible for cleaning, property maintenance and technical services in the Joensuu region. Business Joensuu manages ...
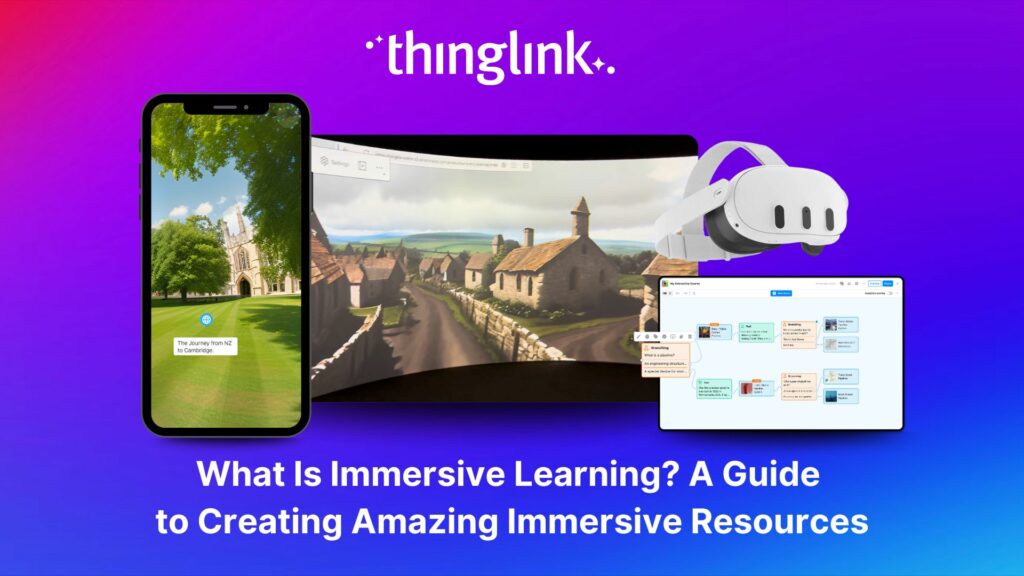
What is Immersive Learning? Immersive learning is a modern approach to education and training that uses interactive, spatial experiences to place learners in real-world...
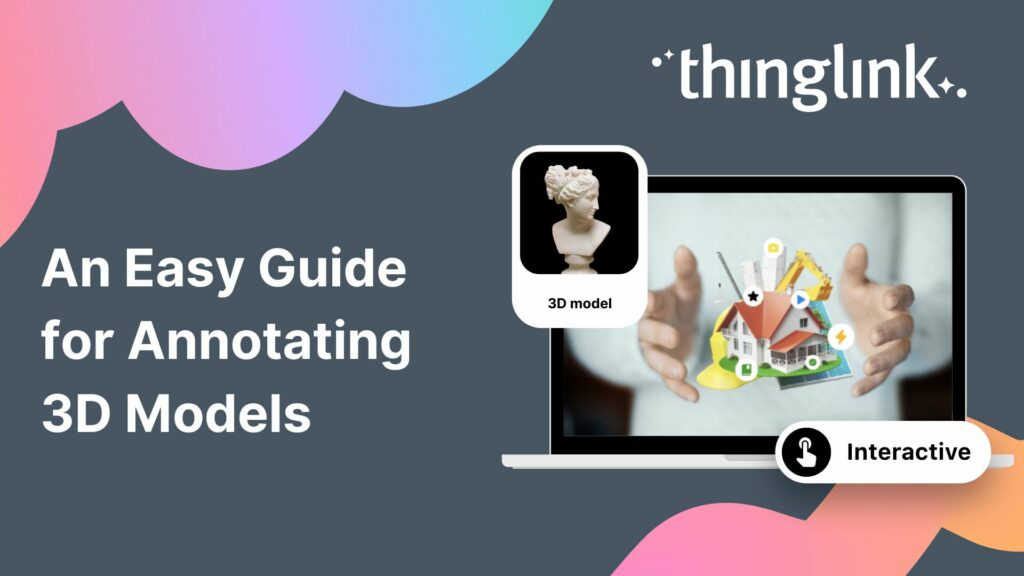
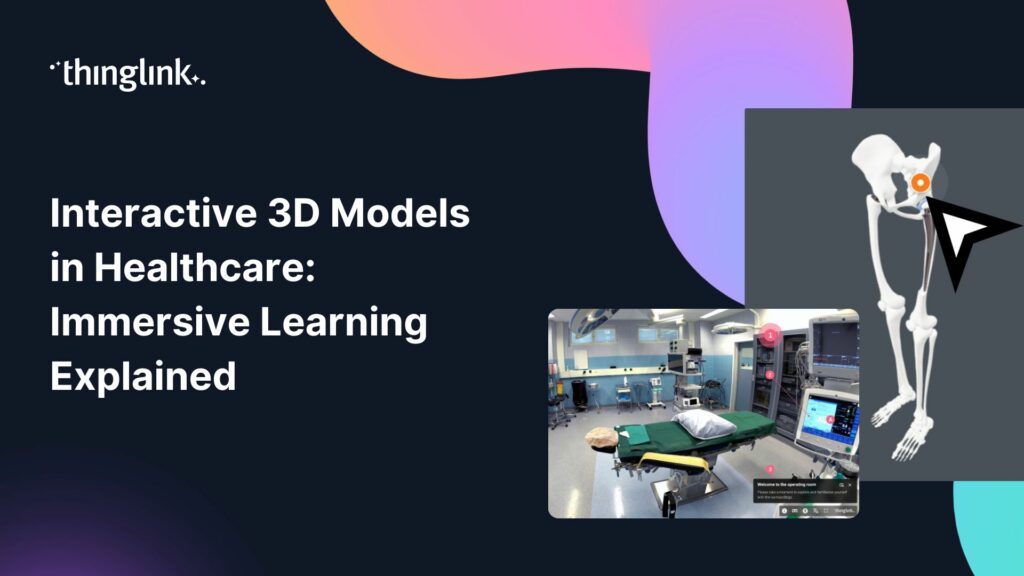
What is 3D Model Annotation? ThingLink allows users to create interactive 3D models as easily as they create interactive images, videos and virtual tours. The feature...
Helsinki, 12 March 2026 ThingLink has entered into a strategic partnership with Vervenest Technologies Private Limited to support the expansion of immersive learning...
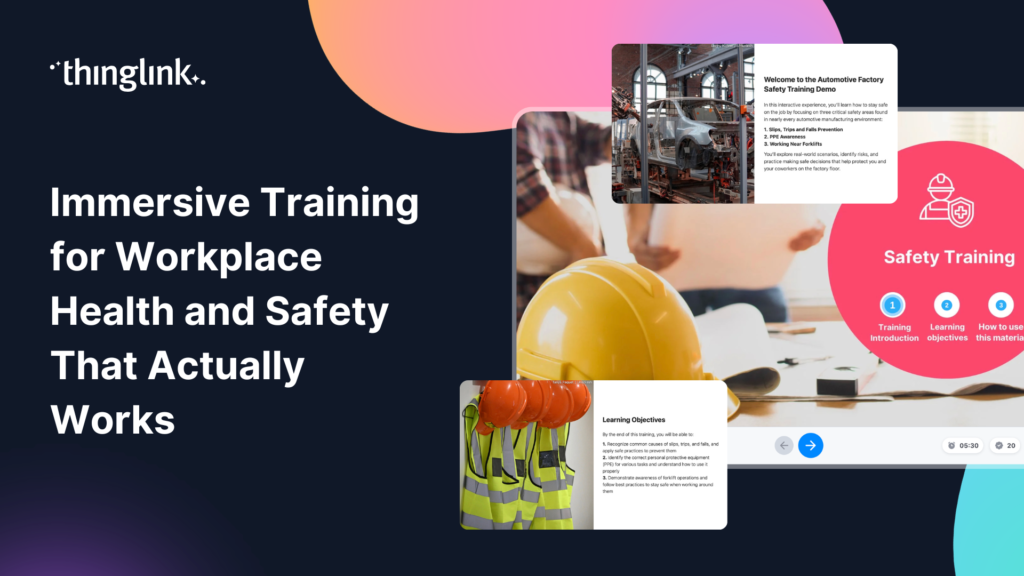
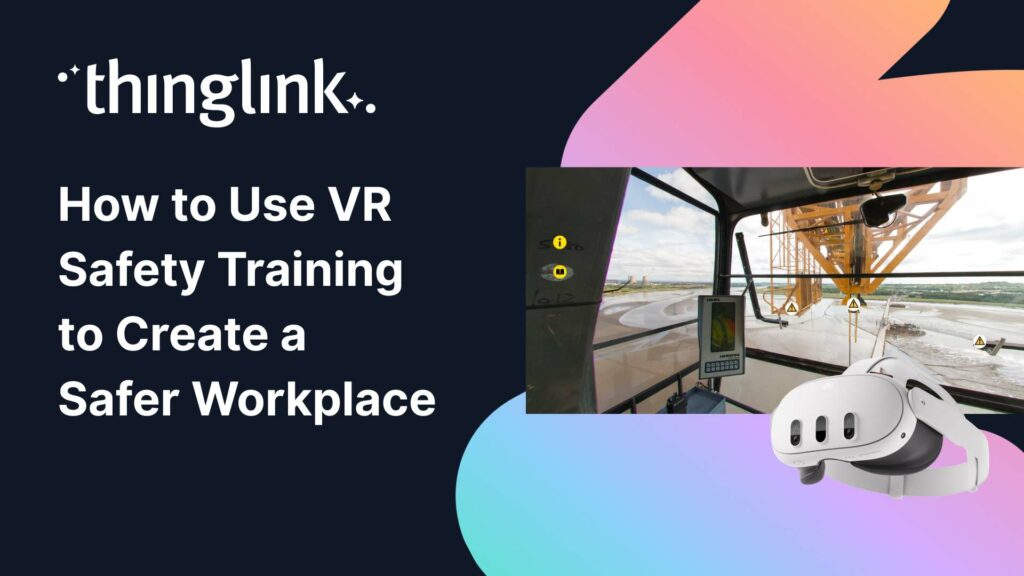
Protecting employee health and safety is one of the most fundamental responsibilities of any organization. Especially in high-risk industries, even a single incident...
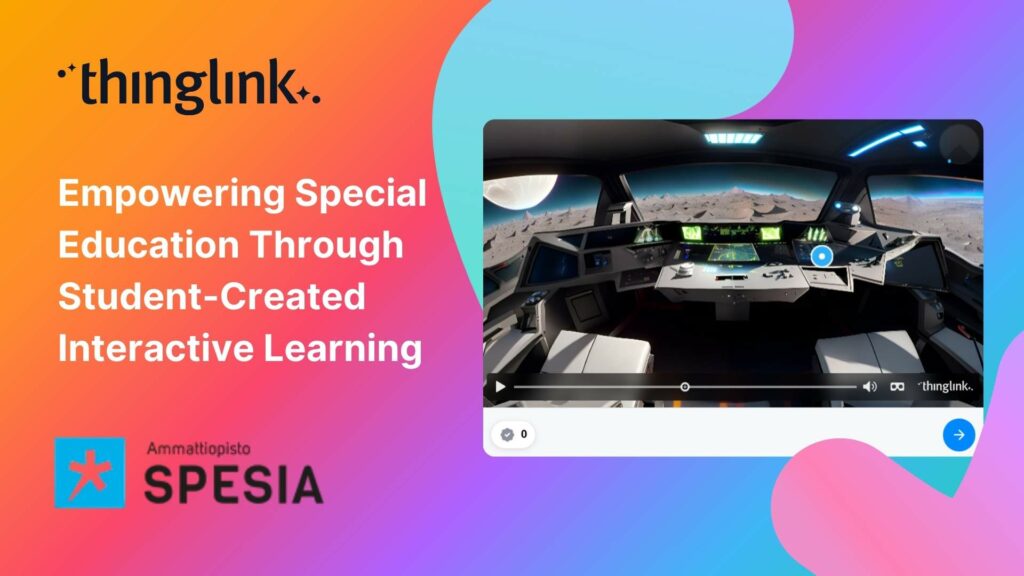
For students at Spesia vocational and special education college, ThingLink isn’t just a learning platform, but a tool for designing and building their own interactive...
Instructure is the global EdTech organization used by over 19 million unique users annually. It’s probably best-known as the home of Canvas, their flagship product...
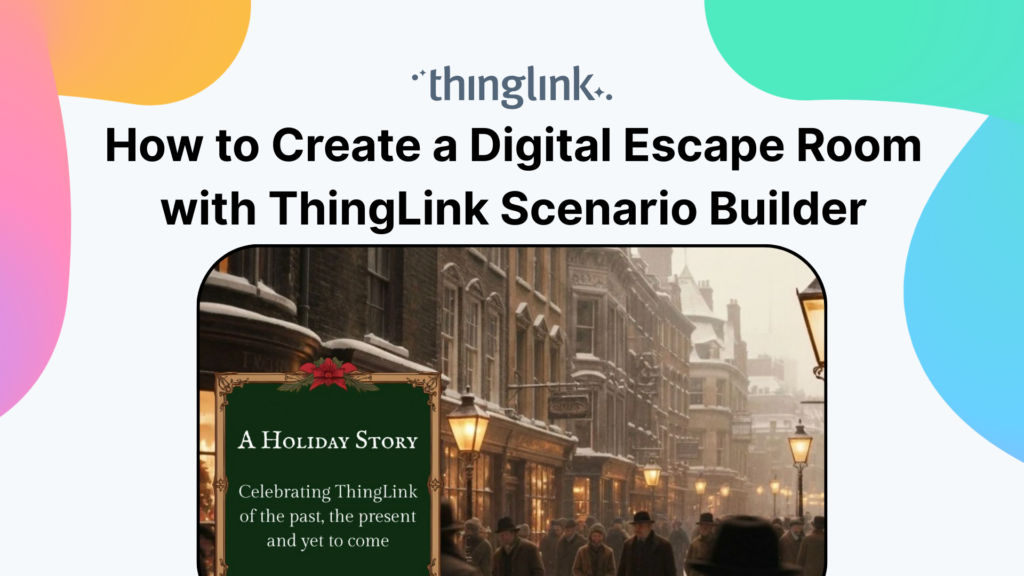
Are you ready to captivate your audience with an immersive, interactive experience? Digital escape rooms offer a unique way to engage, educate, and entertain your...
For many higher and further education institutions, the integration of new technologies like AV equipment often presents a double-edged sword. While advancements...
Nutrition and dietetics higher education programs face a critical challenge common across healthcare studies: effectively connecting theoretical knowledge with ...
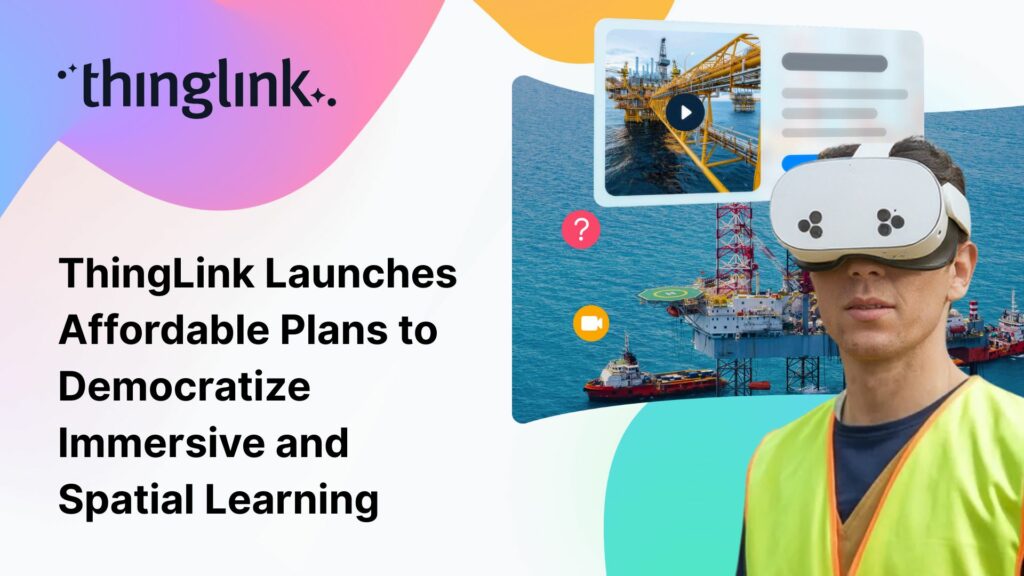
The New ThingLink Creator Plans are available as flexible monthly subscriptions, widening access for creators, trainers, and educators worldwide. Today, ThingLink...
What if your clinical training materials could let learners rotate a beating heart, explore a surgical site, or inspect medical equipment from every angle, without...
As organizations continue to invest in digital learning, awareness and demand for immersive learning experiences in employee training are at an all-time high. Traditional...
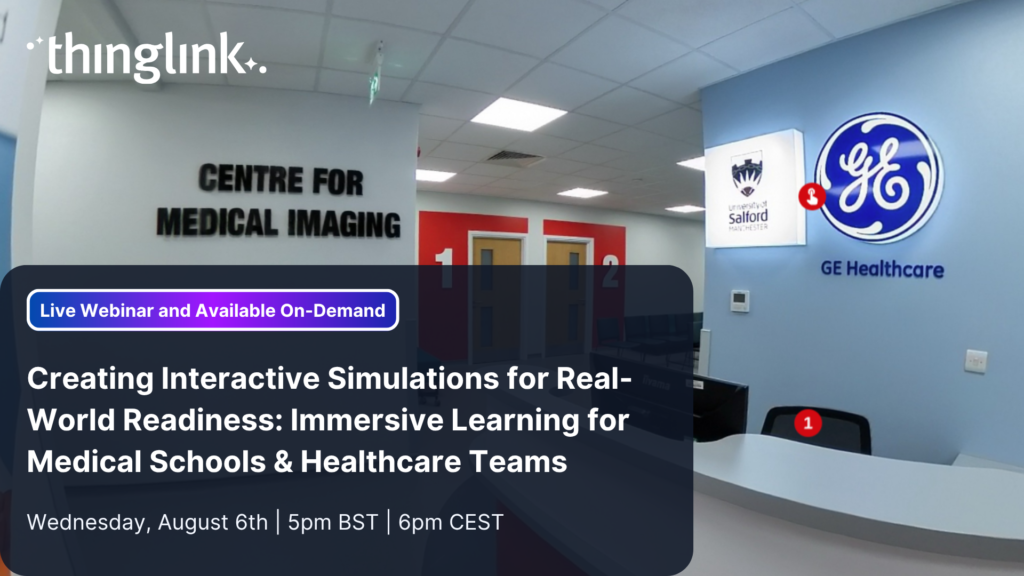
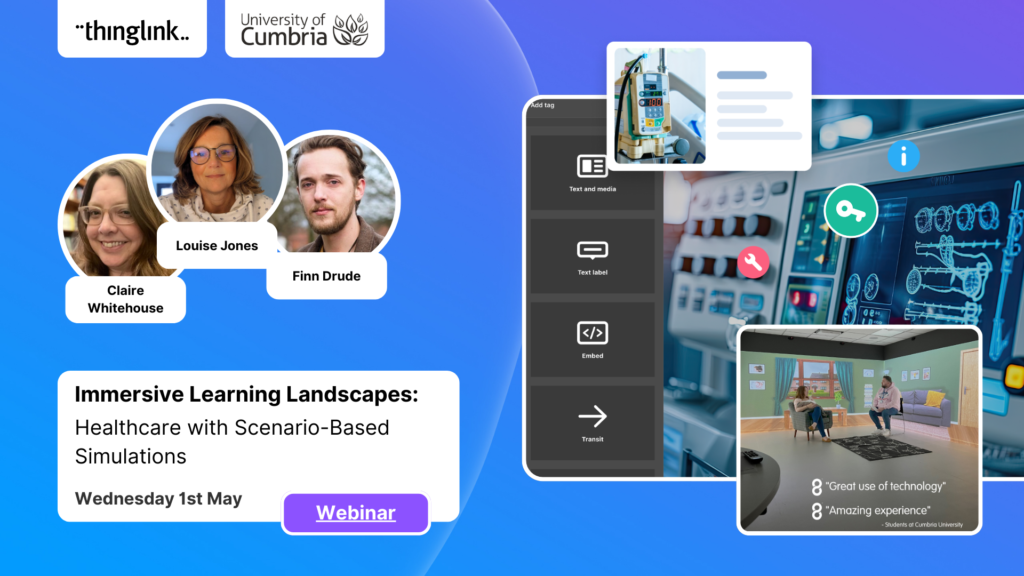
Creating Interactive Simulations for Real-World Readiness: Immersive Learning for Medical Schools & Healthcare Teams Where and When 📅 Date: Now On-Demand...
At ThingLink, our mission is to empower educators, trainers, and content creators to build truly impactful digital learning experiences. We believe that great learning...
The global workforce is constantly evolving, which means that the strategies that companies use to attract and retain top talent have to evolve to keep pace. As...
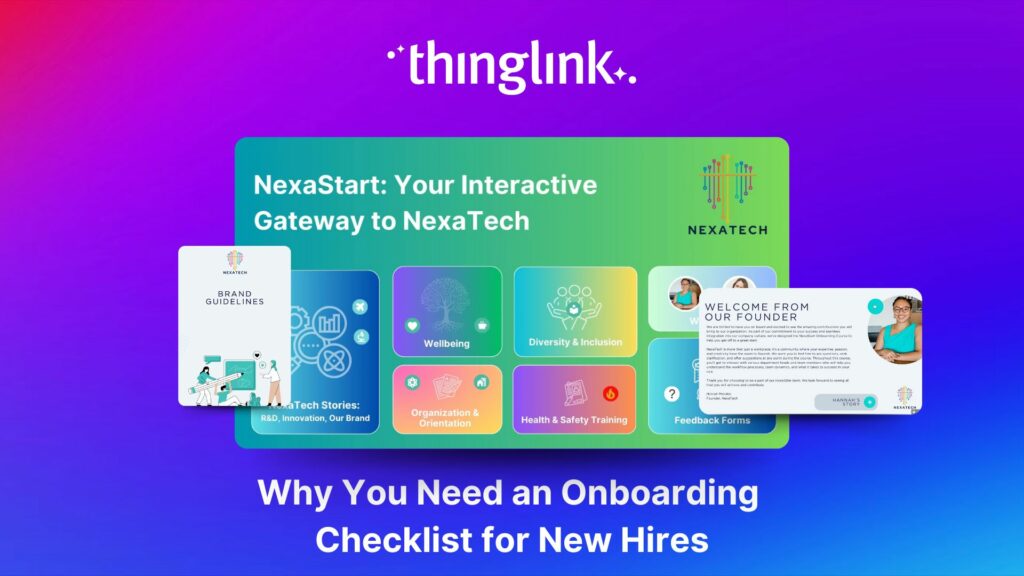
Welcoming a new employee should be an exciting time for any organization — but without a clear onboarding checklist, it can quickly become overwhelming for both...
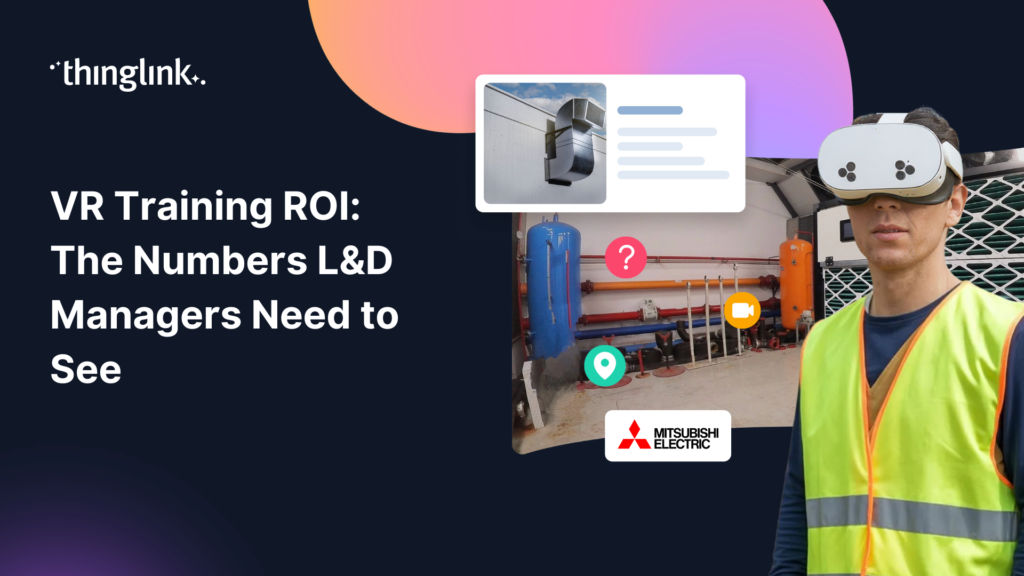
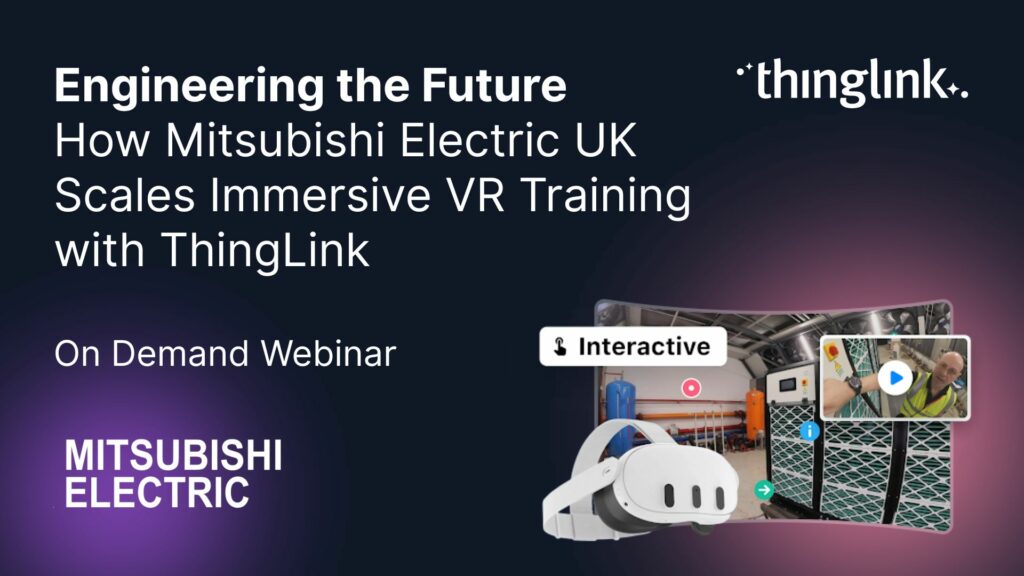
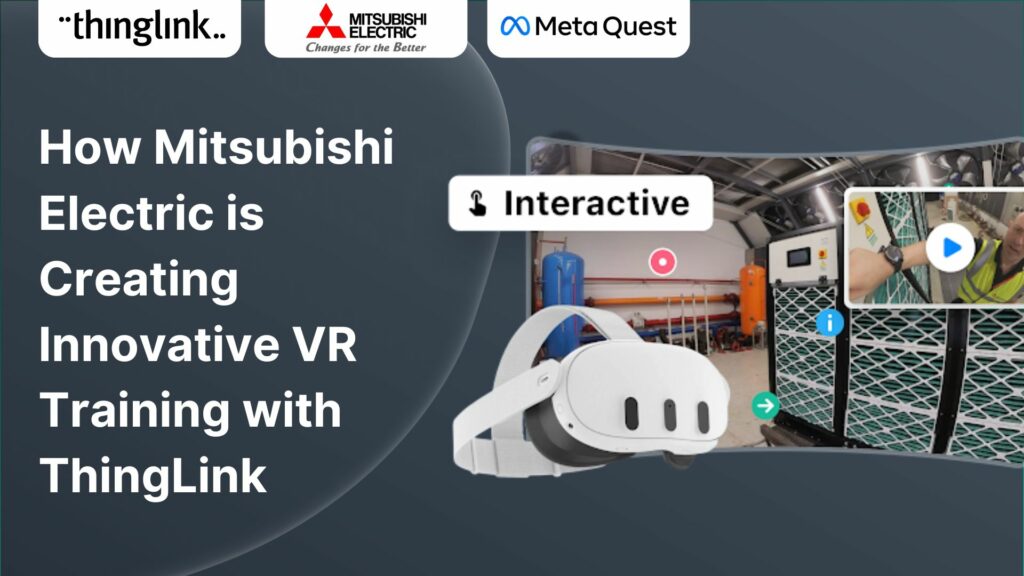
How Mitsubishi Electric UK Scales Immersive VR Training with ThingLink Securing the Next Generation of Engineers: How Mitsubishi Electric is Solving the Talent ...
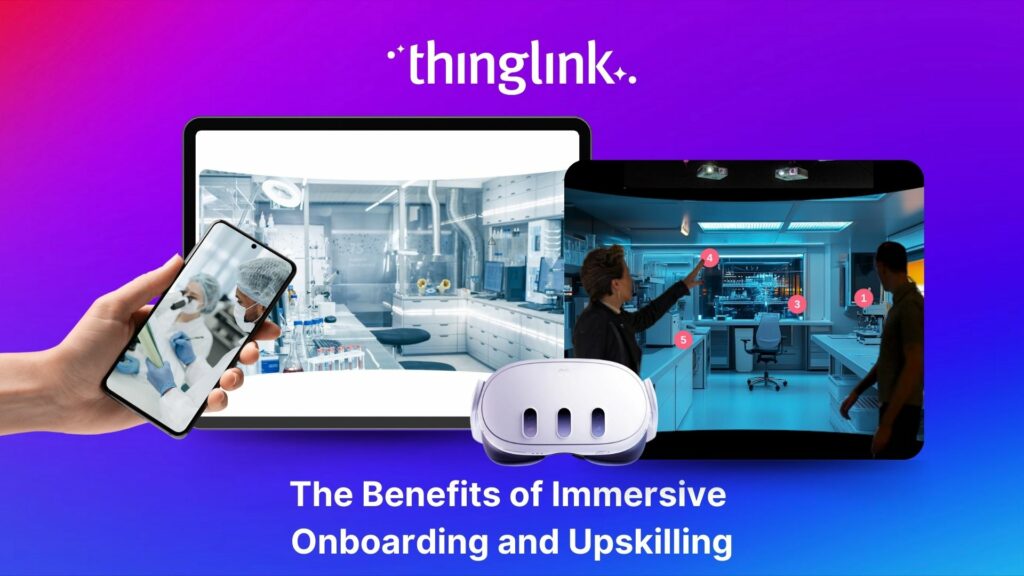
Whether bringing new hires up to speed or developing existing talent, an immersive approach to onboarding and upskilling delivers more engaging, memorable and scalable...
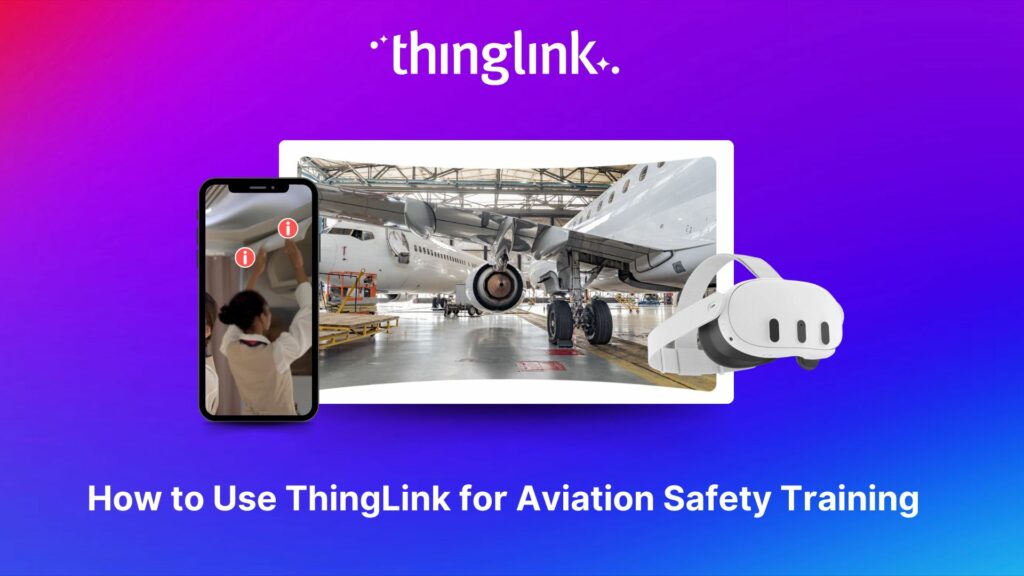
The high-stakes nature of aviation safety demands effective and engaging training methods. Traditional employee training approaches such as instructor-led training...
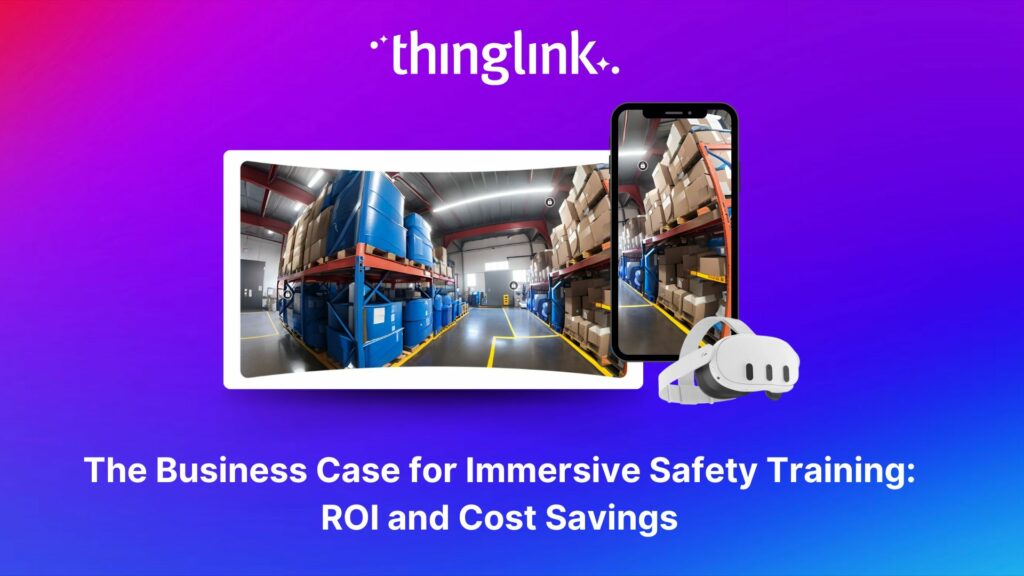
The human and financial costs associated with an accident at work are potentially catastrophic for any business, both in the immediate term and in terms of reputational...
 Louise Jones
11 min read
Louise Jones
11 min read
💡 Did you know that organizations with a strong onboarding process improve new hire retention by 81% and productivity by over 50%?!* The days before and at the...
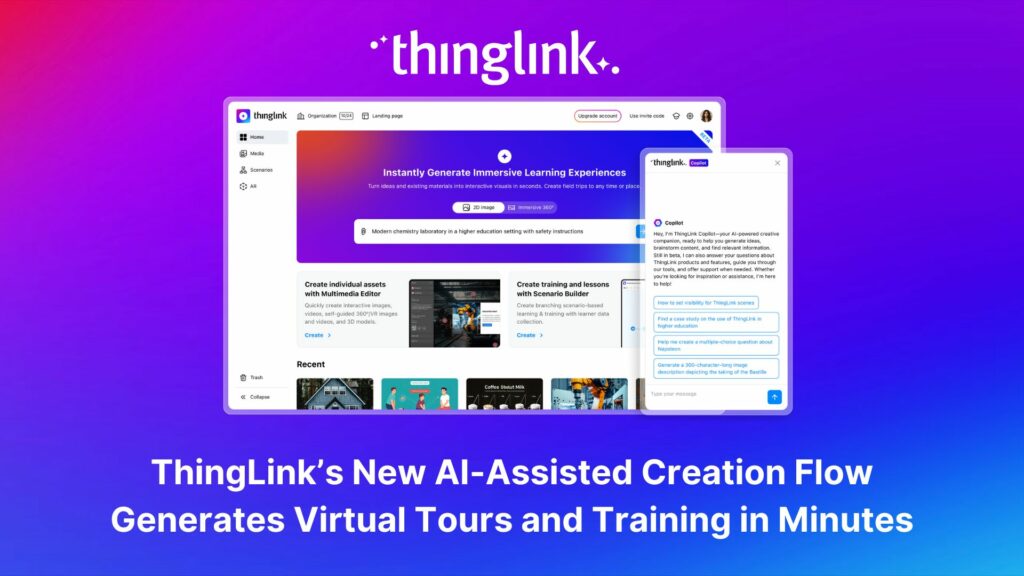
ThingLink, the AI-assisted immersive content creation platform for training and education, continues to grow its global team alongside the expansion and development...
As digital transformation accelerates across industries, the demand for intuitive AI tools that empower non-technical users to create sophisticated learning experiences...
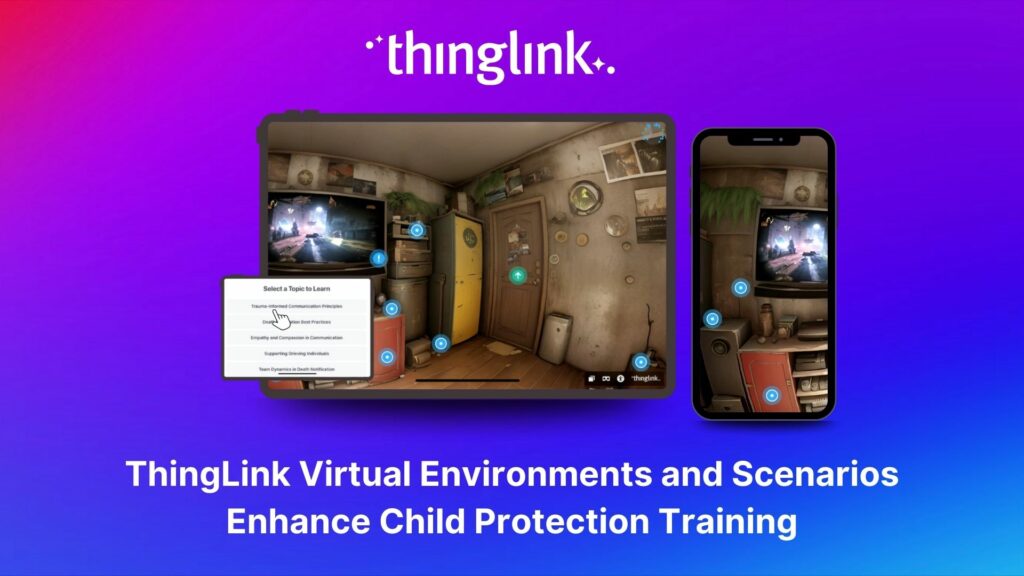
Background Zero Abuse Project (founded in 2018) is a non-profit organization based in the US. Their mission is “To protect children from abuse and sexual assault,...
As the modern workforce evolves, creating employee training programs that are engaging, impactful, and scalable has been a growing challenge for organizations. ...
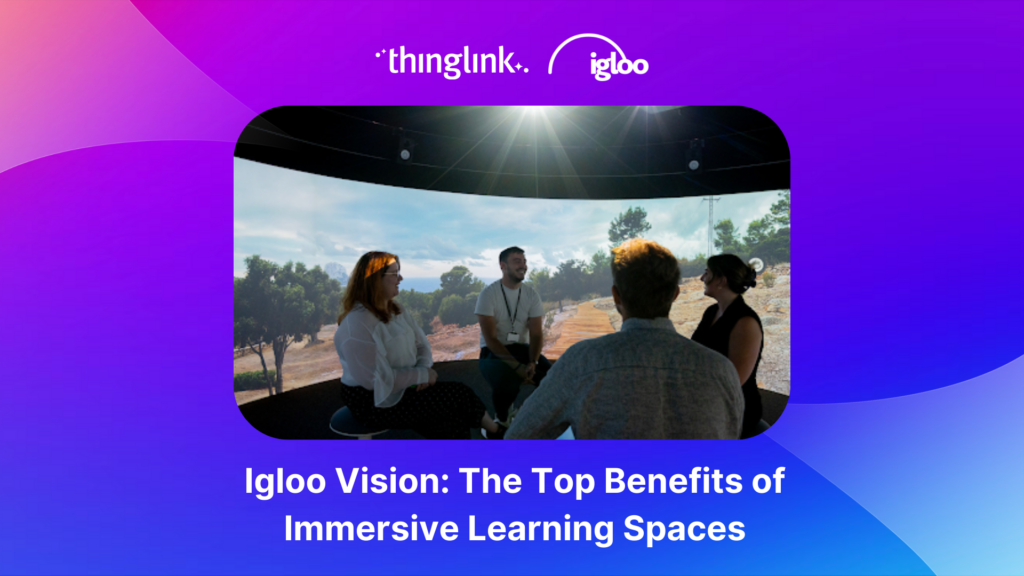
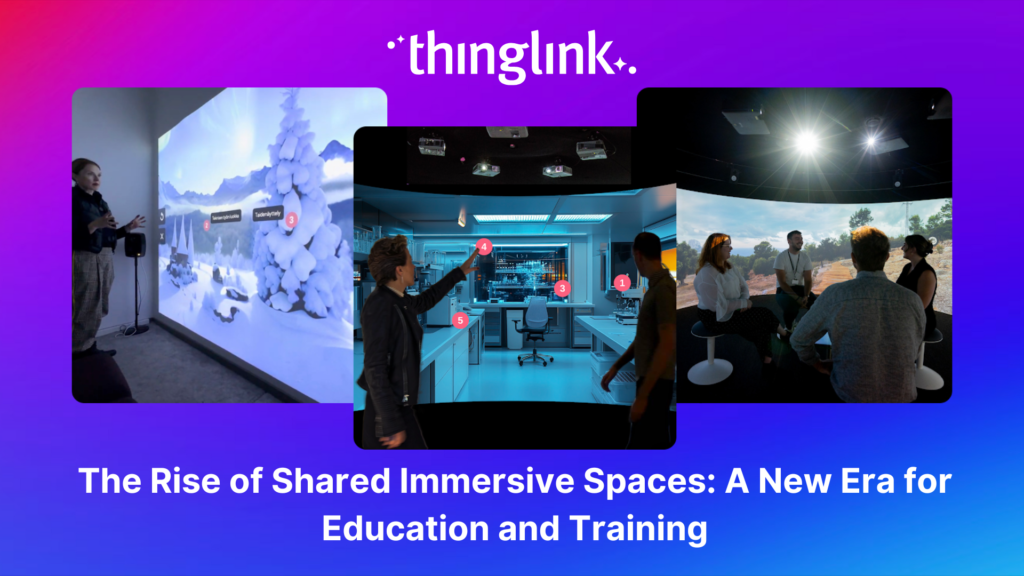
The increasing interest and adoption of shared immersive spaces in recent years reflects a shift in the way we see the future of learning, future of education, ...
The world of work is evolving faster than ever, transforming industries and creating new demands on the workforce. While the private sector and higher education...
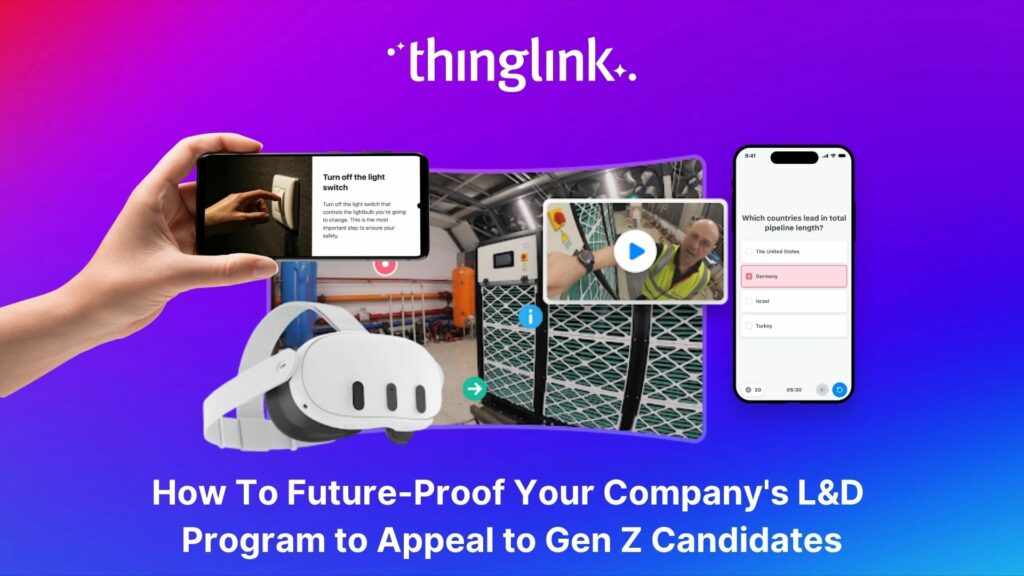
As organizations transition from a Generation X-dominated workforce to one led by Millennials and Generation Z, the need to modernize training programs has become...
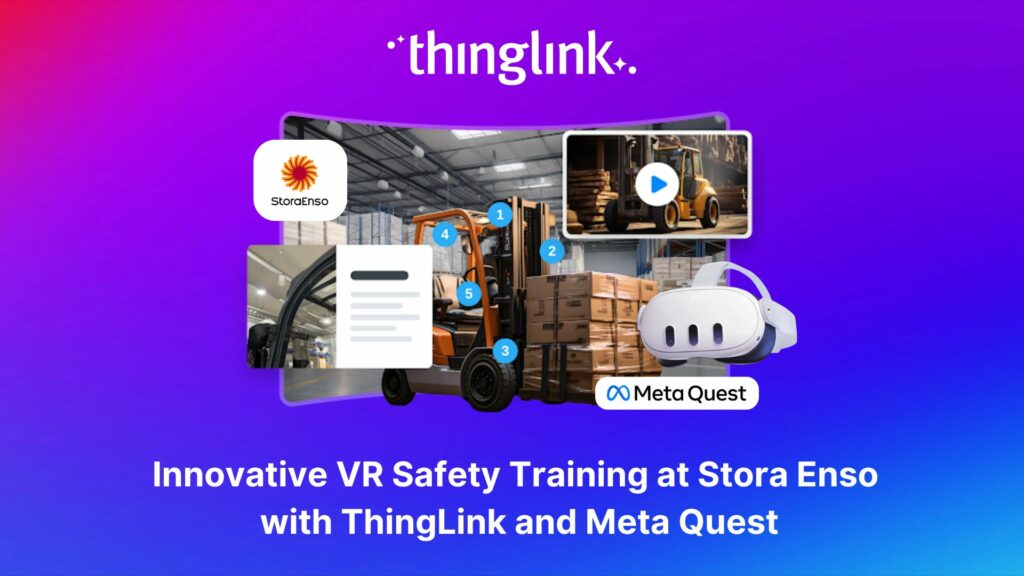
Updated 18.6.2025 Background Stora Enso is a company based in Finland and Sweden, and develops solutions based on wood and biomass for a diverse range of industries...
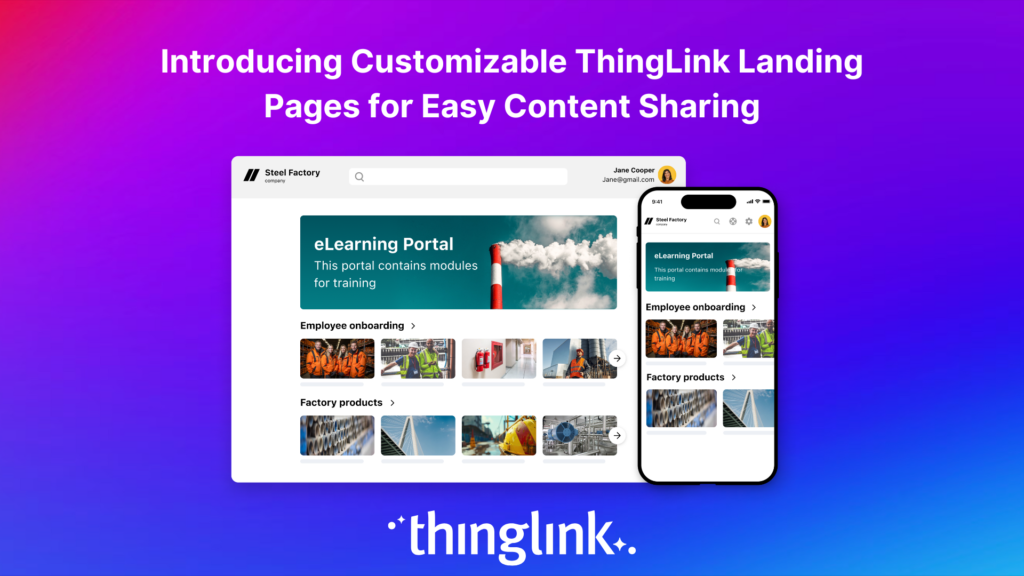
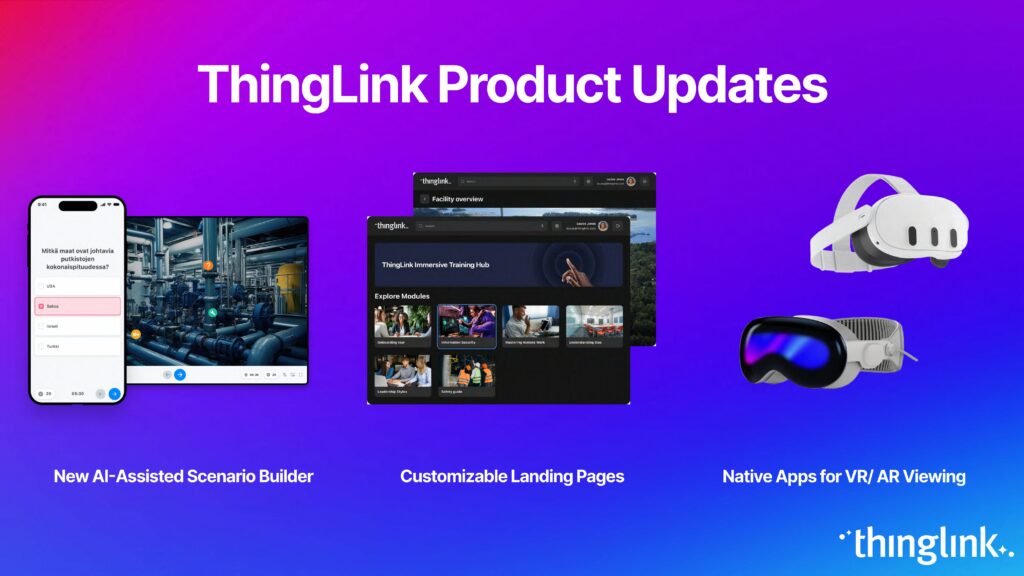
Following recent updates and improvements to ThingLink Scenario Builder, ThingLink now allows organizations to create customizable landing pages for easy sharing...
Here are some commonly asked questions and answers, if you do not find an answer that resolves your question please do not hesitate to get in touch with us at support@thinglink.com...
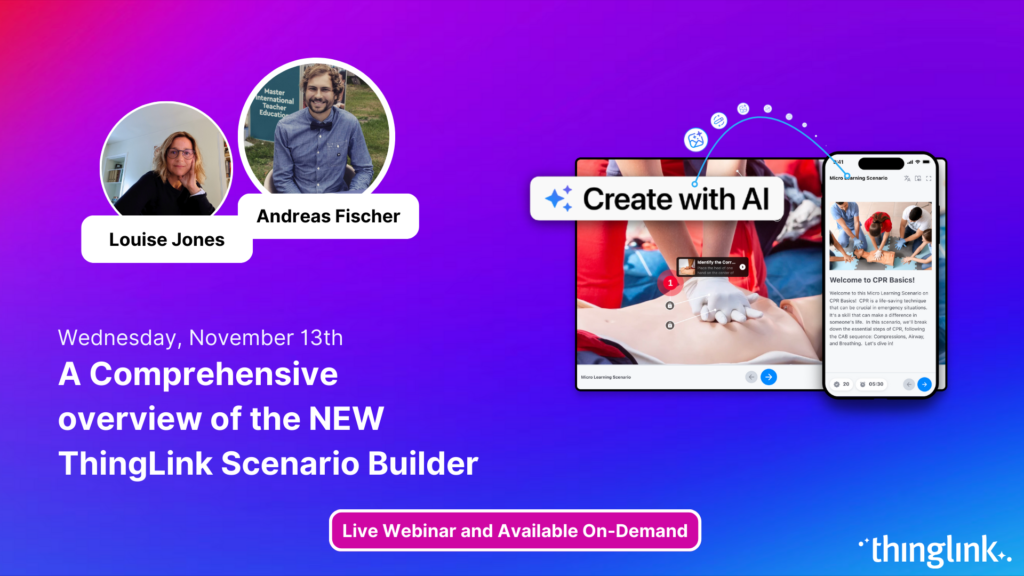
Join us for an exciting exploration of ThingLink’s updated Scenario Builder! In this session, we’ll showcase two powerful paths for scenario creation: building...
Over the next few weeks, ThingLink will be rolling out a series of new or updated products that are essential for any organization that is looking to modernize ...
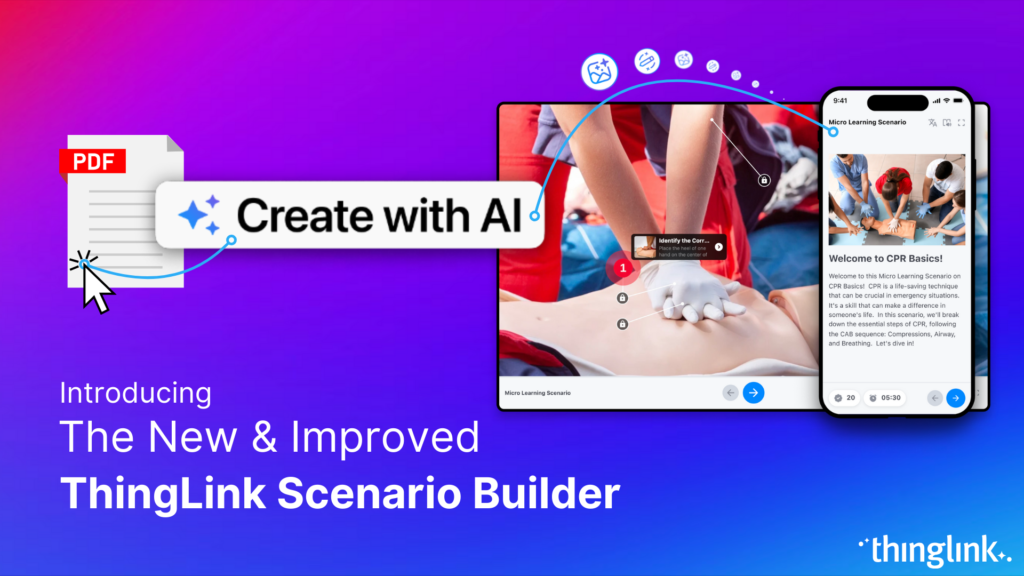
Updates and improvements to ThingLink’s Scenario Builder offer a quick and easy solution for creating immersive learning and interactive training experiences,...
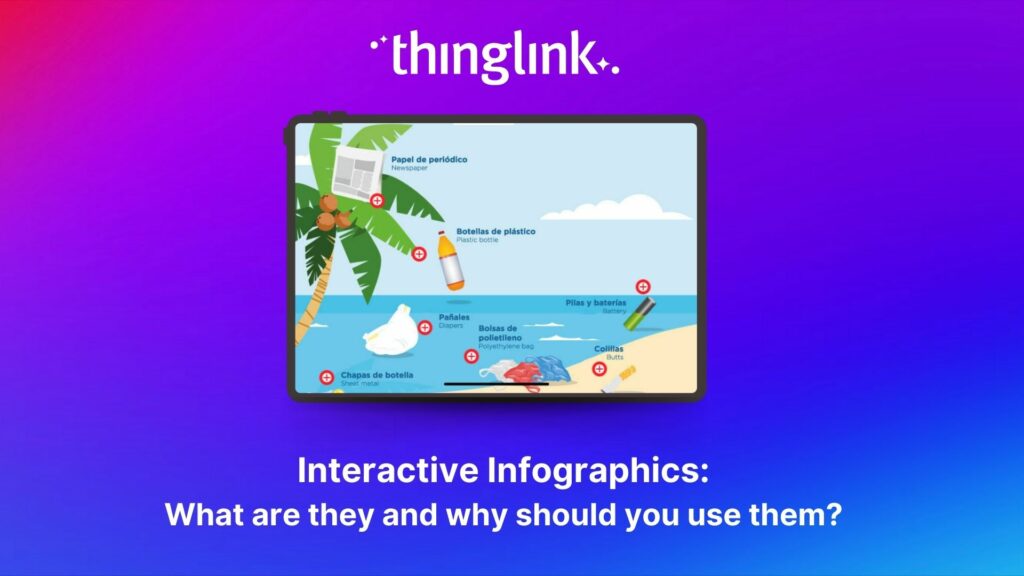
Infographics are the fastest and easiest way to present any complex information. In this blog we’ll show you how to create interactive infographic designs even...
Discover the New ThingLink Scenario Builder and Ways to Transform the Static to Interactive In Fall 2024, ThingLink revolutionized the world of Scenario Based Learning...
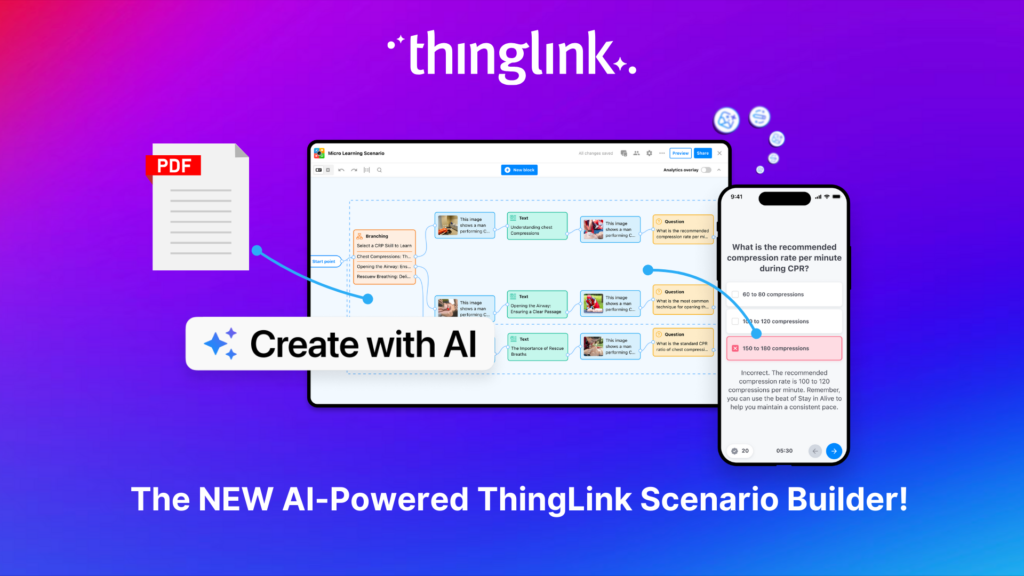
Meet the new and improved ThingLink Scenario Builder, your ultimate tool for transforming static content into immersive, interactive experiences. With AI-powered...
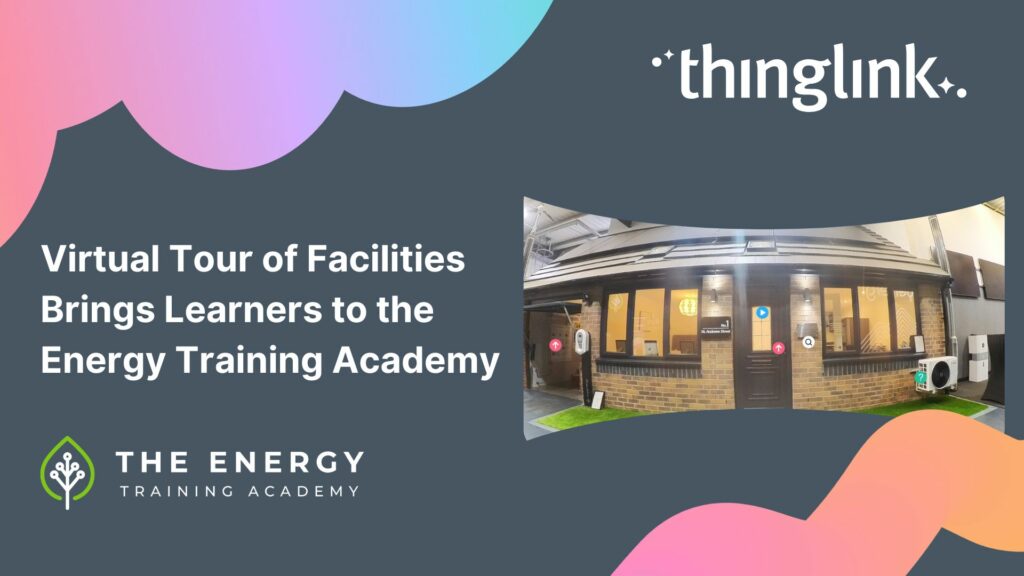
In this case study we explore how an innovative training provider is using ThingLink to help attract and develop the next generation of heating engineers ready ...
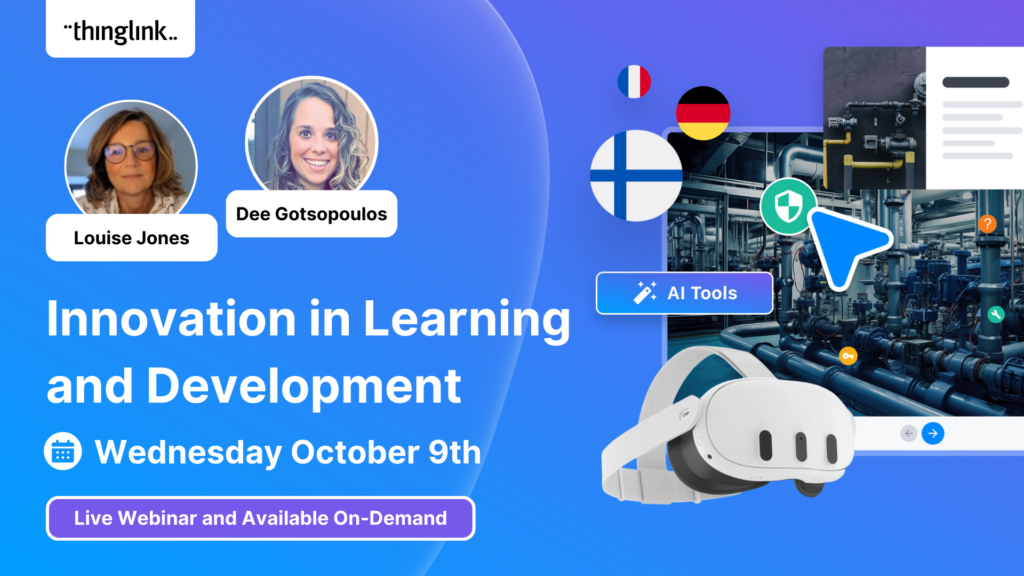
To help you stay ahead, we’re excited to present our webinar “Innovation in Learning and Development”, where we’ll explore these emerging trends...
Mitsubishi Electric was founded over a century ago and now has offices around the world. The first Mitsubishi Electric UK (MEUK) office opened in 1969 and since...
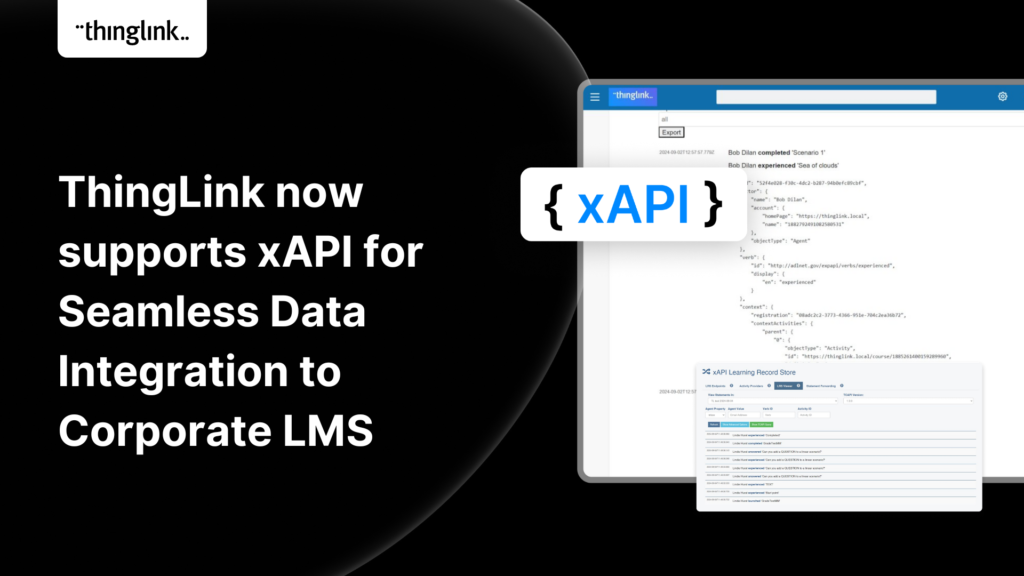
We are delighted to share that ThingLink now supports xAPI for tracking and sharing analytics from immersive learning experiences with other learning systems. This,...
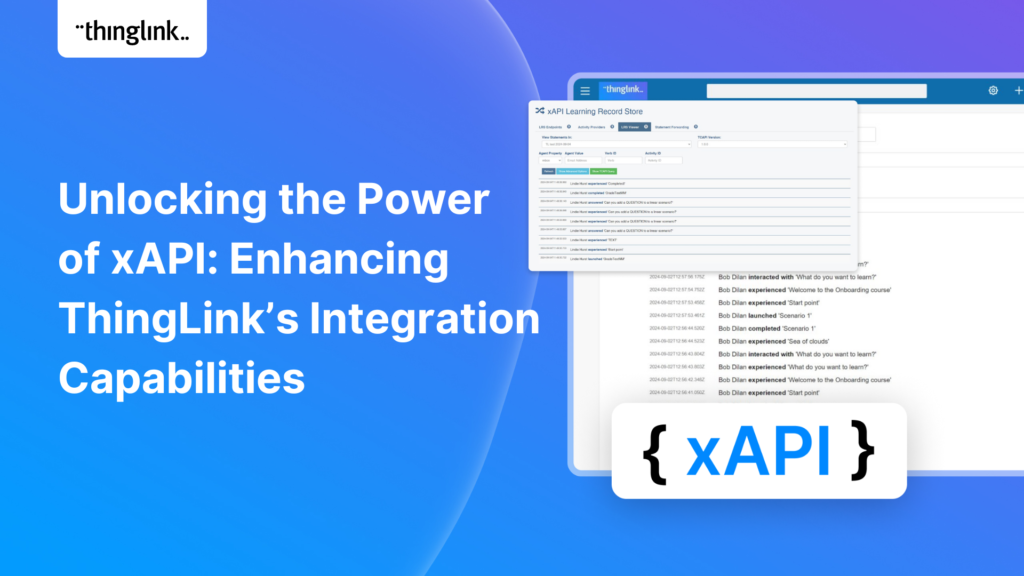
Unlocking the Power of xAPI: Enhancing ThingLink’s Integration Capabilities Introduction: In the fast-evolving world of digital learning, tracking and analyzing...
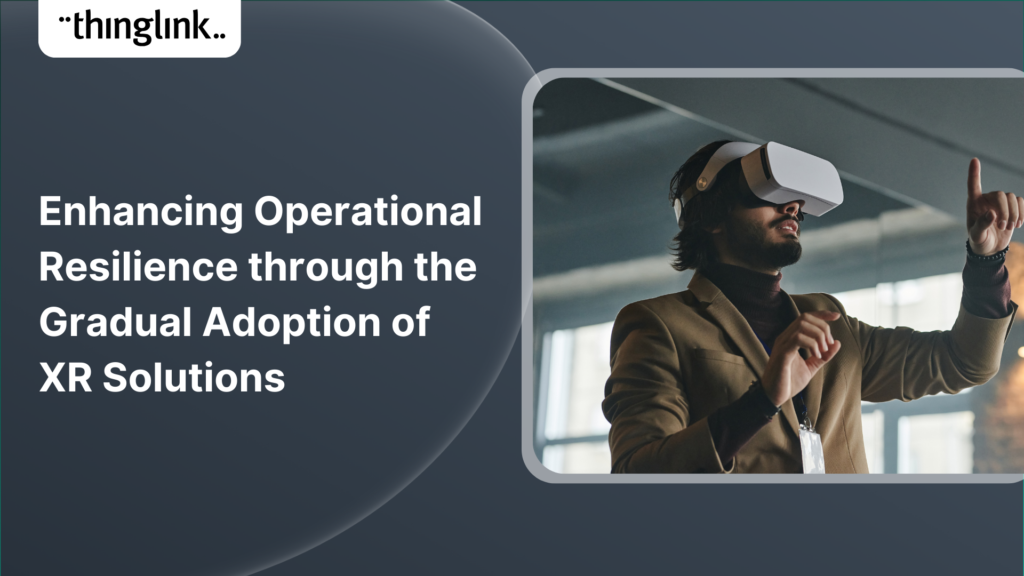
Introduction: Operational resilience is no longer just about maintaining business continuity; it’s about staying adaptable and responsive to evolving challenges....
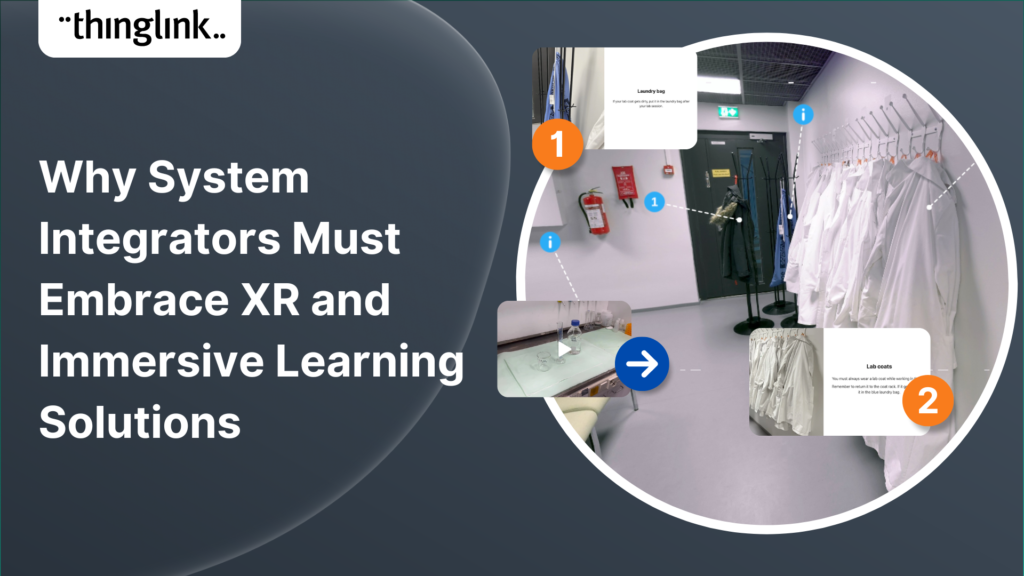
In an era where learning experiences are rapidly evolving, system integrators hold a critical role in helping organizations upgrade their digital learning infrastructures....
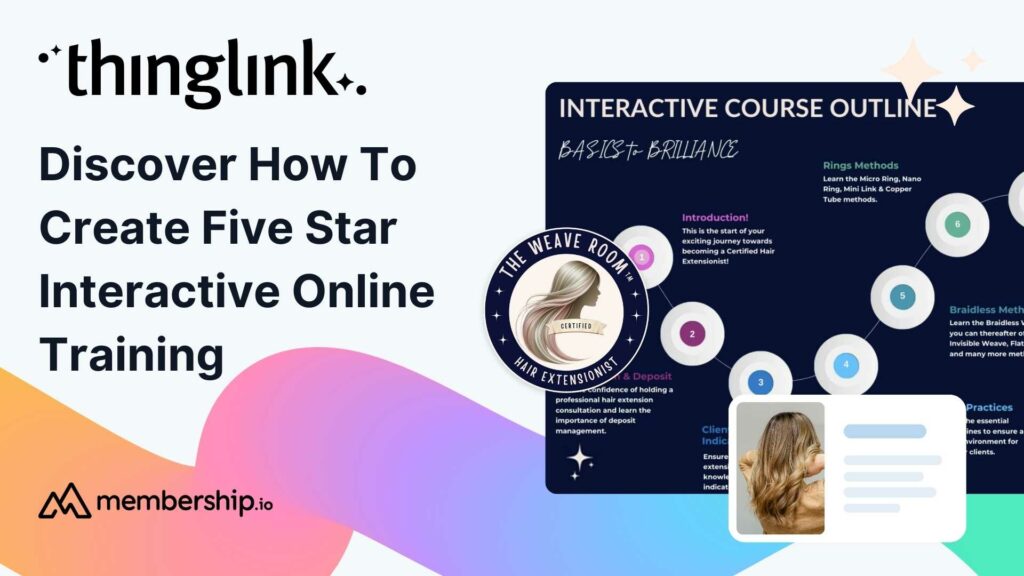
This post presents the background of how the The Weave RoomTM created an engaging, interactive and polished online training course with ThingLink, which was so ...
ThingLink now holds the ISO 27001 certification, a globally recognized standard for information security management. This accomplishment underscores our commitment...
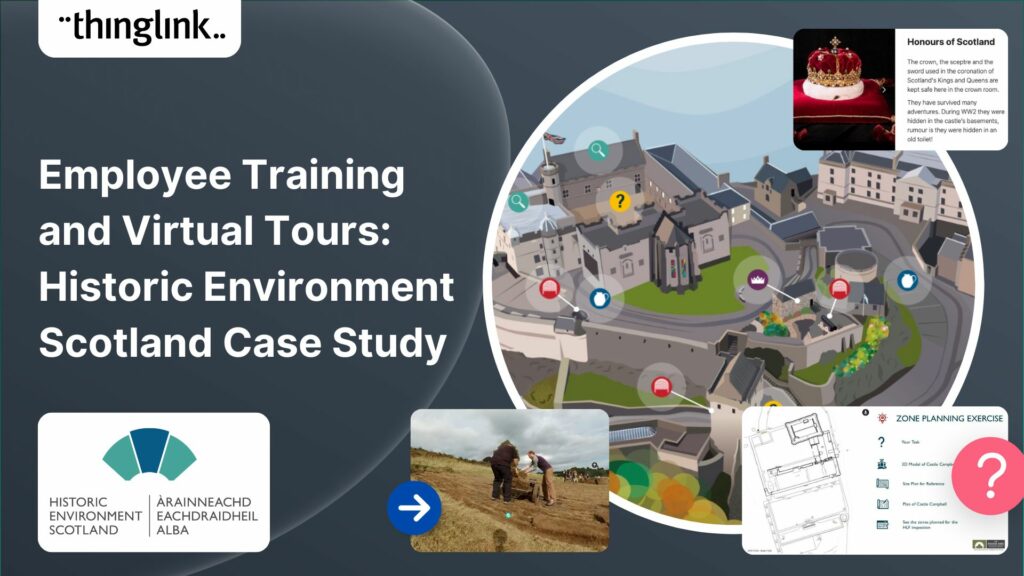
Caring for Scotland’s Heritage Historic Environment Scotland (HES) was formed in 2015 when Scottish Government agency Historic Scotland merged with the Royal ...
Creating accessible online course content is critical for educators, trainers and content creators, but it need not be daunting! ThingLink is a platform that allows...
Finding engaging and effective methods to train employees is crucial for both individual skill development and team cohesion in any organisation. An escape room...
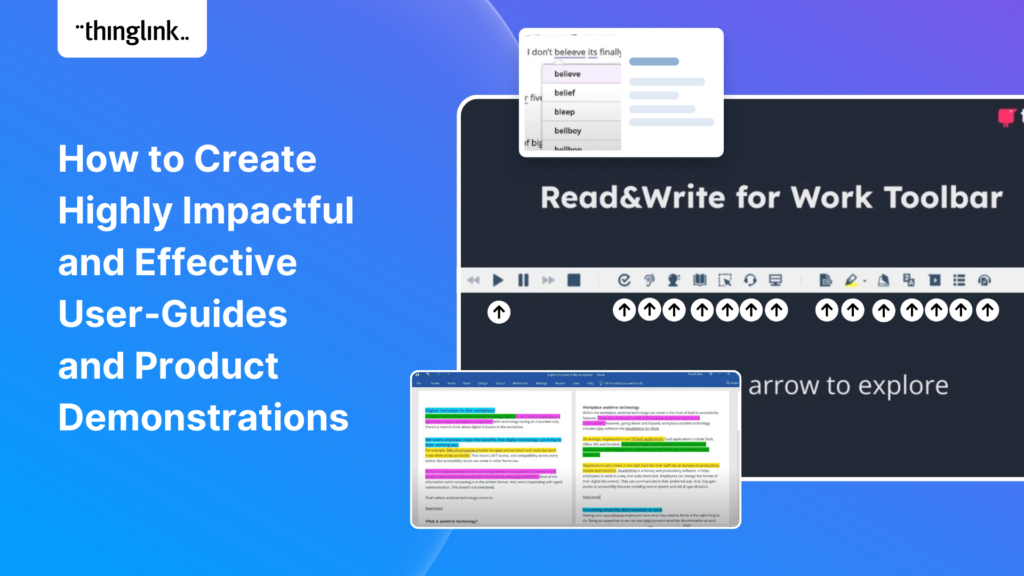
Optimize Your User Guides or Product Marketing Strategies with Interactive Product Demonstrations Using ThingLink Capturing your target audience’s attention...
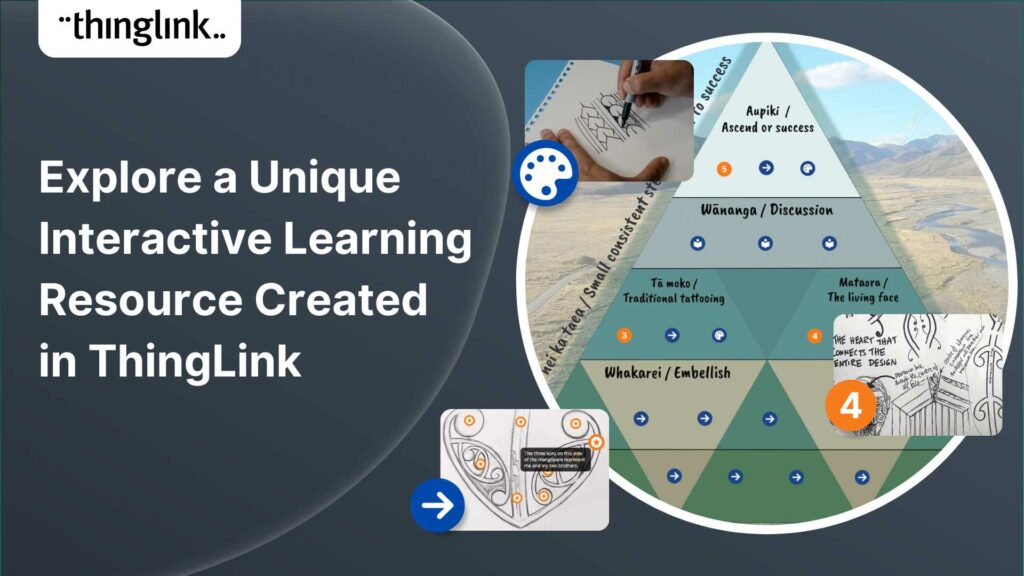
Katrina Lilly is a teacher at Te Aratai College in New Zealand, and recently finished a Masters in Contemporary Education at AcademyEx. As part of her masters she...
ThingLink has become an essential tool across numerous industries, making the learning experience more relevant and relatable at every stage. The impact in healthcare...
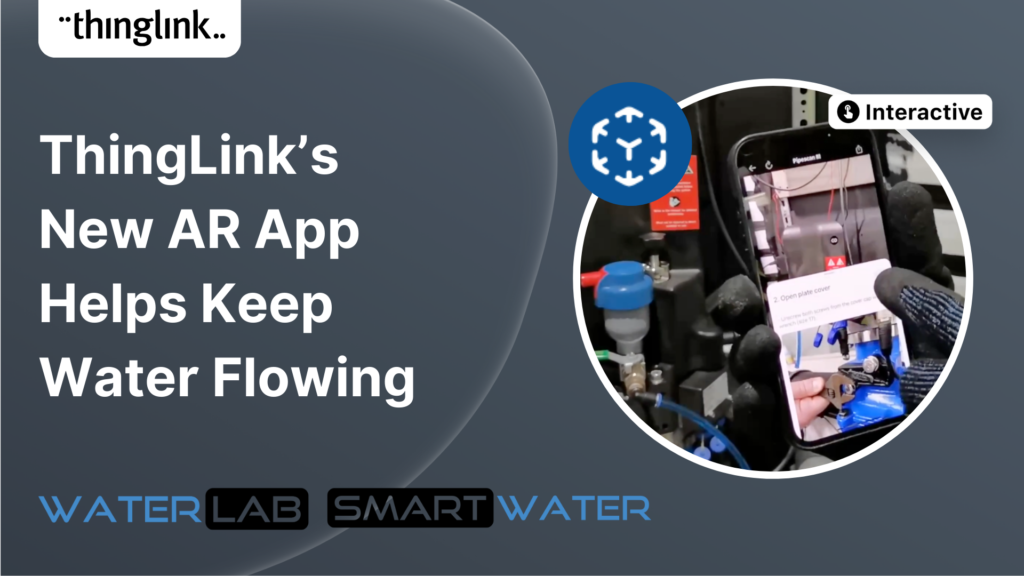
ThingLink’s AR Solution Helps Operators Troubleshoot Critical Water Network Issues Clean, safe water on demand is a fundamental expectation and mainstay...
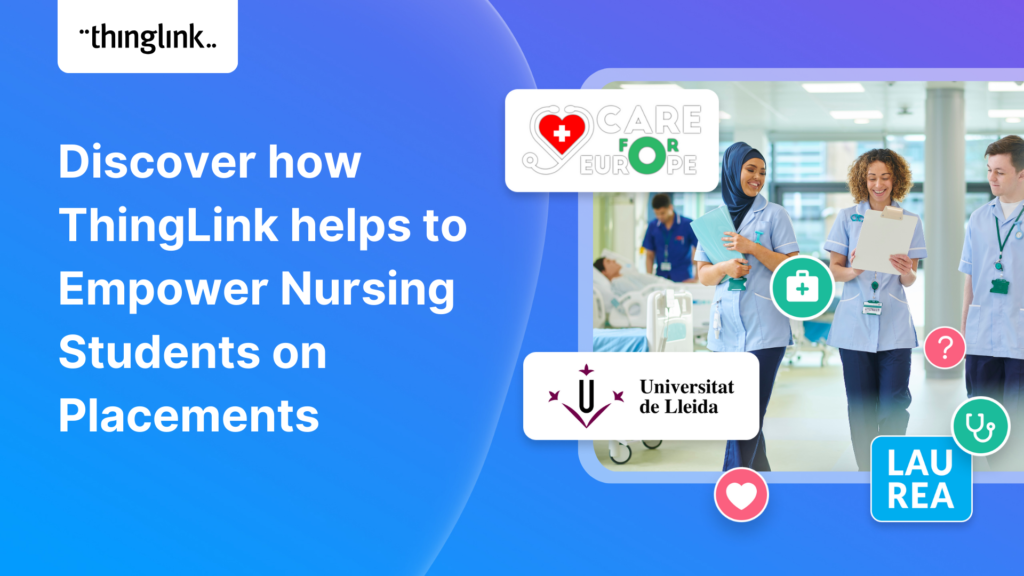
Discover the future of nursing education with the “Care for Europe” project, where immersive tours and interactive modules seamlessly prepare students...
💡 ThingLink Launches their AR Solution: Augmented Reality Simplified for All 📱 Breathe life into the ordinary with ThingLink’s brand new Augmented Reality...
Discover the new ThingLink Augmented Reality App! In this exclusive free webinar Louise from ThingLink is joined by Special Guests Patryk Wójtowicz, Savonia University...
Scalable XR Project, spearheaded by ThingLink Oy, embarks on a transformative journey to redefine the landscape of XR technology in learning and development. This...
Creating a Virtual Escape Room is now even easier with ThingLink’s Scenario Builder ready-made template! Escape rooms (sometimes called breakout rooms) have...
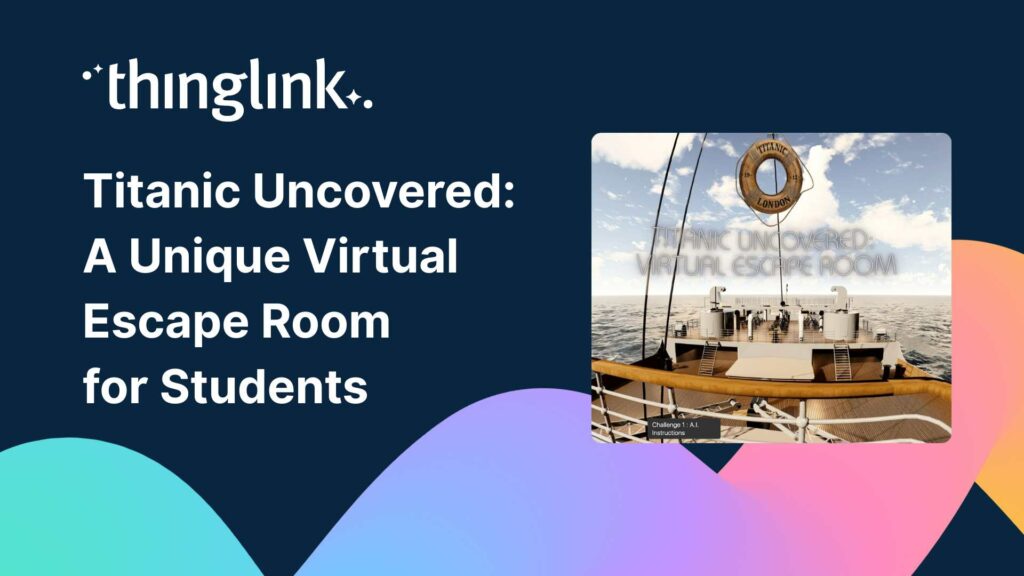
Educator Dwitney Bethel has created an incredible digital escape room using ThingLink’s Scenario Builder, set during the tragic maiden voyage of the Titanic...
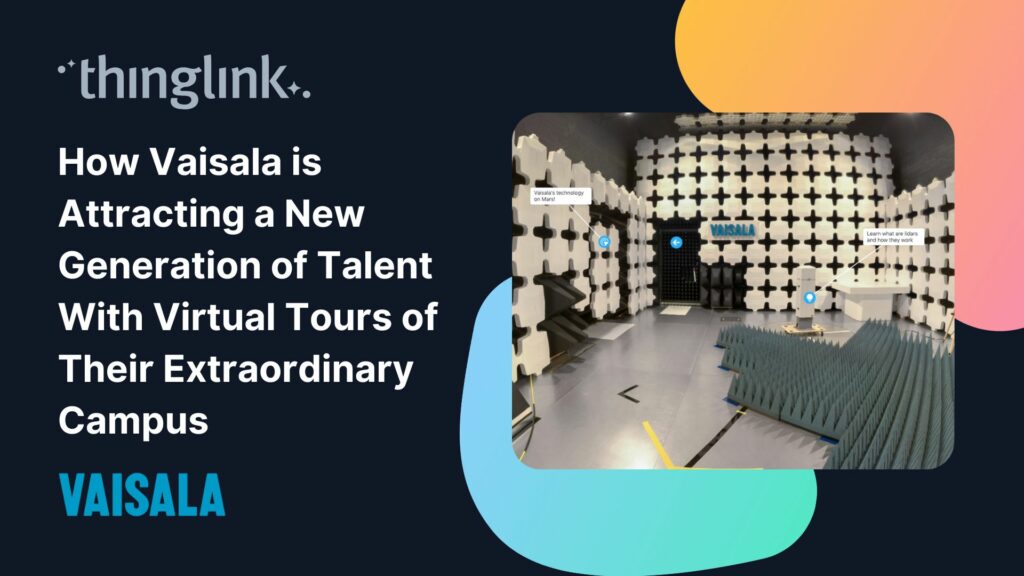
In this case study we look at how a global leader in weather and environmental measurements has opened up its incredible new R&D center and some of its other...
ThingLink was honored to be named as Top Extended Reality XR Firm at the European Metaverse Awards. A record 123 top companies were short-listed as finalists in...
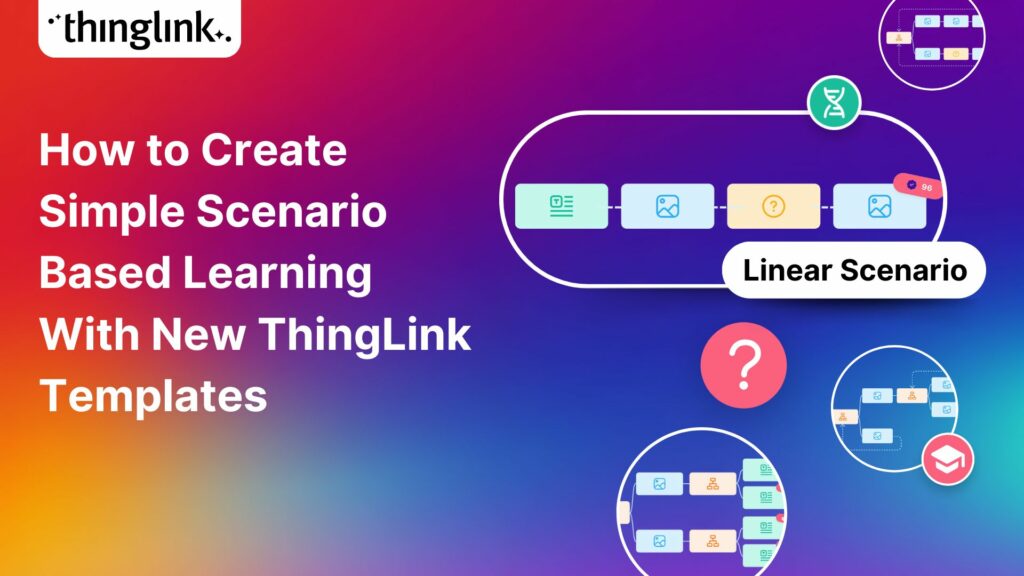
Start creating your interactive online courses and modules with ThingLink’s Scenario Builder templates In the age of eLearning, many educators and corporate trainers...
Creating an online course or module is now easier than ever using ThingLink Scenario Builder templates In the world of elearning and corporate training, creating...
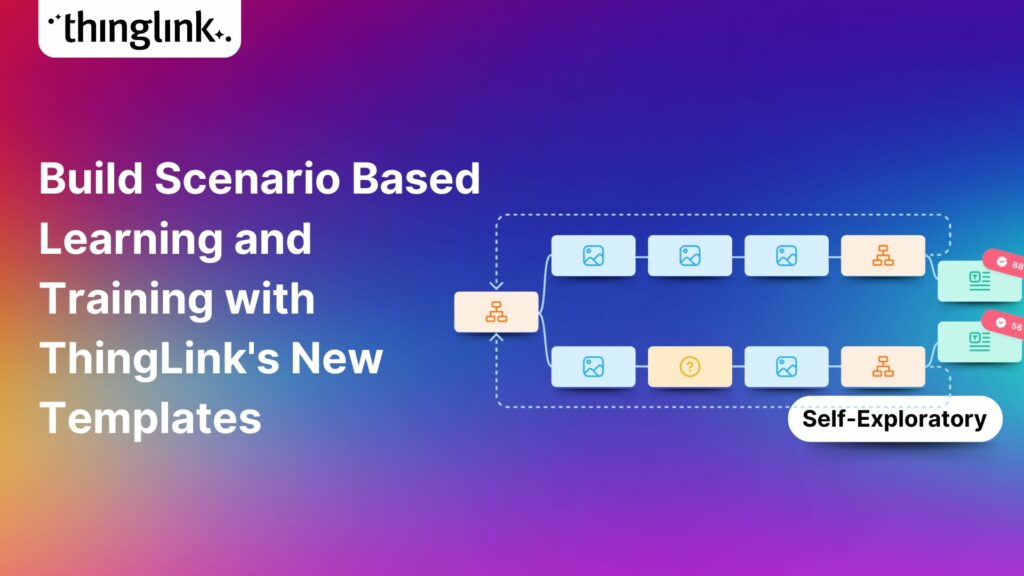
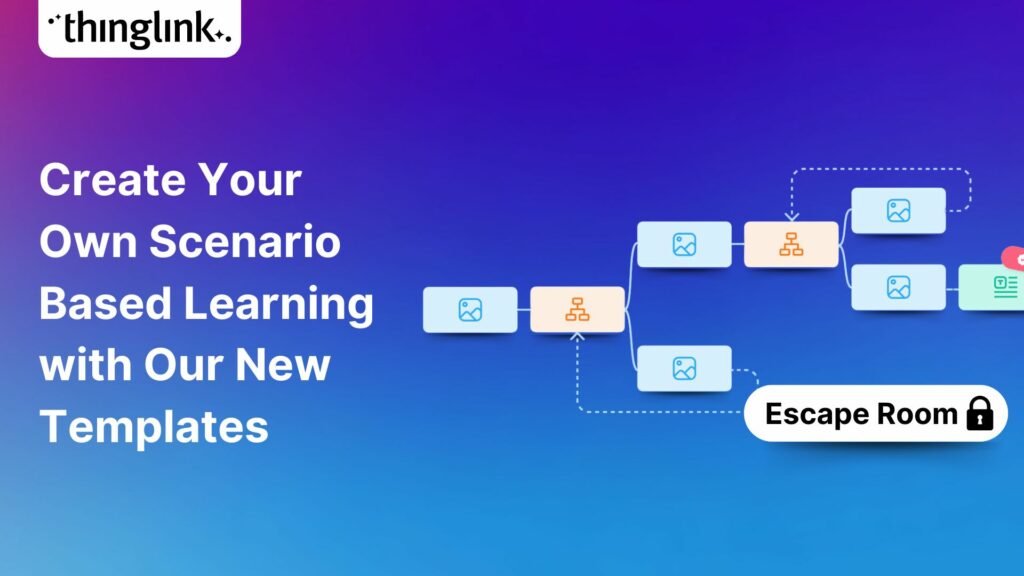
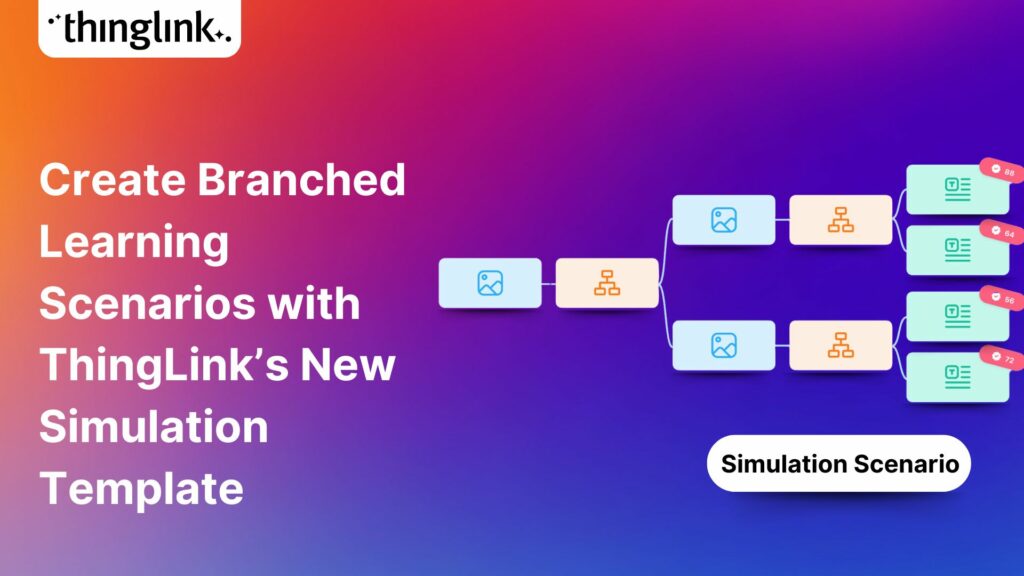
We recently launched new ThingLink Scenario Builder Templates – our latest tools to help you create impactful interactive, scenario-based training. In this...
ThingLink’s Scenario Builder Templates are the newest arrival in our ever-growing set of assistant tools to help you build your own bespoke training and learning...