Planning Your First Virtual Field Trip: A Step-by-Step Guide
What if your students could stand inside a volcano, walk the halls of a world-class museum, or explore a university campus without leaving the classroom? Virtual field trips make all of this possible, and they are far more straightforward to create than most educators expect.
Whether you are a primary school teacher looking to bring geography to life, or a university lecturer wanting to offer remote students a richer experience, this guide will walk you through every stage of planning your first virtual field trip. From setting your learning goals to hitting publish, you will have a clear, confident path forward.
What Is a Virtual Field Trip?
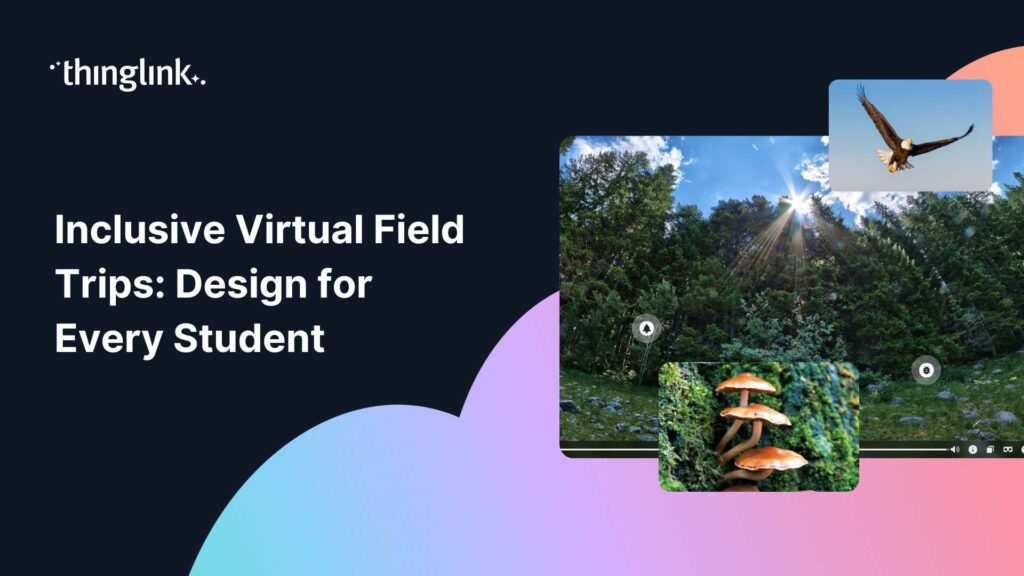
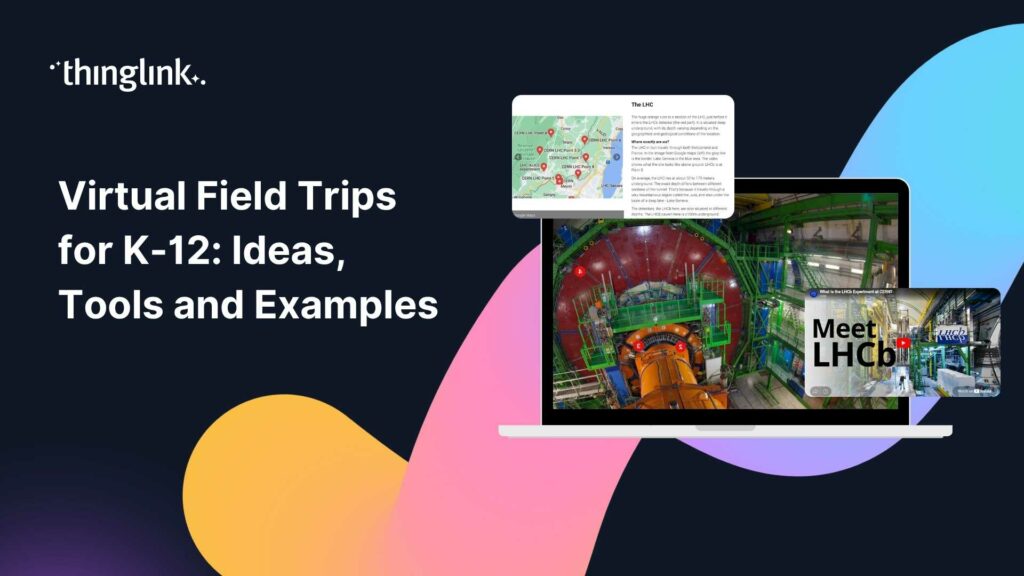
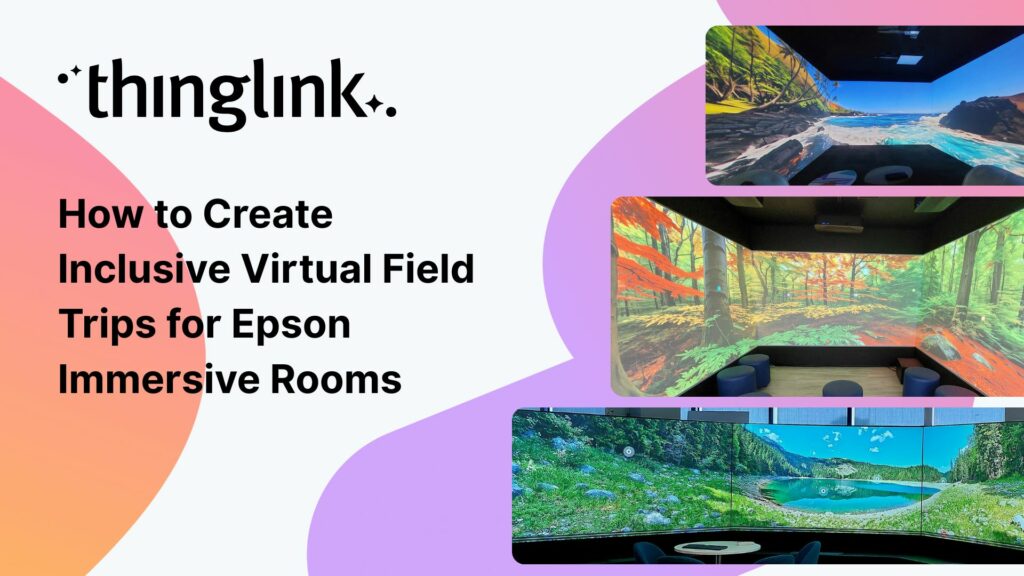
A virtual field trip is an immersive, interactive digital experience that transports learners to a real or constructed environment. Using 360-degree images or videos, interactive hotspots, embedded media, and guided navigation, educators can recreate the depth and richness of a physical visit in a format that is accessible to anyone with an internet connection.
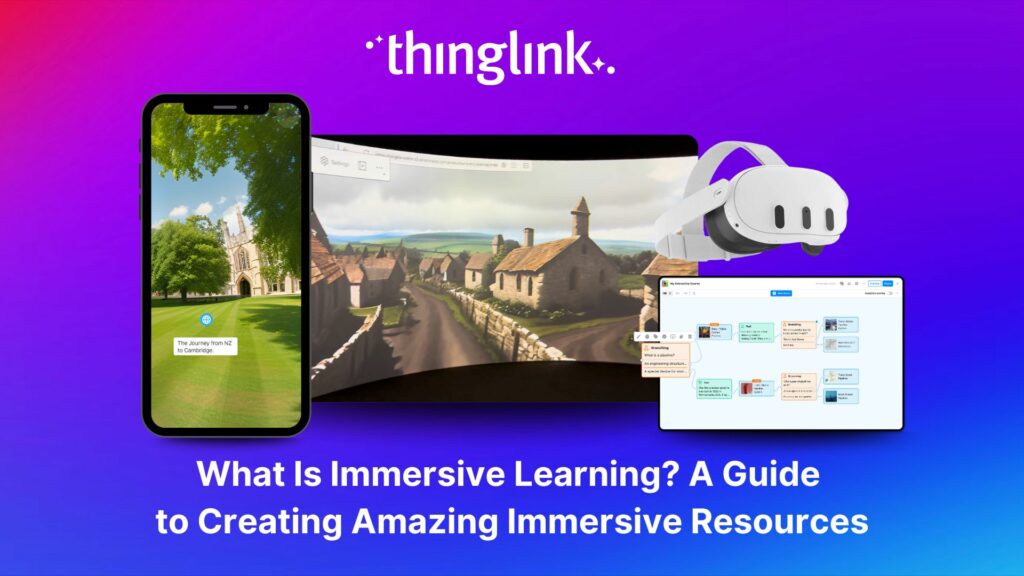
Virtual field trips sit within the broader world of immersive learning, a pedagogy that places learners inside the subject matter rather than in front of it. If you want to explore that concept further, What Is Immersive Learning? A Guide to Creating Amazing Immersive Resources is an excellent starting point.
ThingLink is one of the most widely used platforms for building virtual field trips because it combines ease of use with genuine creative power. You do not need to be a developer or a designer to create something that feels professional and engaging.
Step 1: Define Your Learning Objectives
In action! Explore this Marine Biology example from Southampton University.
Before you touch any technology, get clear on what you want learners to achieve. This single step will shape every decision that follows.
Ask yourself: what should students know, feel, or be able to do after this experience? A virtual field trip to a historical site might aim to build contextual understanding of a period in history. A tour of a science facility might support a unit on research methods. A campus experience might help prospective students reduce anxiety about transition.
Aligning the Experience to Your Curriculum
Map your learning objectives directly to curriculum standards or course outcomes. This not only strengthens the pedagogical case for the trip, it also helps you decide which locations, environments, or scenarios deserve the most attention in your design.
Keep your objectives focused. Trying to cover too much in one experience is one of the most common mistakes first-time creators make. A tighter scope almost always produces a more powerful result.
Step 2: Choose Your Environment and Gather Your Content
Once you know what you want to teach, you need to decide where the experience will take place and what content will populate it.
Deciding on a Location or Scenario
Your environment might be a real place you have permission to photograph, a publicly available 360-degree image from a partner institution, or a purpose-built scenario you construct using existing assets. ThingLink supports all of these approaches.
If you are looking for inspiration, consider how institutions have approached this creatively. Mount Washington Observatory, for example, used ThingLink to build a virtual experience that gave people around the world access to their high-altitude research station, a location that is physically inaccessible to most visitors. You can read the full story in A New Route to the Summit: How Mount Washington Observatory Expanded Access with a ThingLink Virtual Experience.
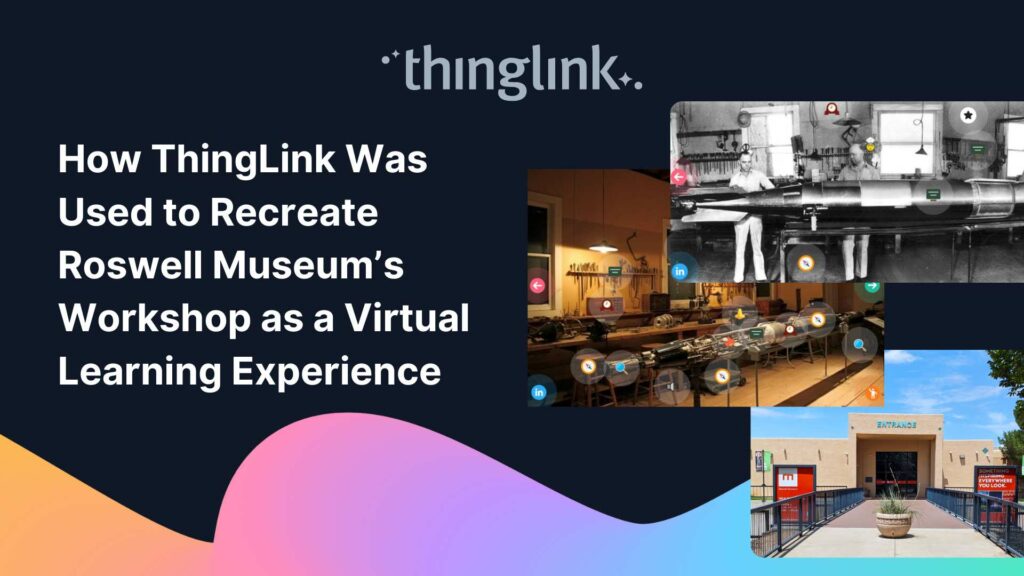
Similarly, Roswell Museum used ThingLink to recreate a physical workshop as a virtual learning environment, bringing their collections to audiences who could not visit in person. That case study is detailed in How ThingLink Was Used to Recreate Roswell Museum’s Workshop as a Virtual Learning Experience.
What Content Do You Need?
Think about the layers of content your experience will contain. You will likely need some combination of the following: 360-degree images or video, explanatory text, embedded audio or video clips, images, quizzes or reflection prompts, and links to further reading. Gather and organise these assets before you start building. Having everything in one folder will save you significant time.
Step 3: Build Your Virtual Field Trip in ThingLink
With your objectives set and your content ready, it is time to build. ThingLink’s editor is browser-based, which means there is nothing to download and no specialist software to learn.
Uploading Your 360-Degree Image or Video
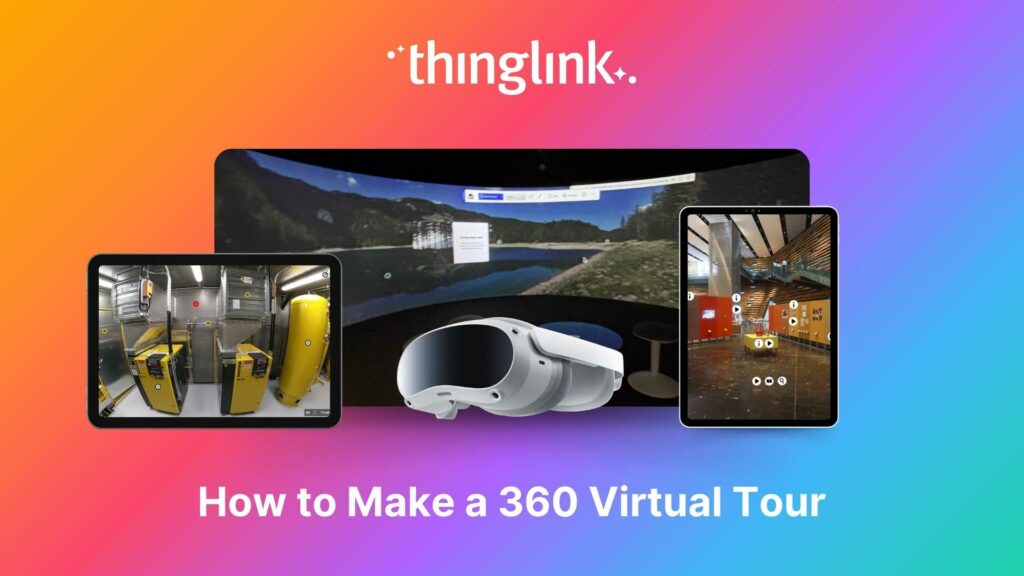
Start by uploading your base image or video to ThingLink. The platform will automatically recognise equirectangular 360-degree content and display it in an immersive viewer. If you are working with standard images or video, those work just as well for many field trip formats.
Adding Interactive Hotspots
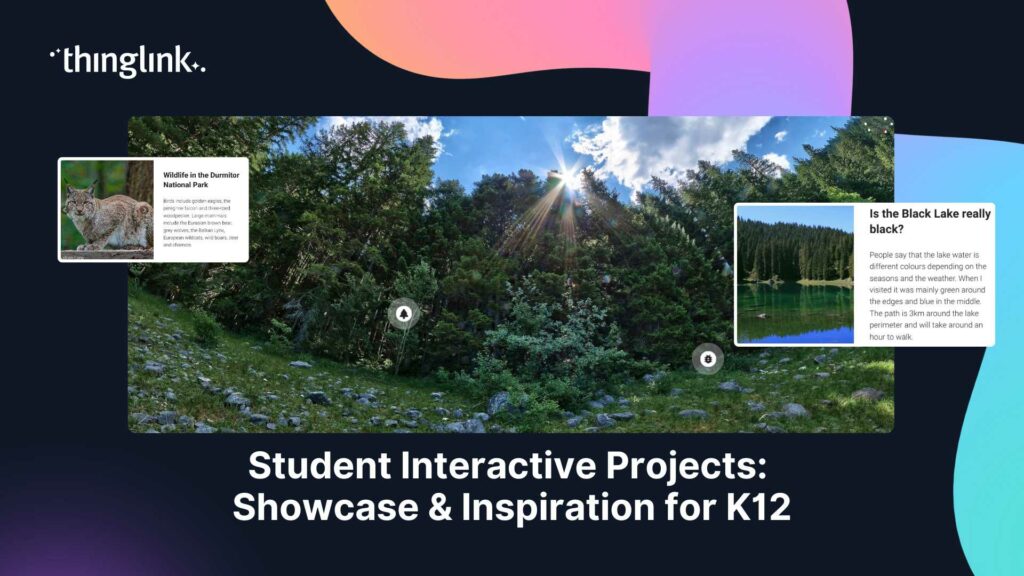
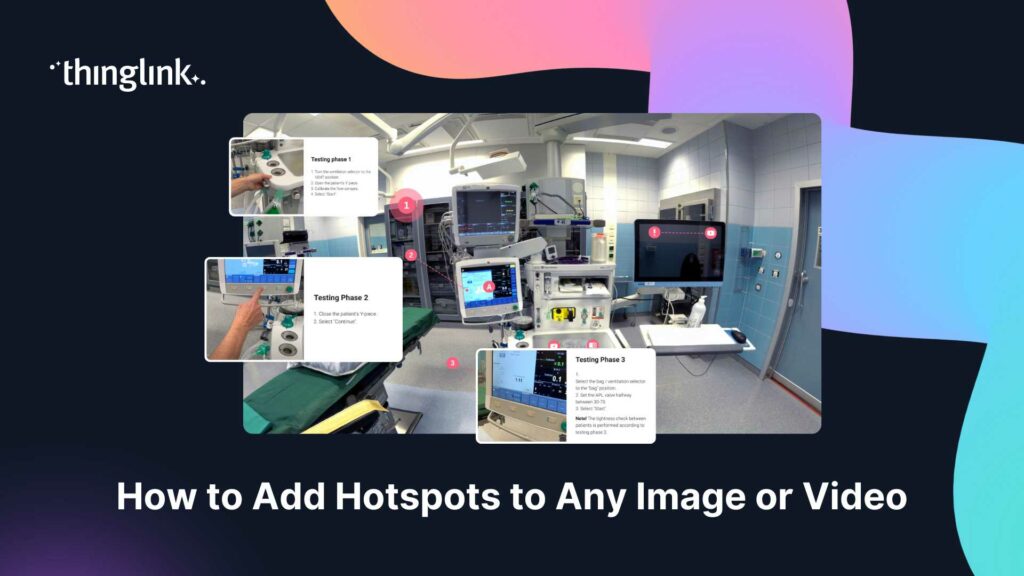
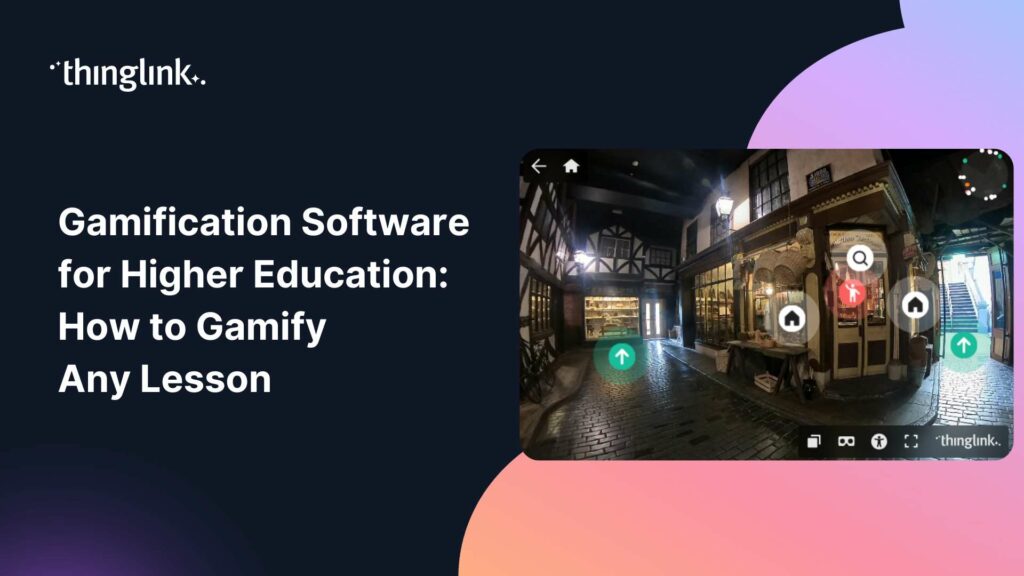
Hotspots are the heart of any ThingLink experience. Each hotspot can contain text, images, video, audio, links, quizzes, or even connections to other scenes. Think of them as the moments where learning happens: the points of interest your students will click, explore, and engage with.
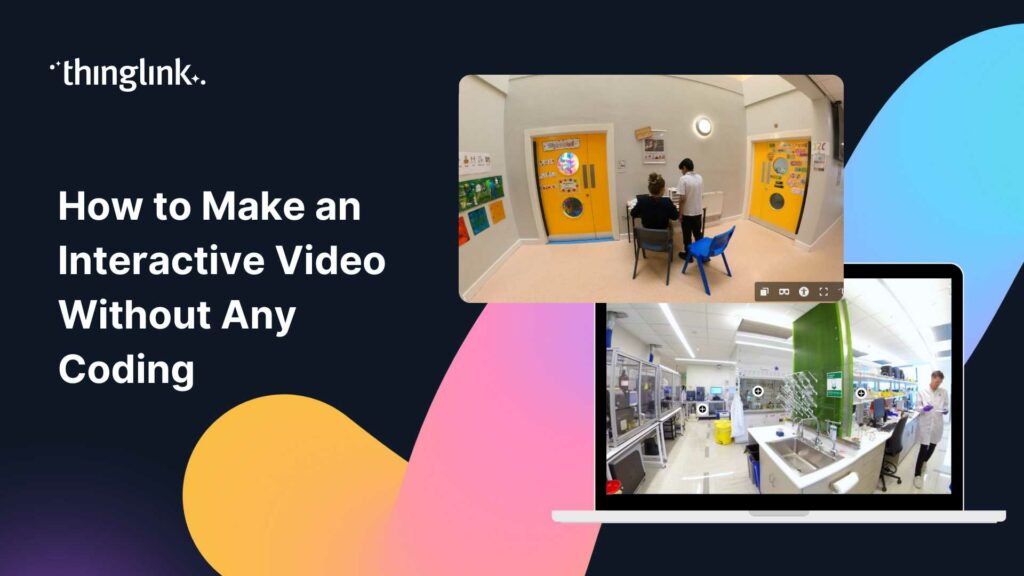
Place hotspots deliberately. Every hotspot should serve your learning objectives. If it does not add meaning or context, leave it out. For a detailed technical walkthrough of the building process, How to Make an Interactive Virtual Tour covers the full process step by step.
Linking Scenes Together
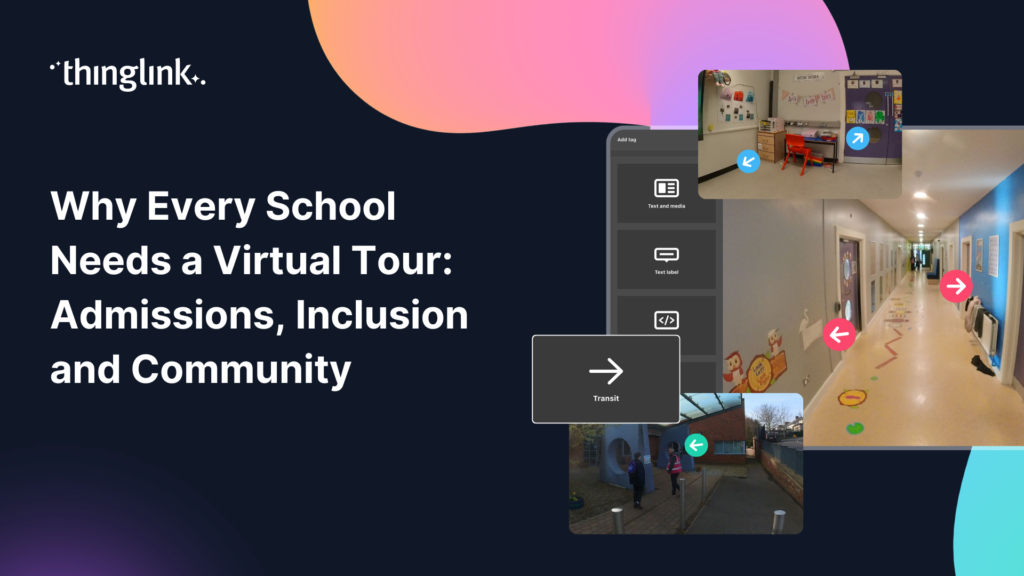
If your field trip involves multiple locations, you can link scenes together using navigation hotspots. This creates a seamless journey where learners move from one environment to the next, much like walking through a real space. This multi-scene approach is what transforms a single image into a genuine virtual tour.
For a comprehensive guide to the full creation process, The Ultimate Guide to Creating Your First Virtual Field Trip is a must-read resource alongside this post.
Step 4: Design for Engagement and Accessibility
A virtual field trip should not be a passive experience. The most effective ones require learners to do something: answer a question, make a decision, record an observation, or explore in a particular order.
Build in Active Learning Moments
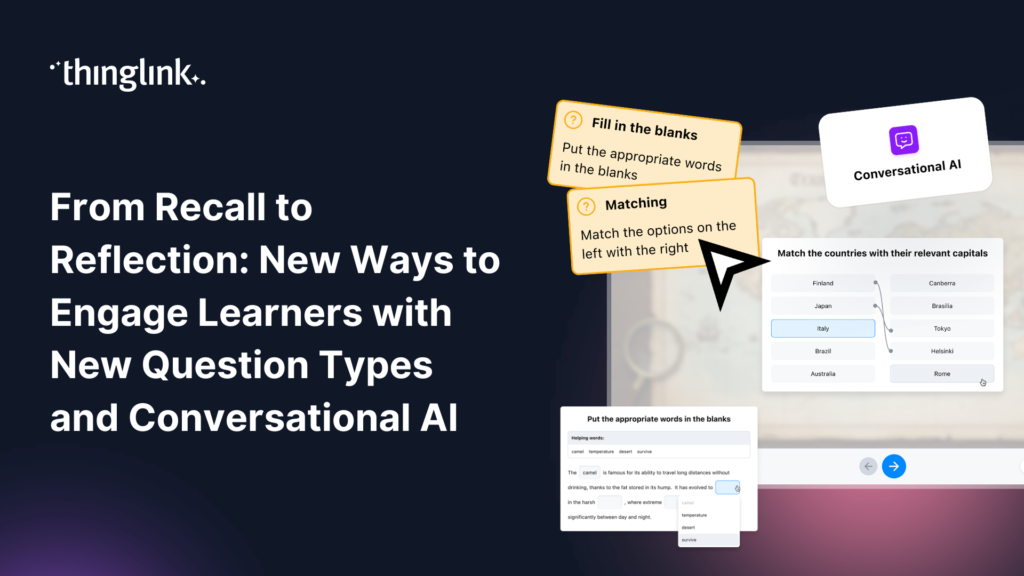
Consider embedding short reflection prompts or questions within your hotspots. You might ask students to predict what they will find in the next scene, or to note three things they observe in a particular environment. These small interactions significantly increase time-on-task and knowledge retention.
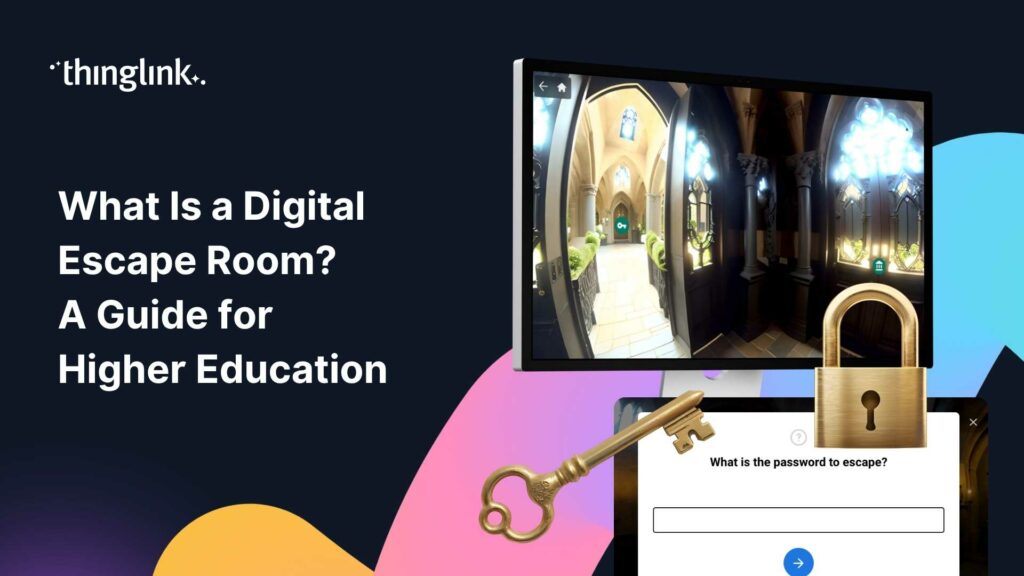
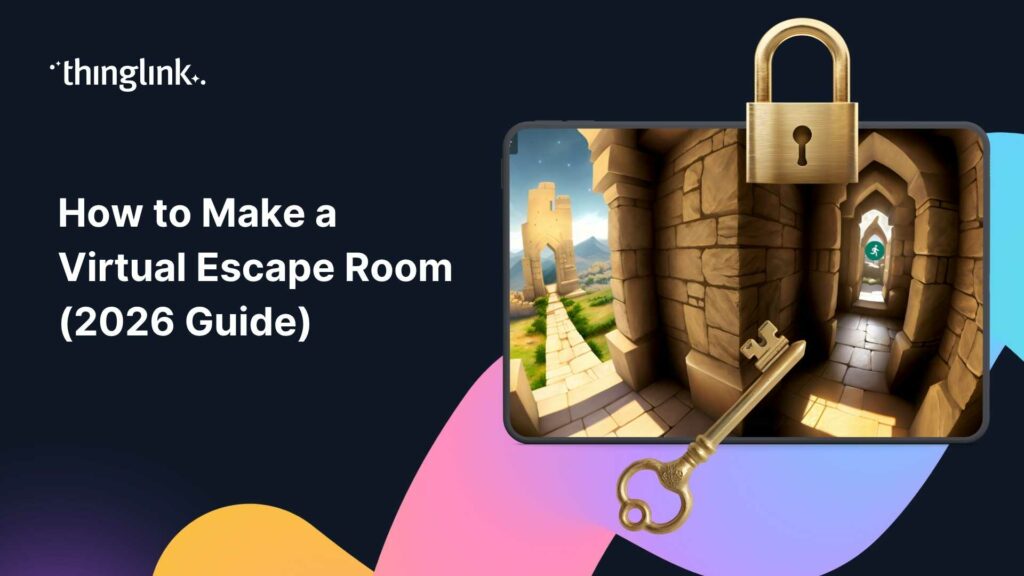
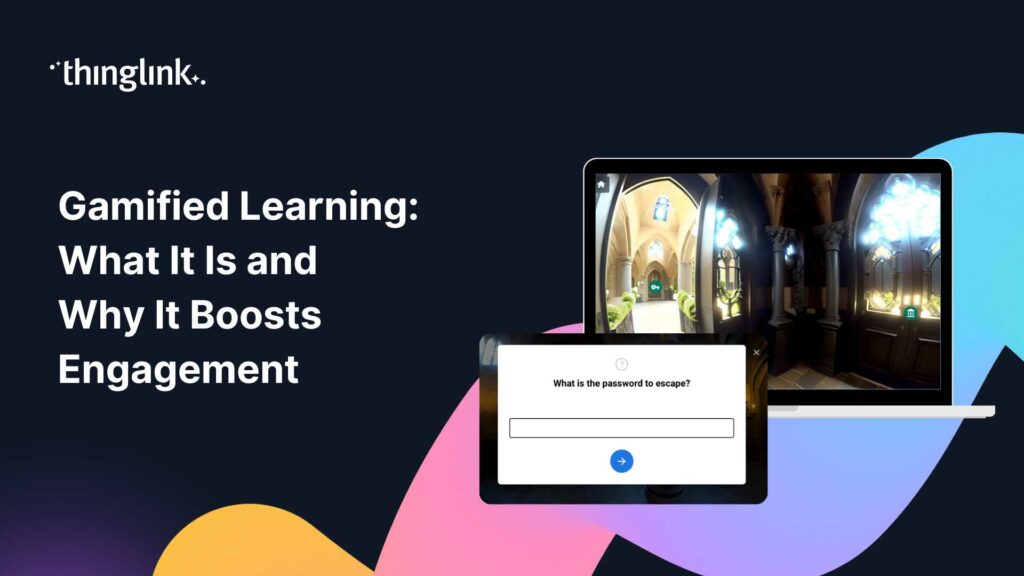
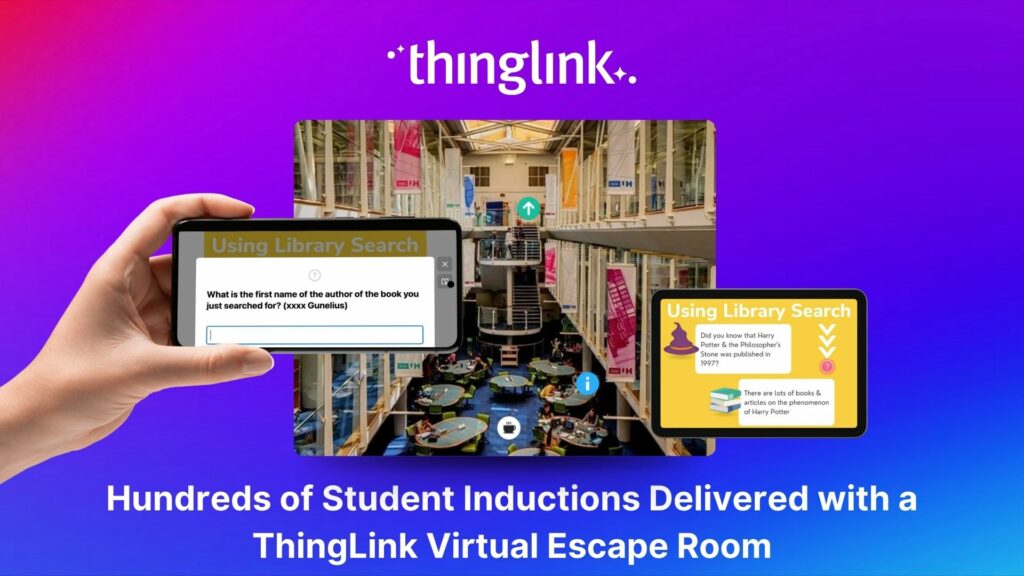
If you want to go further with engagement, you can even use ThingLink to build a virtual escape room structure around your field trip content, adding challenge and narrative to the experience. How to Make a Virtual Escape Room shows you exactly how this works.
Accessibility Considerations
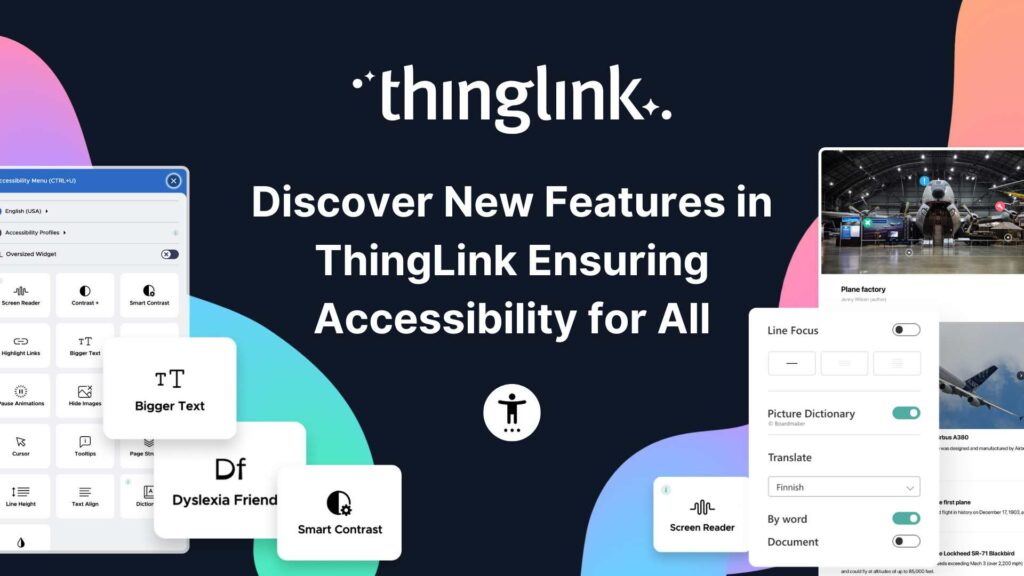
Virtual field trips have a significant advantage over physical ones: they are inherently more accessible. Students who cannot travel due to disability, financial constraints, geography, or health conditions can participate fully. To maximise this, make sure all video content includes captions, all images have descriptive alt text in your hotspot labels, and your navigation is keyboard-friendly. Use clear, plain language in all written content and avoid relying on colour alone to communicate meaning.
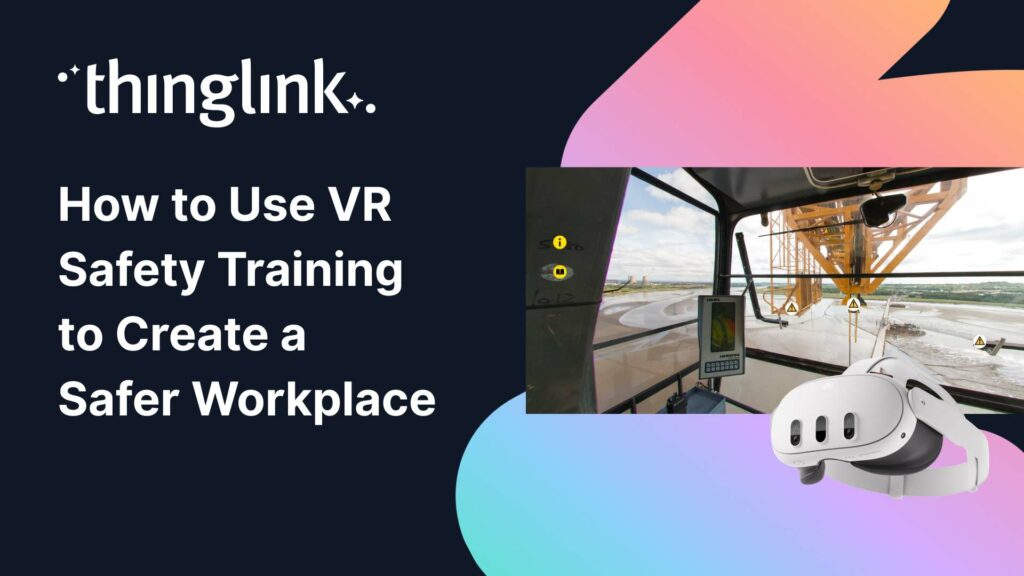
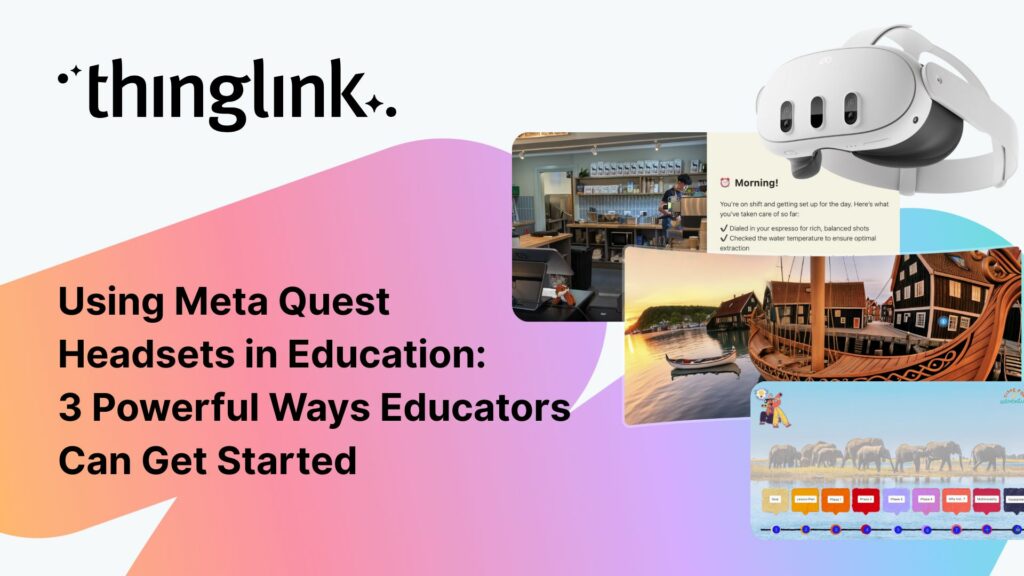
If you are working with VR headsets as part of the experience, Using Meta Quest Headsets in Education: 3 Powerful Ways Educators Can Get Started offers useful guidance on integrating hardware accessibly.
Step 5: Preview, Test, and Refine
Before sharing your virtual field trip with students, test it thoroughly. Work through every hotspot, check every link, and make sure all embedded media plays correctly. Ask a colleague to test it on a different device and browser if possible.
Pay attention to the flow of the experience. Does the journey feel logical? Are the instructions clear enough for a learner who has never used ThingLink before? A short introductory hotspot at the start of the experience, explaining how to navigate, can make a significant difference for first-time users.
Step 6: Share and Facilitate the Experience
ThingLink experiences can be shared via a direct link, embedded in your LMS, or published to a class via a QR code. Choose the distribution method that fits your workflow and your students’ setup.
Before the Trip
Prime your learners before they enter the experience. Give them context, set expectations, and share any pre-reading or prior knowledge they will need. Frame the virtual field trip as an active investigation, not a video to watch.
During the Trip
If you are facilitating the experience in a synchronous session, consider projecting the environment and exploring it together as a class before sending students to explore independently. If it is asynchronous, provide a clear task or worksheet that structures their journey.
After the Trip
The debrief is where much of the learning is consolidated. Build in time for students to share observations, ask questions, and connect the experience to wider course content. A follow-up discussion or short written reflection works well.
What Can Virtual Field Trips Look Like in Practice?
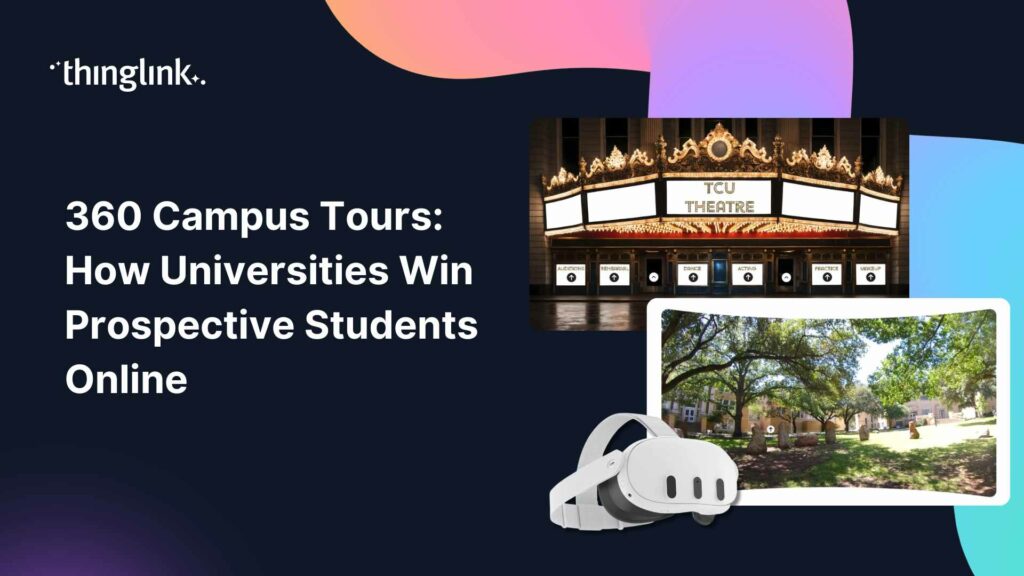
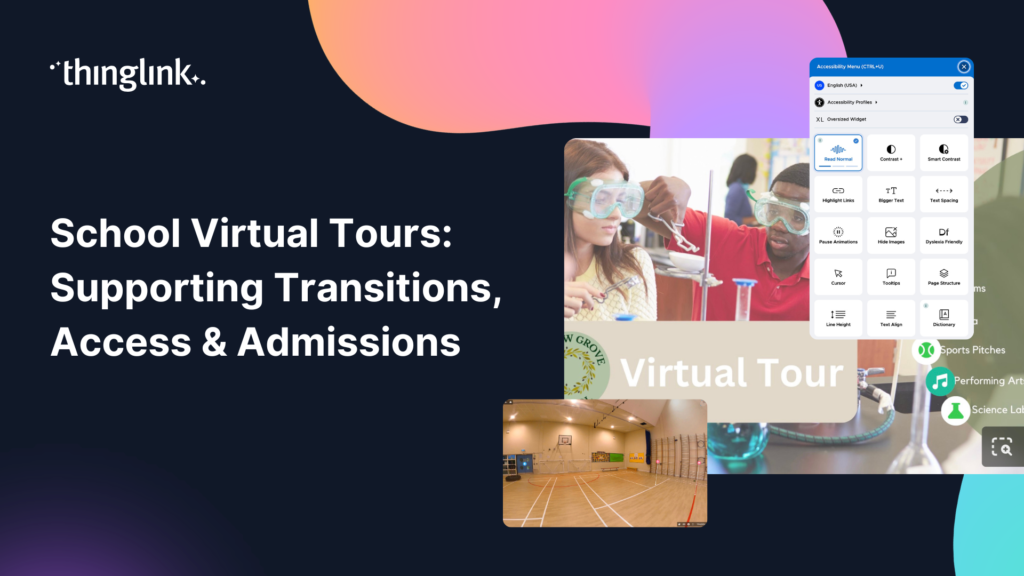
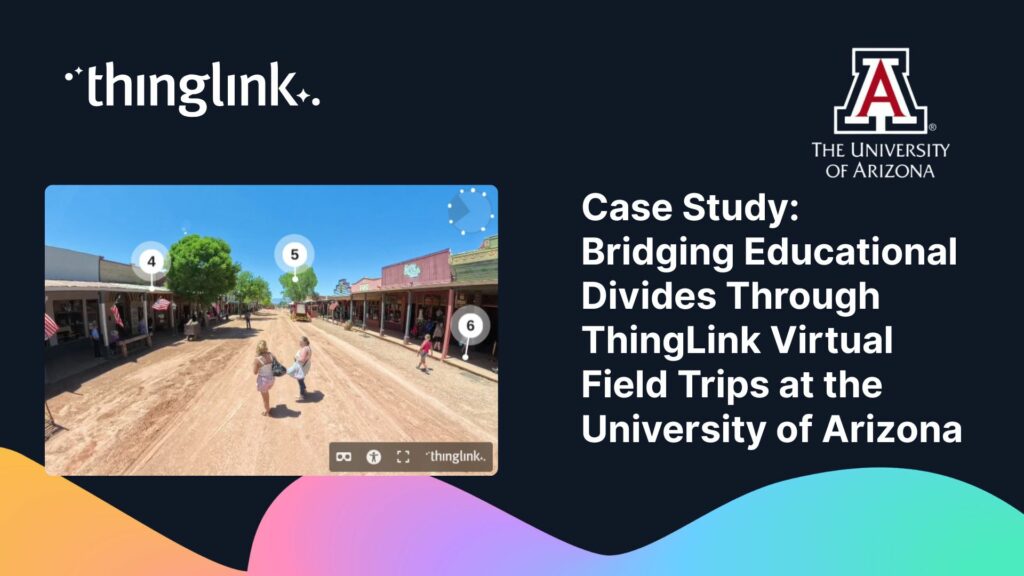
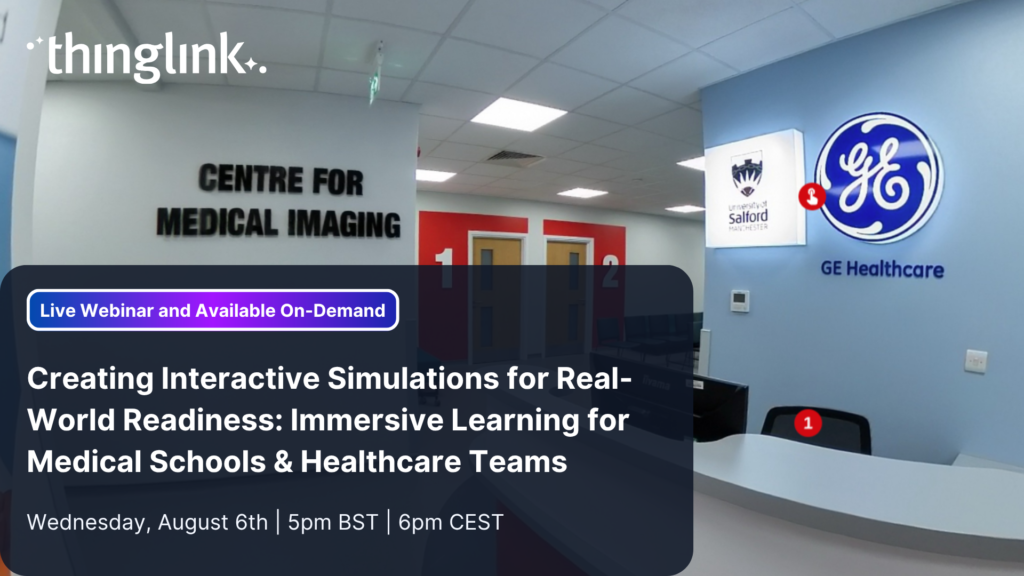
The range of what educators have built with ThingLink is genuinely inspiring. One university used ThingLink to create a multi-purpose virtual field trip that served both prospective students exploring the campus and current students engaging with learning content, all within a single immersive experience. You can explore that project in detail at Multi-Purpose Virtual Field Trip Embraces the Spirit of Salford University.
Ready to Build Your First Virtual Field Trip?
Virtual field trips are one of the most versatile and impactful tools available to educators today. They remove barriers, expand access, and bring learning to life in ways that textbooks simply cannot match. And with ThingLink, you can build one without any specialist technical skills.
Start with a clear objective, gather your content, and follow the steps above. Your first experience does not need to be perfect. It needs to be purposeful. The rest will follow.
Explore ThingLink’s full guide to creating your first virtual field trip and take the first step toward bringing your classroom to the world.