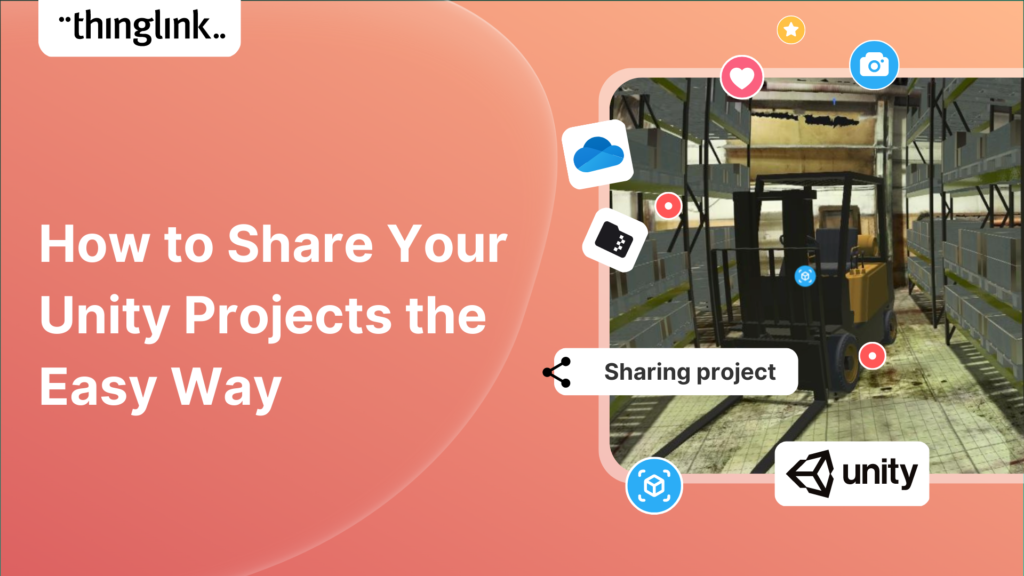
How to Create a 3d Virtual Tour to Share Easily: The ThingLink Unity Plugin
With its stunning visualizations and user-friendly features, Unity has moved beyond its original scope of game design to become a popular tool in architecture, engineering and construction. Industry leaders are embracing Unity’s real-time 3D technology to change the way buildings are designed and created. But until now, sharing Unity projects with wider project team members who don’t have access to Unity (or to the same version of Unity) has sometimes proved tricky and time-consuming.
This changed with the arrival of the ThingLink Unity plugin. In this blog we will show you the benefits of using the plugin, as well as providing a tutorial on how you can use it to quickly and easily share and collaborate on Unity visuals – saving you valuable time and expense.
Meet a product expert
If you’d like to learn more about what ThingLink can offer to your organization, schedule an online meeting with one of our product experts below.
How Unity is used in AEC (architecture, engineering and construction)
Although it was designed for game development, Unity 3D is increasingly used in the property industry to create realistic 3D environments that simulate the look and feel of a project. This allows architects and designers to see how a building or development will look before it’s even constructed. By using Unity’s advanced lighting and shading techniques, property professionals can create lifelike environments that accurately represent the colors, textures, and materials of their projects. This is particularly useful when presenting concepts to clients, who can then get a clear picture of the final product.
Unity walkthroughs allow clients to explore a property in real-time and get a feel for its layout, design, and functionality. Walkthroughs can be used for anything from commercial real estate to residential properties, and can even be customized to show different design options or furniture layouts.
The benefits of using the ThingLink Unity Plugin
Working time optimization
You may need to make many iterations of your Unity project in a short timeframe and receive feedback as part of the workflow. This is where you can use ThingLink with your Unity project to save several hours of waiting for files to compress and upload. Importantly, the plugin allows you to share your new projects with users who have no access to the Unity Hub or the Unity Editor.
Accessibility
The ThingLink Unity plugin also allows collaborators to see your Unity project from any device – with no need to download project folders and project files to their local machine and without any special configuration. The plugin allows you to export a scene from Unity as a 2D or 360 degree image from any part of your project. In ThingLink, you can then add annotations, questions and comments, or export multiple 360° images and turn them into a lightweight virtual tour. You can then use these to share work-in-progress with clients which can be accessed on any device, including Android or iOS mobile.
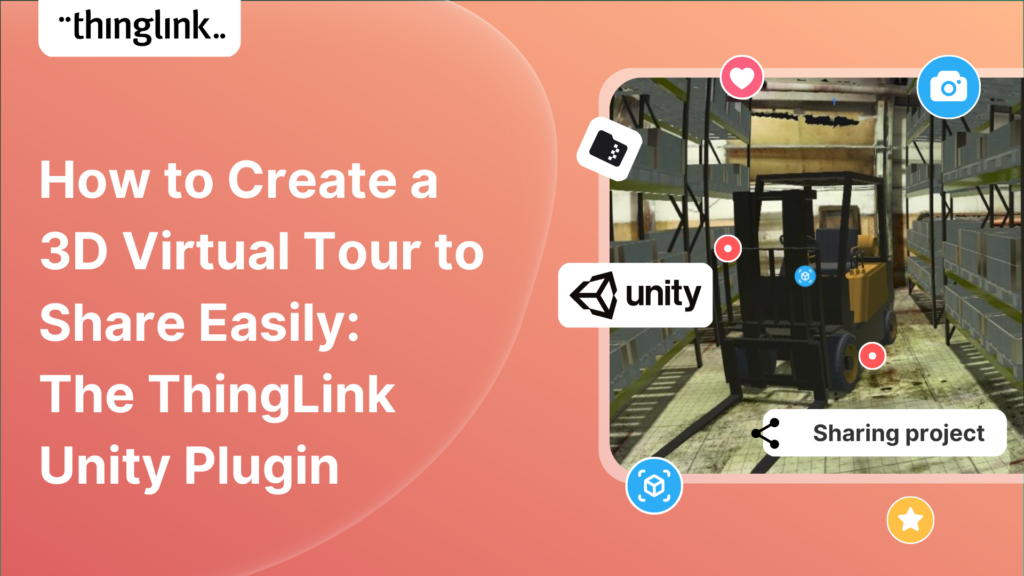
An example of the ThingLink Unity plugin in action
In this example below, a Unity user has used the plugin to add more information to the 360 image.
Step-by-step guide to using the ThingLink Unity plugin
Please note: If you are new to ThingLink, please create an account first, which you will need to use the plugin.
First, create a ThingLink account
If you are new to ThingLink, please create your account here to use the Unity plugin. Or just start exploring ThingLink to see what else you can create!
Step 1: Install ThingLink Unity Plugin
- Download the plugin from the Unity Asset Store.
- Open your project in the Unity Editor.
- Choose Assets > Import Package > Custom Package.
Select the ThingLinkUnityPlugin_1-0.unitypackage file you’ve downloaded and click Open.
All items in the package should be installed; we recommend using the demo scene to explore the plugin.
Step 2: Adding to ThingLink
- Add the package to your project, then click the ThingLink icon in the upper-right corner
- Log in to your ThingLink account
- Move the camera to the desired location and click Upload
- Go to https://www.thinglink.com/ to view, edit and share the image on ThingLink.
Before clicking the upload button, you have two options:
- Export as 360°: By default, the plugin will export your current view as a 360 image. Uncheck this box if you would prefer to export a 2D image instead.
- Open ThingLink editor: if checked, ThingLink will open in your default browser once the image is uploaded. Note that if you are logged out of your ThingLink account in your browser, you’ll need to sign back in.
Step 3: Sharing Your Virtual Tour
The final step is to share your virtual tour with your team members. The easiest way is via direct link which can be shared via email.
FAQs
- Do I need to be using particular operating systems with the ThingLink Unity plug in?
No – it works with all common operating systems including Windows and Mac (iOS).
- Does my collaborator need to know how to use Unity to use the plugin?
No – anyone can view the project in ThingLink – one of the most intuitive and easy to learn platforms available. There is no sharing of source code required.
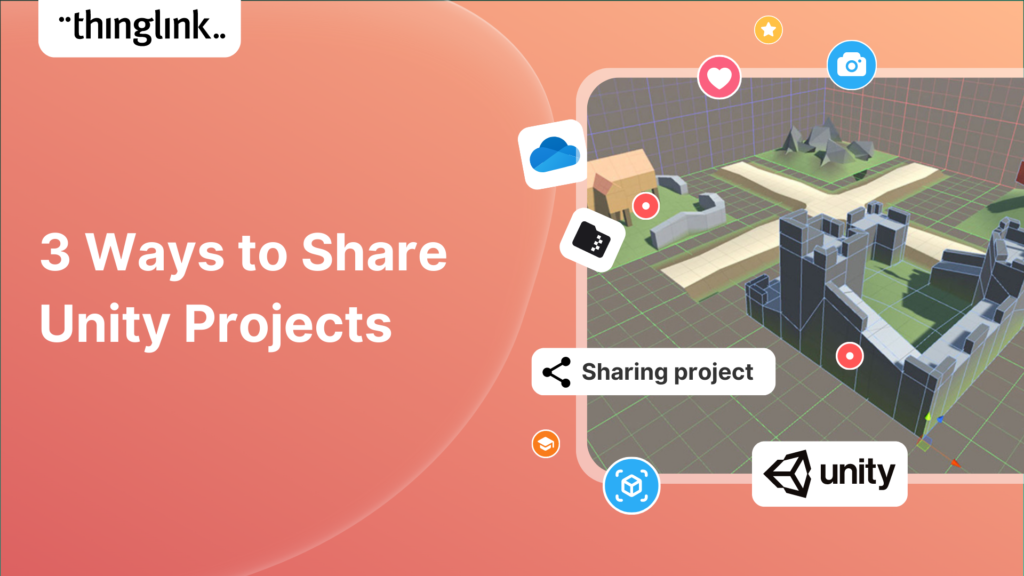
Sharing Unity projects with team members who already use Unity
Of course if you already use Unity across your team – even easier! Just follow the steps below.
Sharing with Unity Collaborate
The easiest method to share your Unity project is by adding another user as collaborator to enable you to share a workspace. Unity Teams’ free tier includes 1GB of Cloud Storage for using with Unity Collaborate. For every team member you want to collaborate with, you need to assign a Unity Teams seat for them within your organization. These handy links show how you can: enable Collaborate for a team member; allow collaboration on individual projects; activation and management of Unity Teams member access.
Zipping and sharing files using OneDrive or email
An alternative approach to sharing your project is sharing the folders using a cloud service or email. If you choose this option, always zip your files beforehand. This doesn’t just make the folders smaller, it’s also best practice to reduce the likelihood of file corruption. Do all files need to be zipped and shared? Not necessarily. the key files are the Assets and ProjectSettings folders. Once you have zipped and transferred them to your cloud service, your colleague or team member can access the folder and download it. Read more about exporting your project into another version control system. You can also send some/all files by using Unity Package Manager: read more about how to do this on the Unity website here.
New to ThingLink?
For an introduction to our super simple editor and interface, including step by step tutorials, take a look at our handy Support Pages. For Unity support please visit their support pages, or connect with their community which brings together Unity Answers, Unity Forum and other useful resources.
If you want to discuss activation of a team or enterprise ThingLink account, please contact us here.
Get started with ThingLink today!
Why not start a free trial account and see what you can create today? Join almost 10 million content creators in the worldwide ThingLink community!